This has been writen to explain the steps to set a basic insecure SMTP lab. We are using hMailServer to act as a mail server & Thunderbird as mail client.
Mail Server (hMailServer)
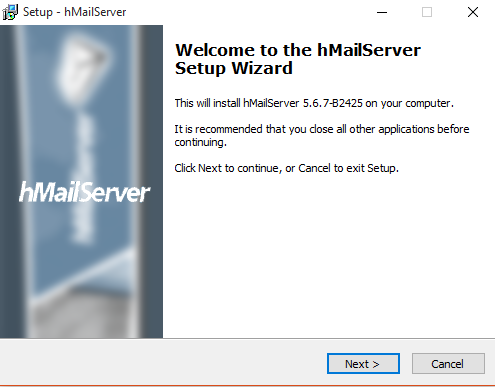
1. Start the wizzard
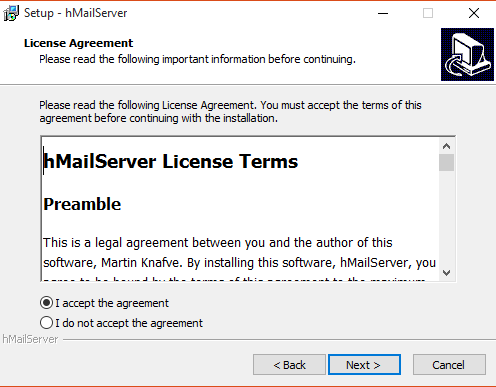
2. Next, Accept the license
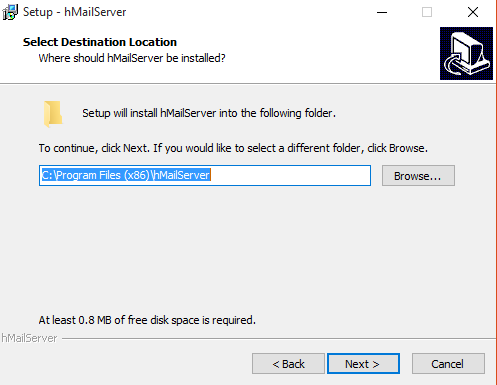
3. Select the install folder, next
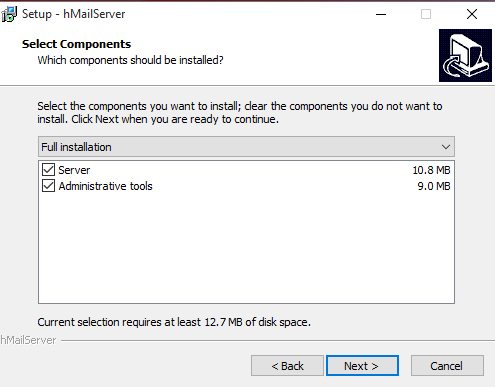
4. Full installation, next
5. Use built in database, next

6. Create a shortcut, next

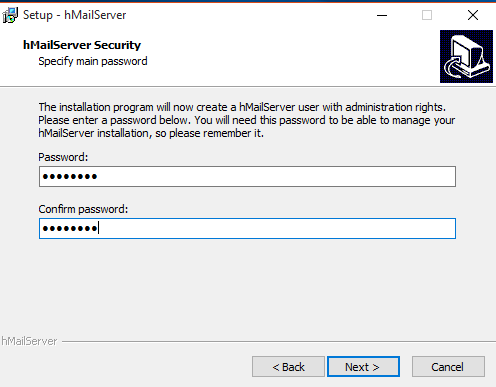
7. Choose the password for accessing hMailServer
- Password
8. Complete the installation
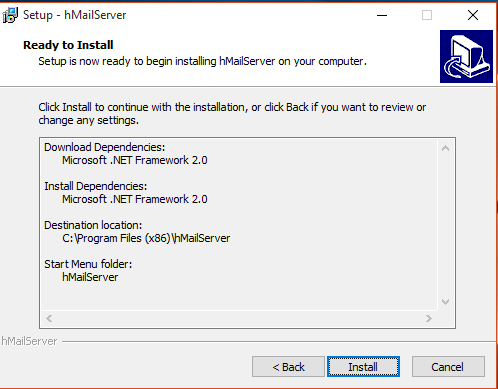
9. This may pop up, click yes, to install some dependencies

10. The installation begins

Configuration
1. Connect as Administrator
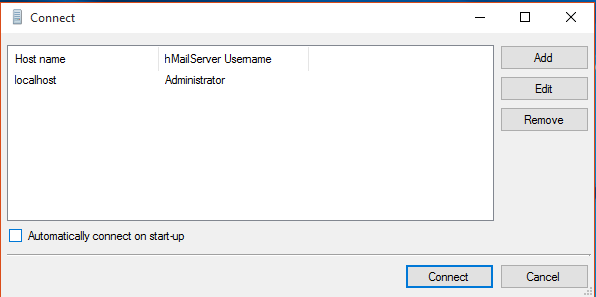
2. Enter the password we just created
- Password

3. You will enter to the main view
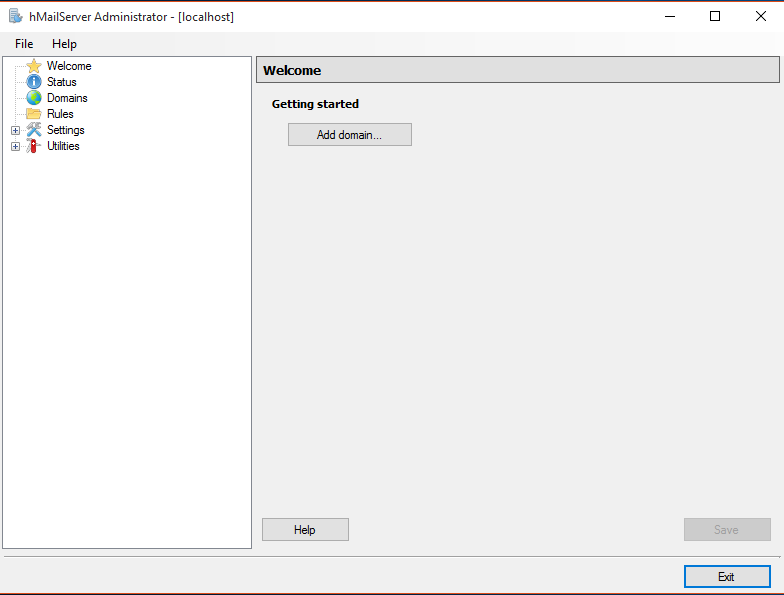
4. First thing start up process
- Click on “Welcome”
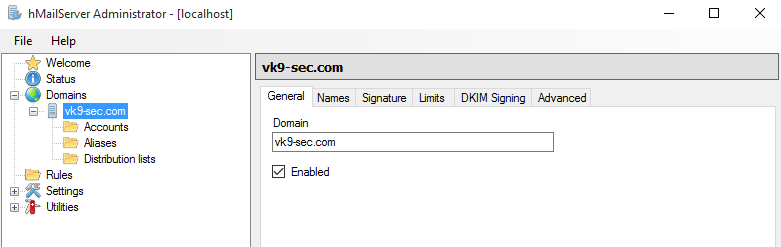
5. We need to create a domain
- Add domain…
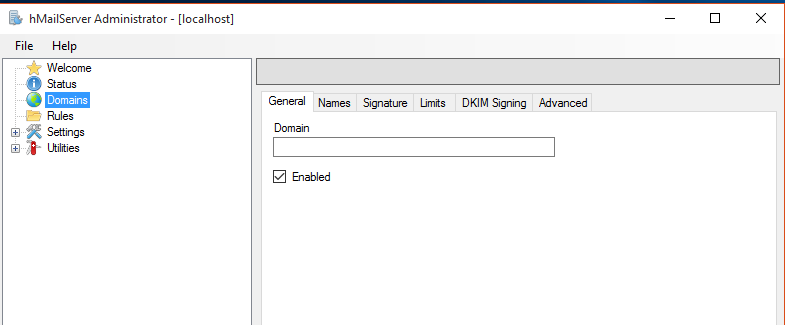
In that we have different tabs
- General: The name of the domain. To be considered valid, a domain name must include a dot. You must set up your DNS servers so that email can be sent to your mail server.
- Names: One domain can have several names. These are also known as domain aliases. For example, your organization might own the domain, company.com, but it might also own company.org
- Signature: you can configure hMailServer to add a signature to all email sent from this domain, If no HTML signature is specified, hMailServer will use the plain text signature as HTML signature as well.
- Limits: If you have specified 500MB, the total size of all messages in the domain will not exceed 500MB
- DKIM Signing (encryption): DKIM, Domain Keys Identified Mail, is a method to sign the content of messages. The recipient can verify that the message is sent from a server authenticated to send from the sender’s domain, and that the message content has not been modified in transit.
- Advanced: This tab contains the advanced settings for the domain. You normally don’t need to modify these settings.
Note
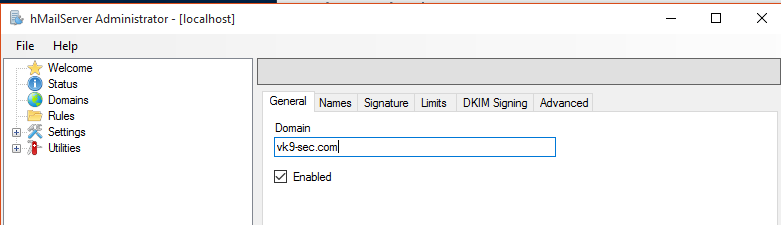
For this lab I will only modify general tab
- vk9-sec.com
6. After saving the changes, we see the domain added
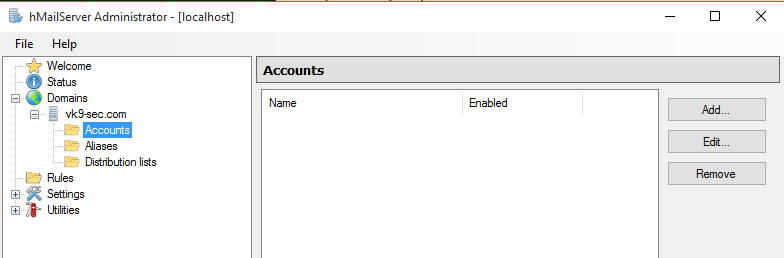
7. Now, it’s time to add user accounts
- Accounts
- Add
8. Add a user (leave the rest as default), then save
- Address: vry4n
- Password: pass1

9. In accounts we see our first user created
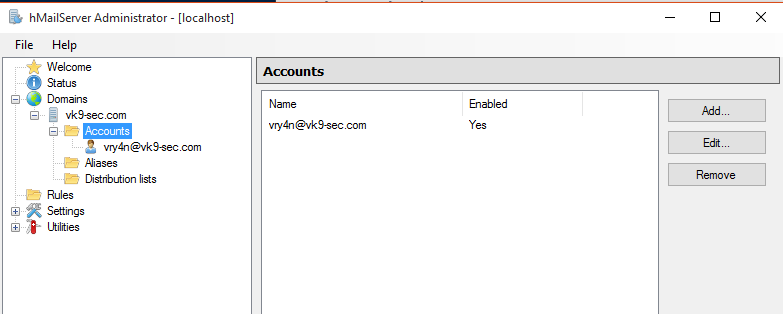
We will add a second user named john
- john
- pass1

At this point we are done with the mail server set up. Now it is time to run an email client to be able to send/receive emails
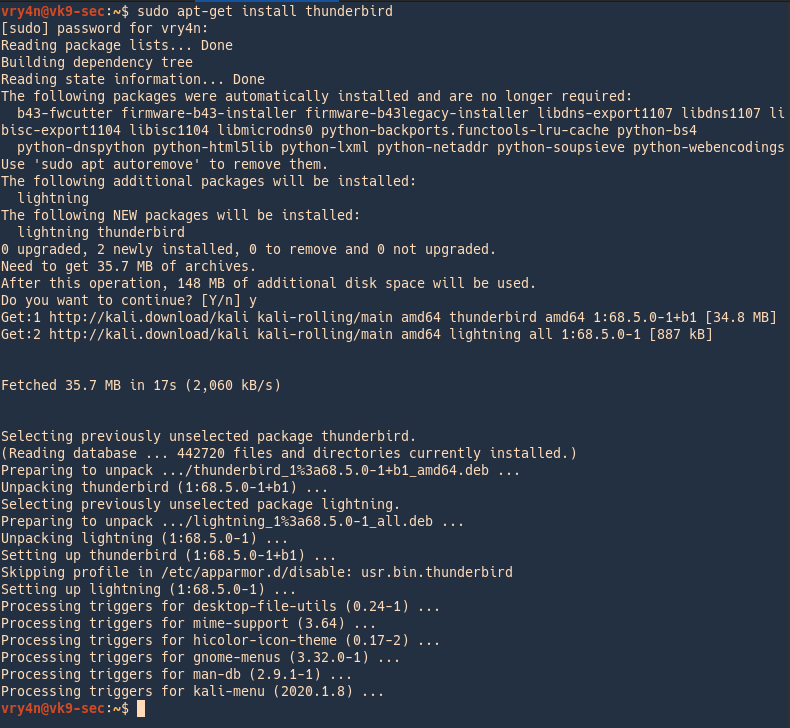
Email client (Thunderbird)
For this exercise we will use Thunderbird and a Linux machine to connect.
1. Install Thunderbird
- apt-get install thunderbird
2. Run the application
- thunderbird &

The application will now show up.

3. Add the SMTP server
- Edit -> Account Settings

4. Select the default account or add a new one
- Edit/Add

Edit the settings
- Description: VK9 SMTP
- Server Name: vk9-sec.com
- Port: 587
- Connection security: (optional TLS)
- Authentication method: (optional)
- User Name: Administrator
- OK
4. Add the domain name and server address to DNS records, we will use /etc/hosts
- vi /etc/hosts
- add -> 192.168.0.6 vk9-sec.com
- cat /etc/hosts | grep 192.168.0.6

5. Test connectivity
- ping -c 2 vk9-sec.com
- telnet vk9-sec.com 587
- telnet vk9-sec.com 110

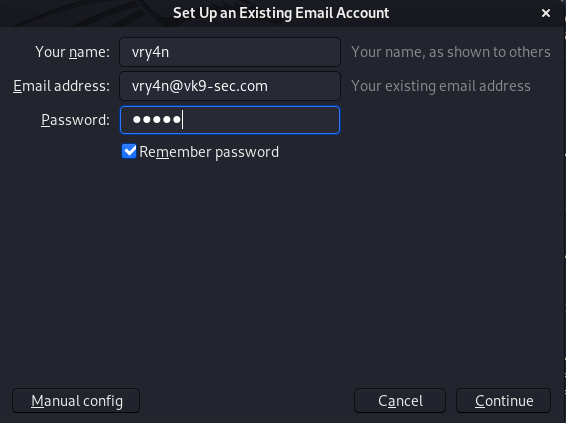
5. Now it is time to set up our accounts, when ThunderBird is first opened it requests to add an account.
- File -> New -> Existing mail account

Fill the blank spaces
- name: vry4n
- email address: vry4n@vk9-sec.com
- password: pass1
We have already created the accounts in the previous steps, in hMailServer
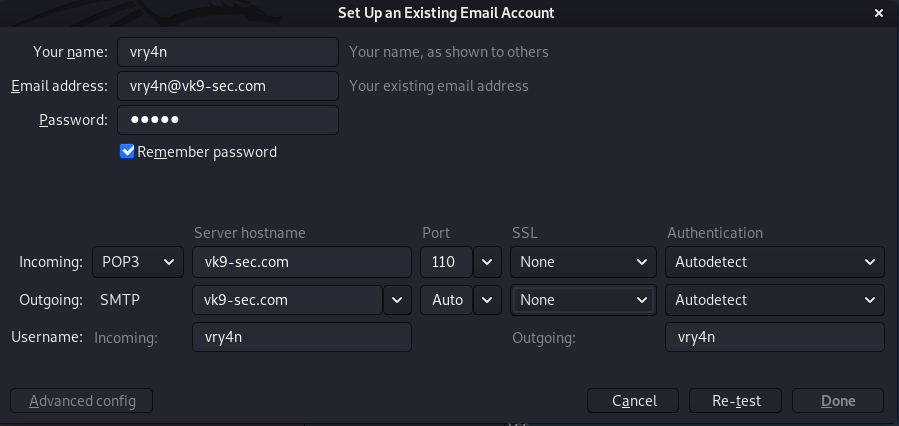
6. Now, click on “Manual config”, correct the server name. and, adjust the settings to match the server’s. I use POP3, I manually changed that
7. Test connectivity
- Click on “Re-test”
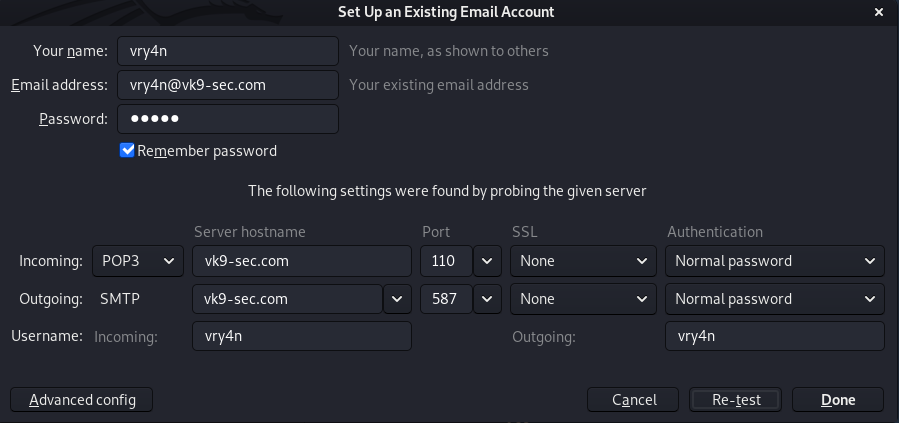
Doin gthis auto adjusts the settings, now it’s time to click on “Done”
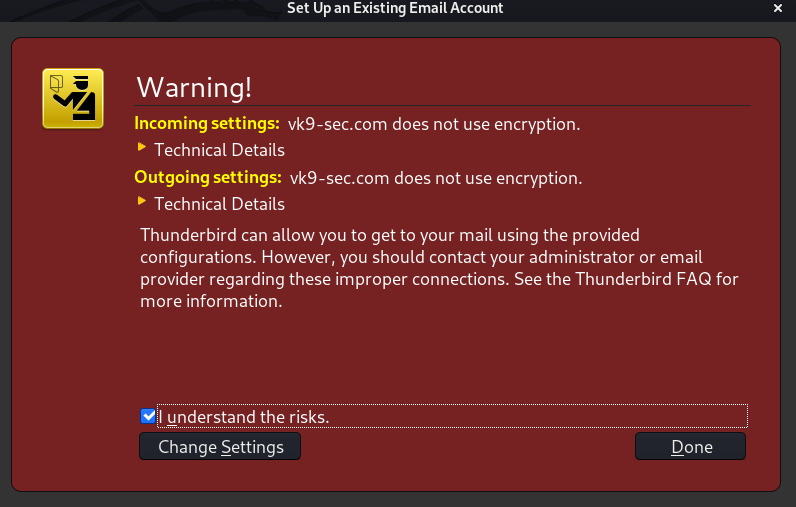
8. Accept the risk, since, we are not using encryption.
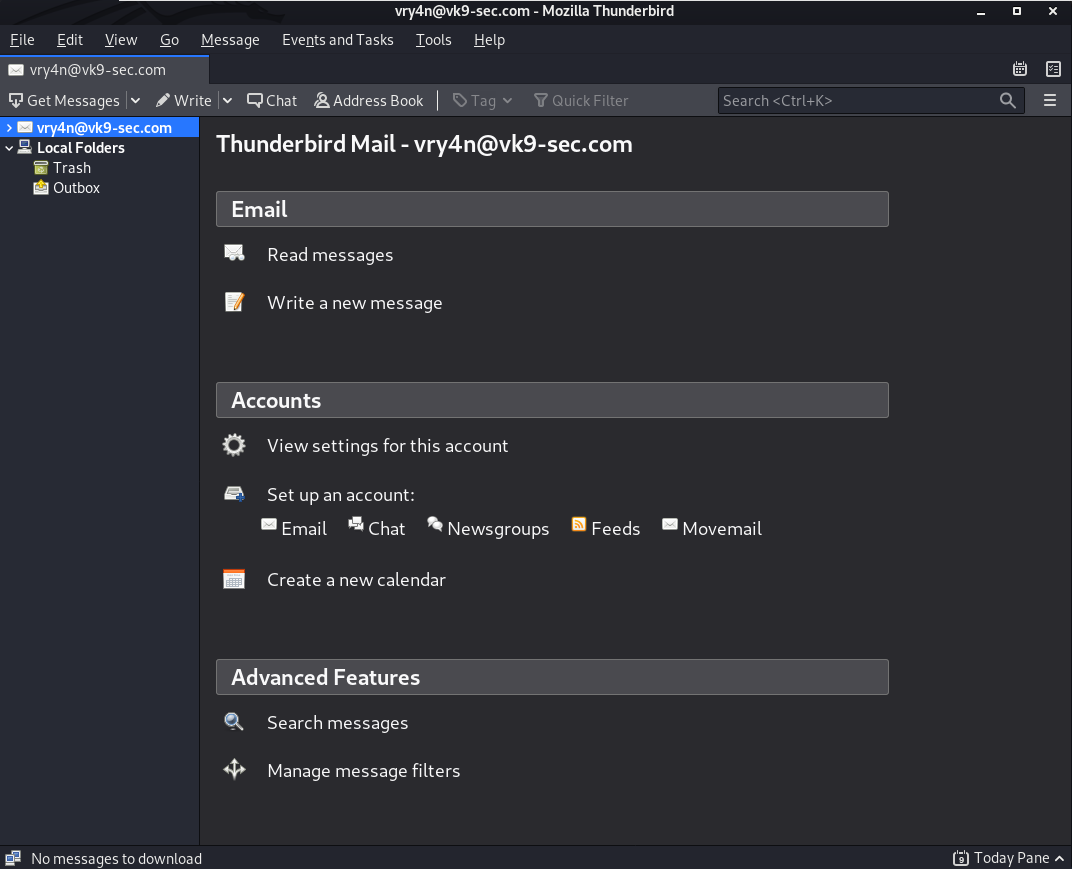
9. The account know shows up in the main page.
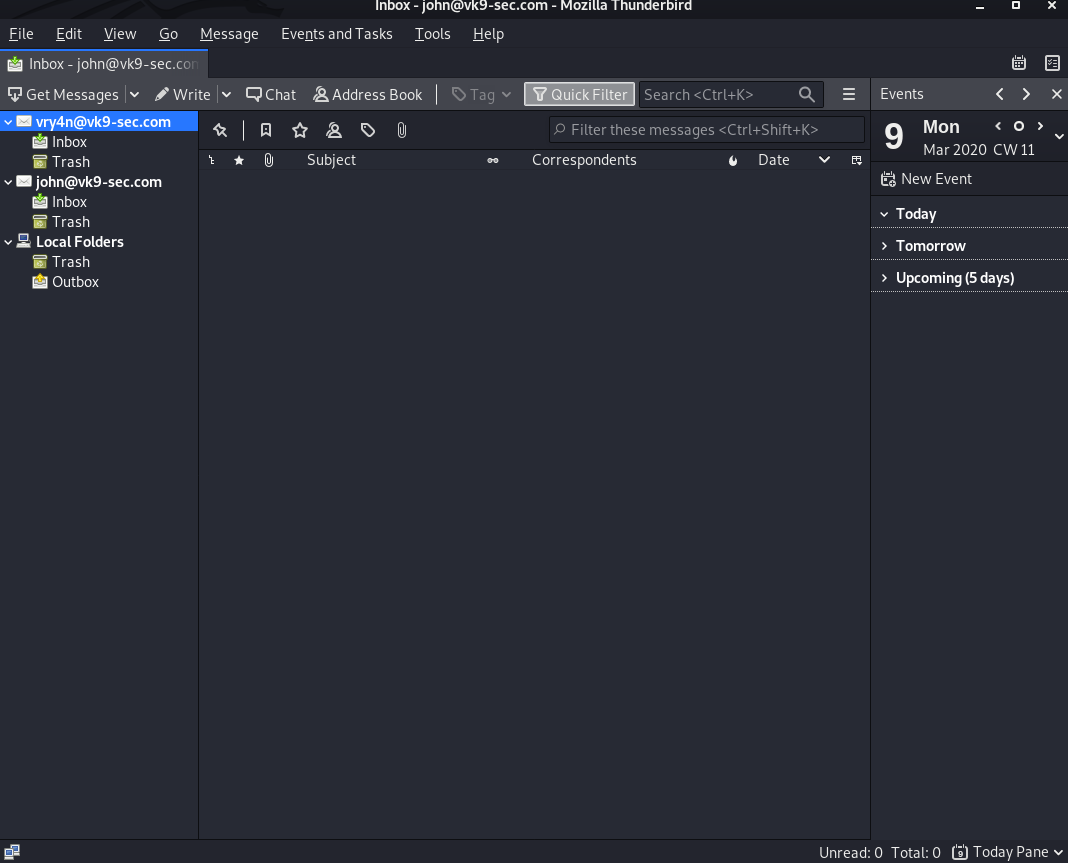
Now, we do the same for the other account. John
- File -> New -> Existing mailing account
- john
- john@vk9-sec.com
- pass1
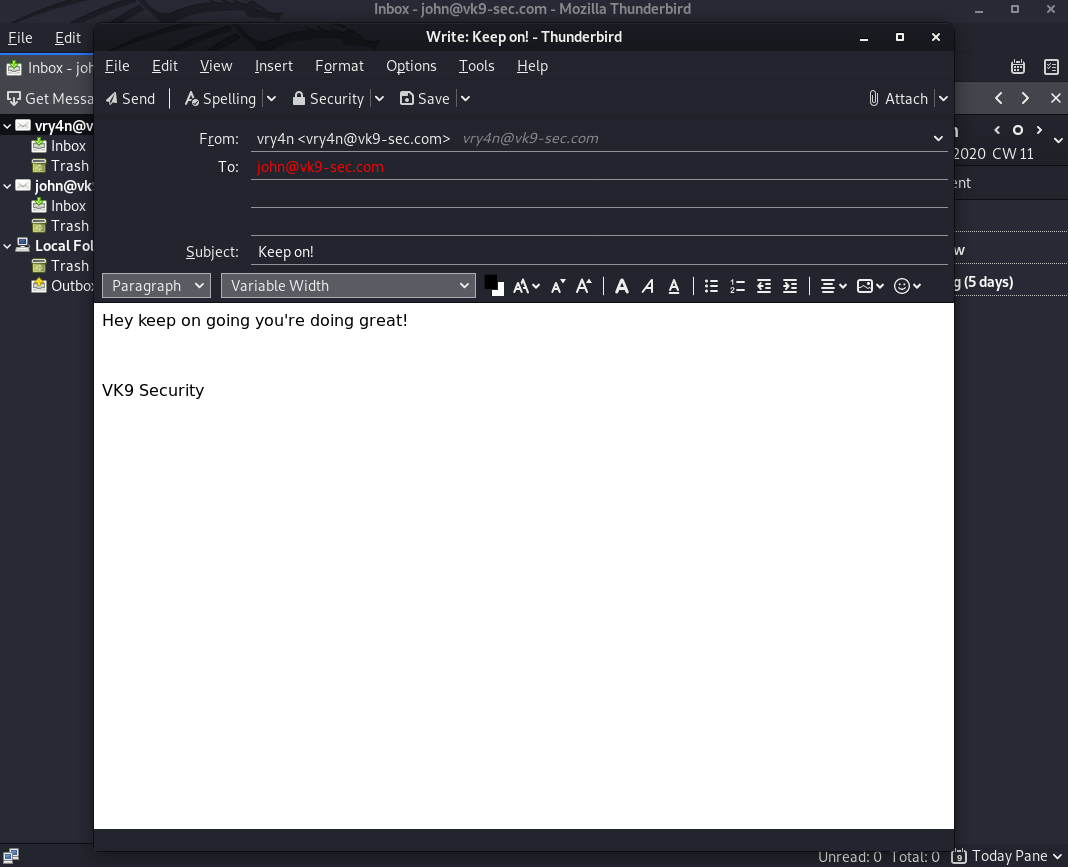
10. Send an email as a test
- File -> New -> Message