by Vry4n_ | Apr 8, 2020 | Labs
bWAPP, or a buggy web application, is a deliberately insecure web application. bWAPP helps security enthusiasts, developers and students to discover and to prevent web vulnerabilities.
bWAPP is a PHP application that uses a MySQL database. It can be hosted on Linux and Windows.
https://github.com/jehy-security/bwapp
https://sourceforge.net/projects/bwapp/
Installation
1. Download the main file
2. make a directory in /var/www/html and unzip the downloaded file there
- sudo mkdir /var/www/html/bWAPP
- sudo mv bWAPP_latest.zip /var/www/html/bWAPP/
- cd /var/www/html/bWAPP/
- ls
- sudo unzip bWAPP_latest.zip

3. Having all the files extracted navigate to ./bWAPP/admin

4. Make sure to start apache & mysql services
- sudo service mysql start
- sudo service mysql status
- sudo service apache2 start
- sudo service apache2 status

5. Modify the SQL credentials in settings.php, credentials used to log in to mysql

Confirm you can log in to mysql, using the same credentials you put on settings.php
- mysql -u root -p
- show databases;

Extra
If you still have issues you can set the database password by logging into the mysql and run
Change user and password at will
- ALTER USER ‘root’@’localhost’ IDENTIFIED BY ‘bug’;
- flush privileges;
6. Give full permissions to the following directories documents, images, passwords & logs
- sudo chmod 777 documents/
- sudo chmod 777 images/
- sudo chmod 777 passwords/
- sudo chmod 777 logs/
- ls -ld documents images passwords logs

7. Now access the application from the browser. Probably you will face the following error
- http://127.0.0.1/bWAPP/bWAPP/login.php

8. To fix it access /bWAPP/bWAPP/install.php, and, click on “here”
- http://127.0.0.1/bWAPP/bWAPP/install.php

9. After that this message should show

10. Now click on log in to get back to the page where we got the error
- 127.0.0.1/bWAPP/bWAPP/login.php

11. The credentials are bee/bug

12. There you can do the following
- Change current password
- Create a new user
- Change security level
- Reset the database
- Select the instance to test “choose your bugs”
by Vry4n_ | Mar 18, 2020 | Labs
Mutillidae is a vulnerable framework where you can practice OWASP top 10, https://owasp.org/www-project-top-ten/
Download
https://sourceforge.net/projects/mutillidae/
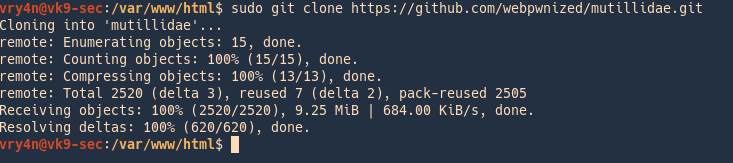
- sudo git clone https://github.com/webpwnized/mutillidae.git
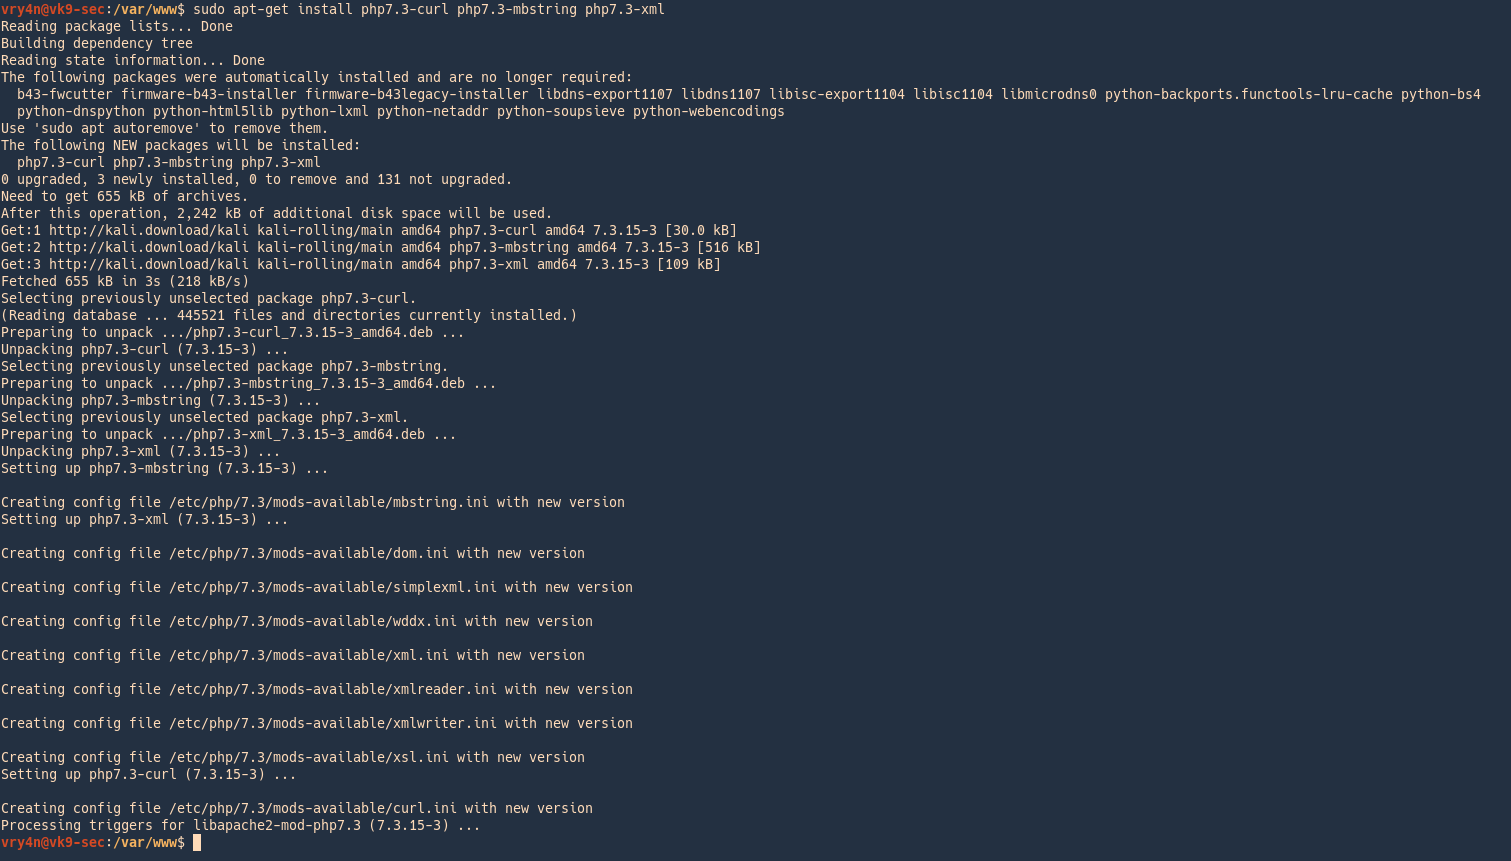
1. Install the required repositories (in this case I’m using php 7.3)
- sudo apt-get install php7.3-curl php7.3-mbstring php7.3-xml
Extra
Show php version

2. Extract the Mutillidae content in /var/www/html

Run the site
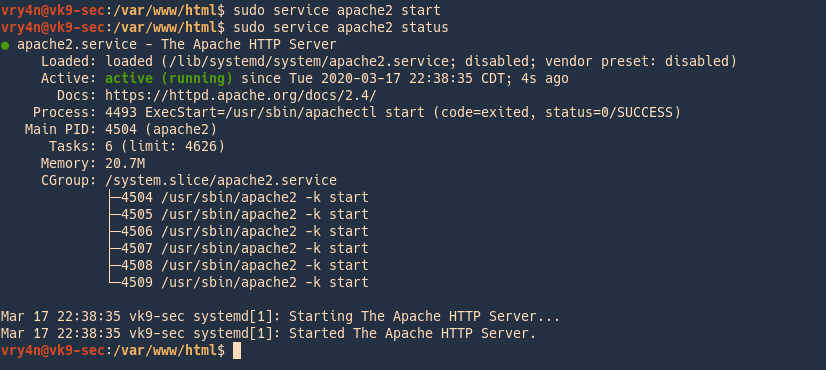
1. Start the web server process
- sudo service apache2 start
- sudo service apache2 status
2. Access you web service via browser
- http://localhost/mutillidae/
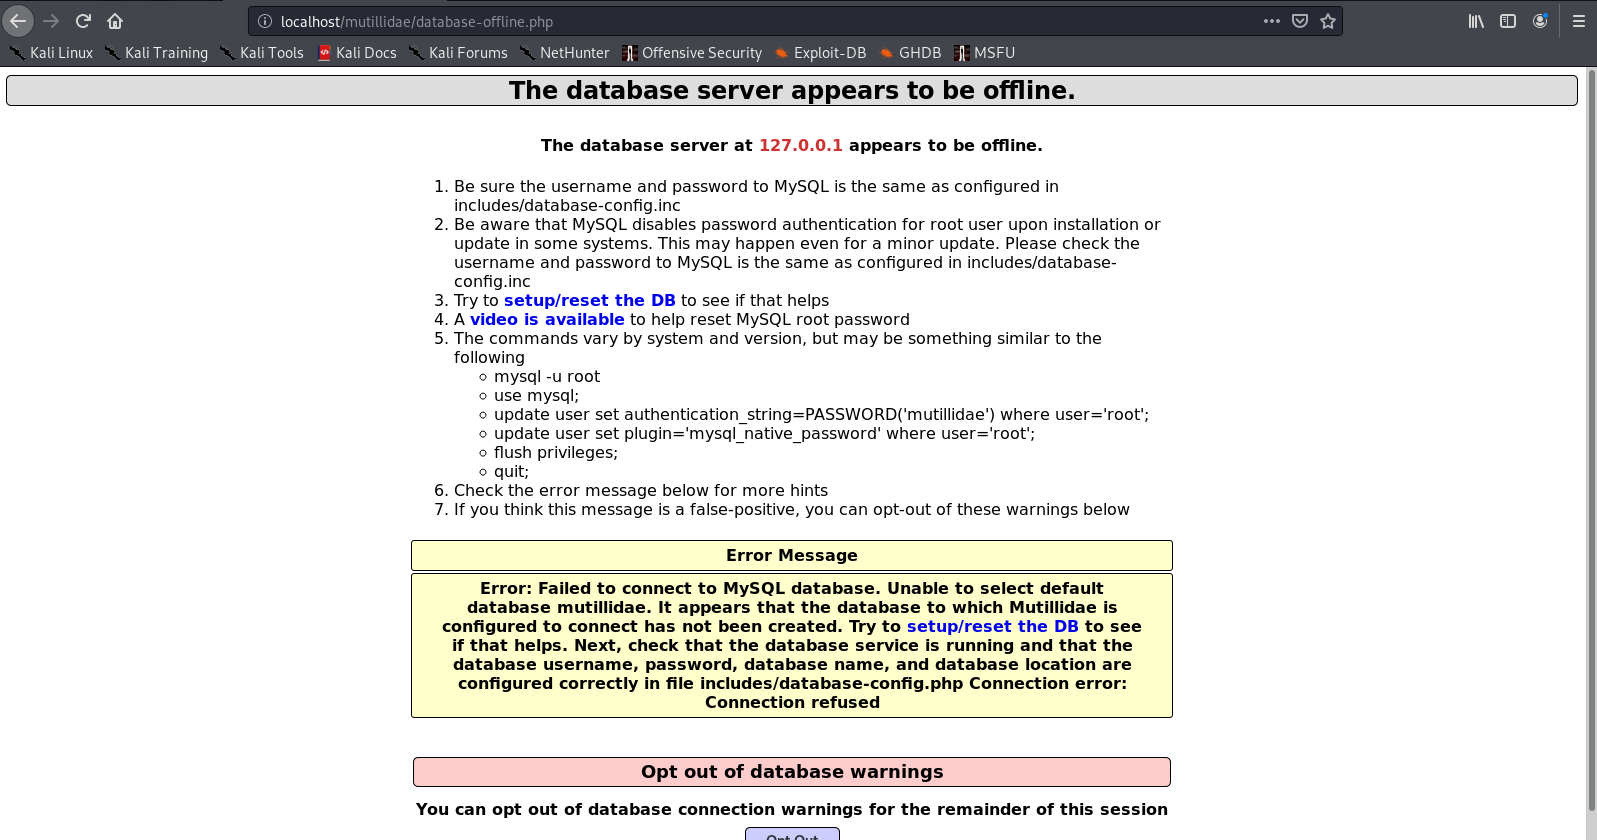
This tells us that the MySQL service is not running, so, we need to start it the same way we did with apache
3. Start the database
- sudo service mysql start
- sudo service mysql status

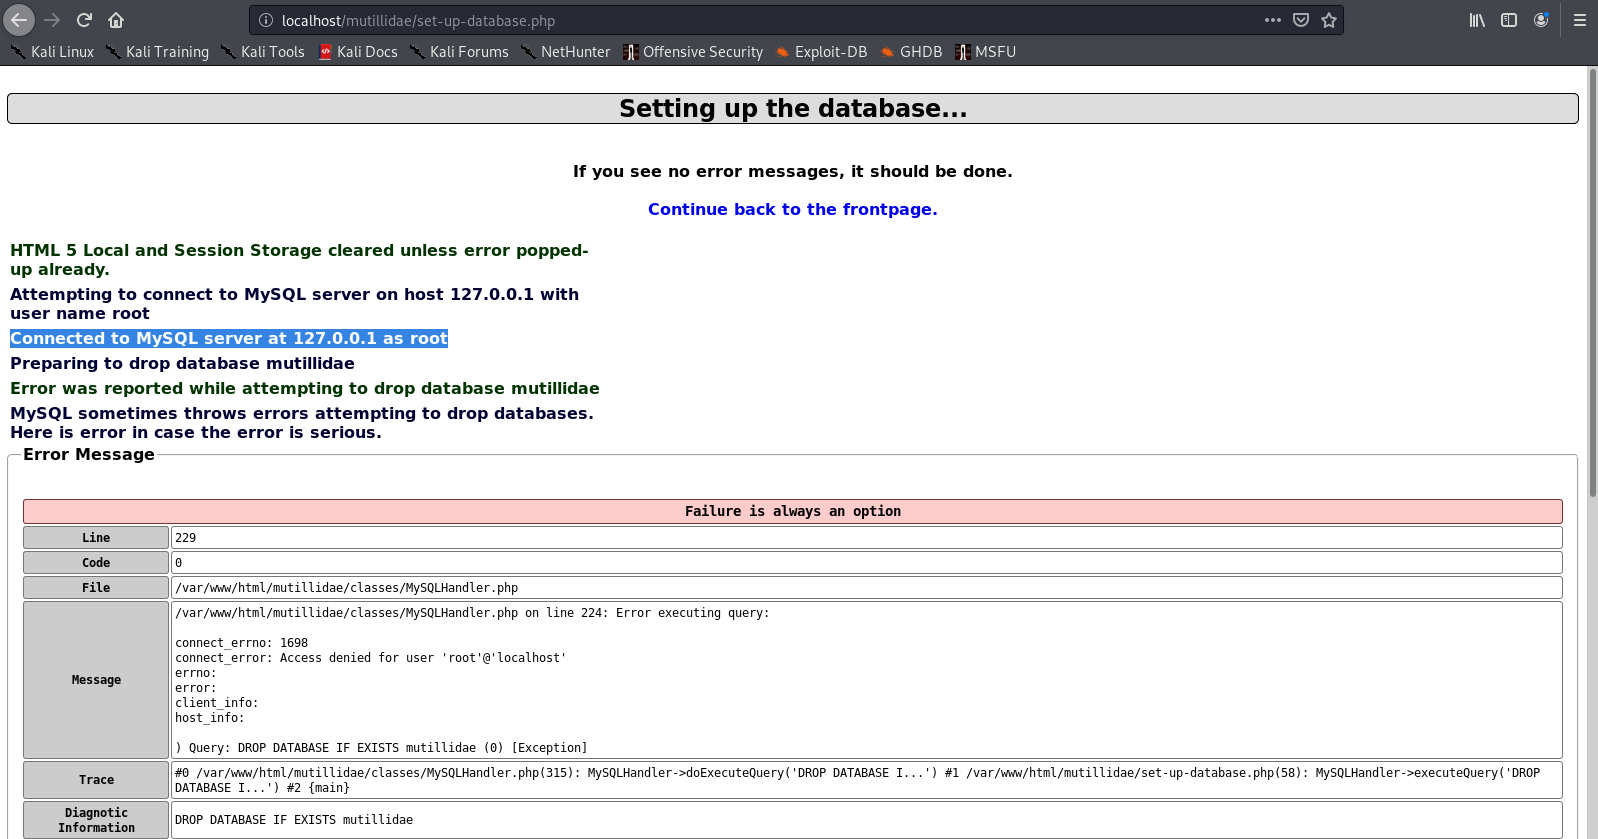
4. Click on “setup/reset the DB”
This time we are getting issues with authentication
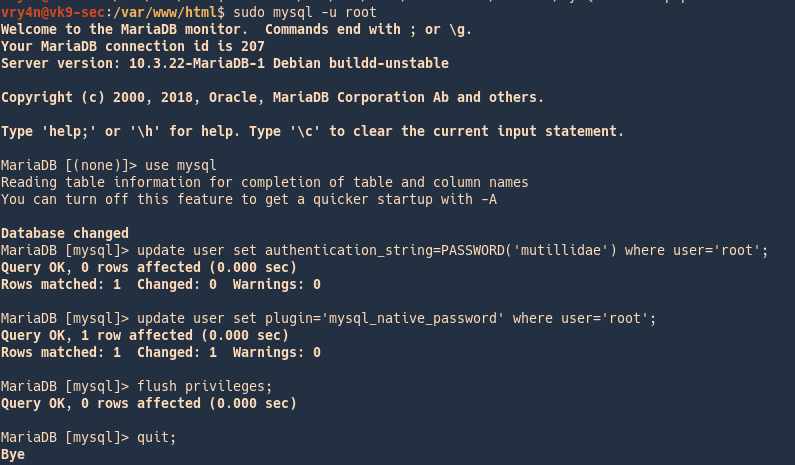
5. Set up the accounts for mutillidae to access the database, user root & password mutillidae
- sudo mysql -u root
- use mysql;
- update user set authentication_string=PASSWORD(‘mutillidae’) where user=’root’;
- update user set plugin=’mysql_native_password’ where user=’root’;
- flush privileges;
- quit;
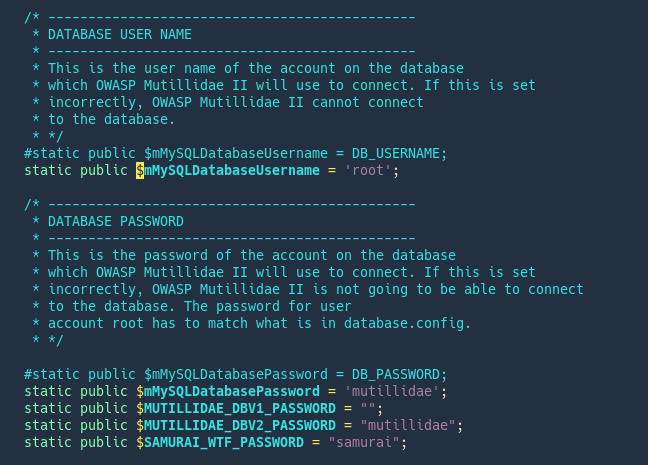
6.Now configure the file that connects to the database
- sudo vi /var/www/html/mutillidae/classes/MySQLHandler.php
$mMySQLDatabaseUsername
$mMySQLDatabasePassword
7. Go again to the browser and click again “setup/reset the DB”, now it was able to set up the database, click OK

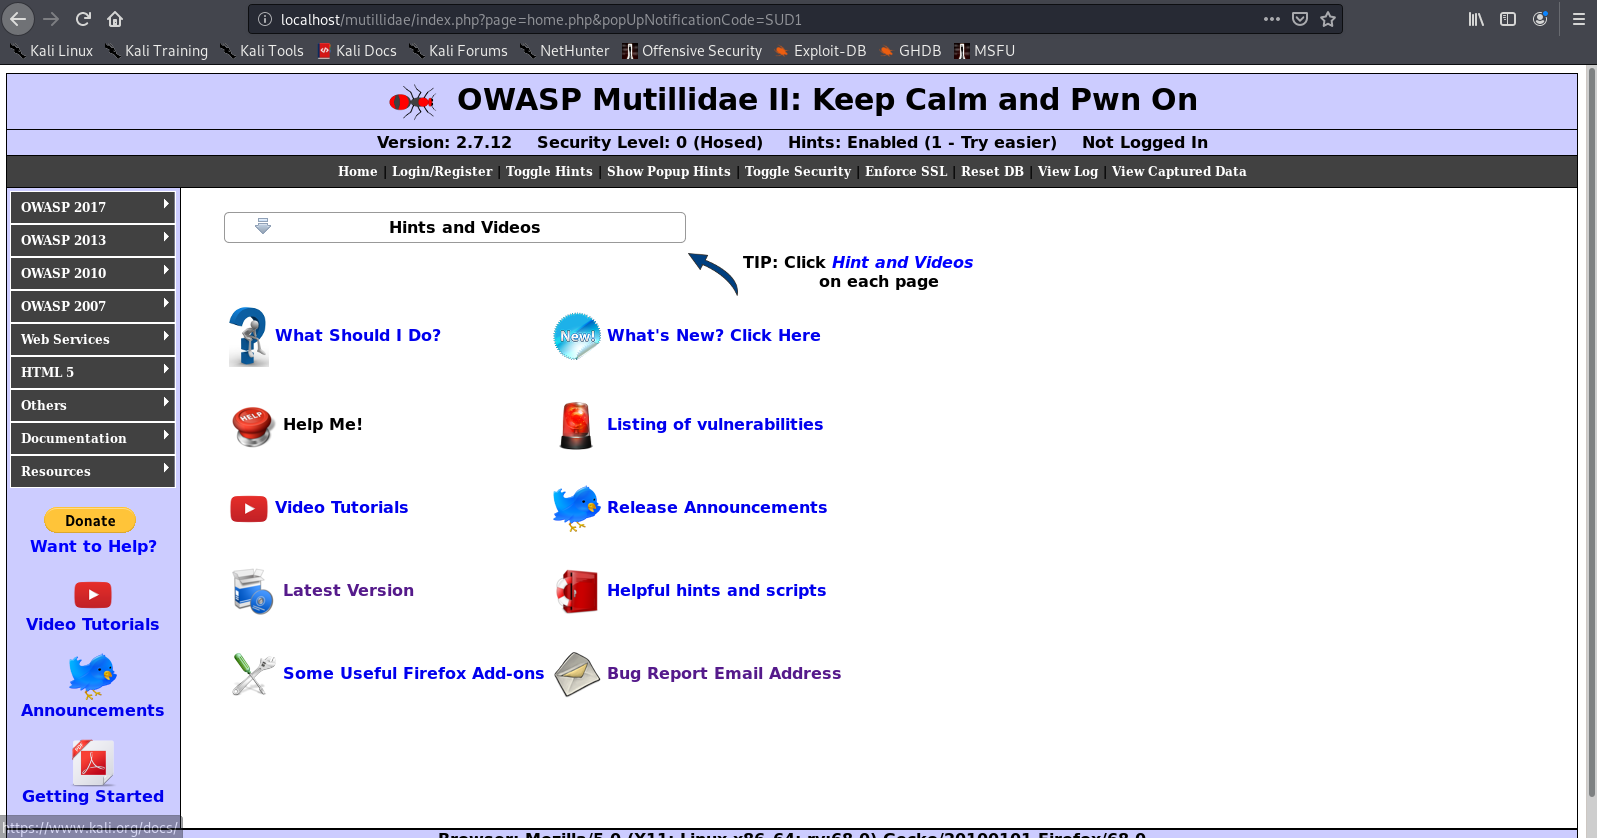
8. Now, we got access to the application
by Vry4n_ | Mar 10, 2020 | Labs
This has been writen to explain the steps to set a basic insecure SMTP lab. We are using hMailServer to act as a mail server & Thunderbird as mail client.
https://www.hmailserver.com/
https://www.thunderbird.net/
Mail Server (hMailServer)
1. Start the wizzard
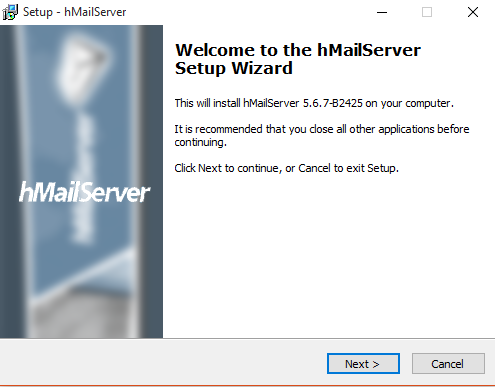
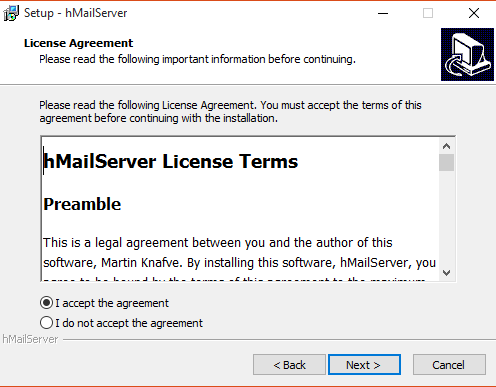
2. Next, Accept the license
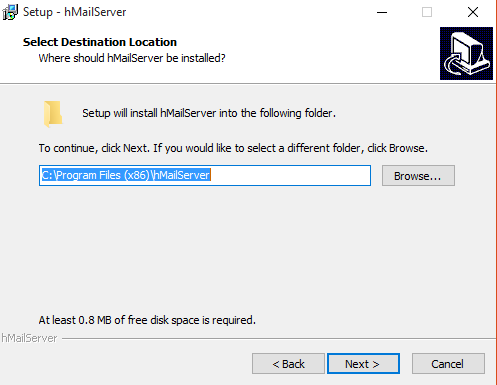
3. Select the install folder, next
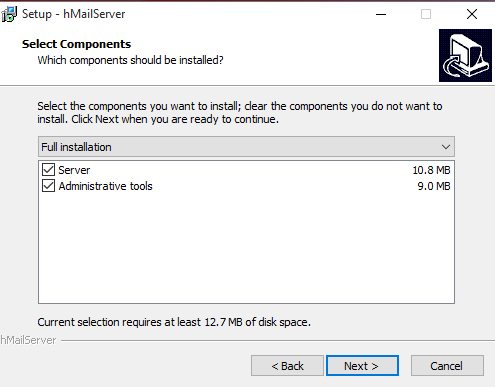
4. Full installation, next
5. Use built in database, next

6. Create a shortcut, next

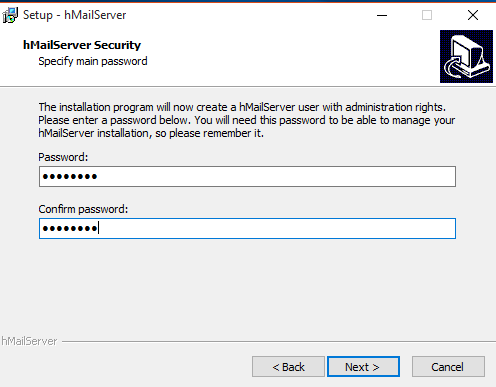
7. Choose the password for accessing hMailServer
8. Complete the installation
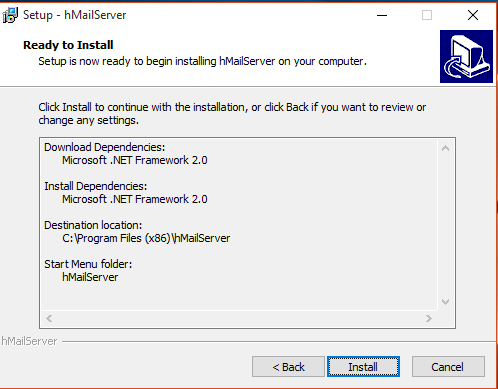
9. This may pop up, click yes, to install some dependencies

10. The installation begins

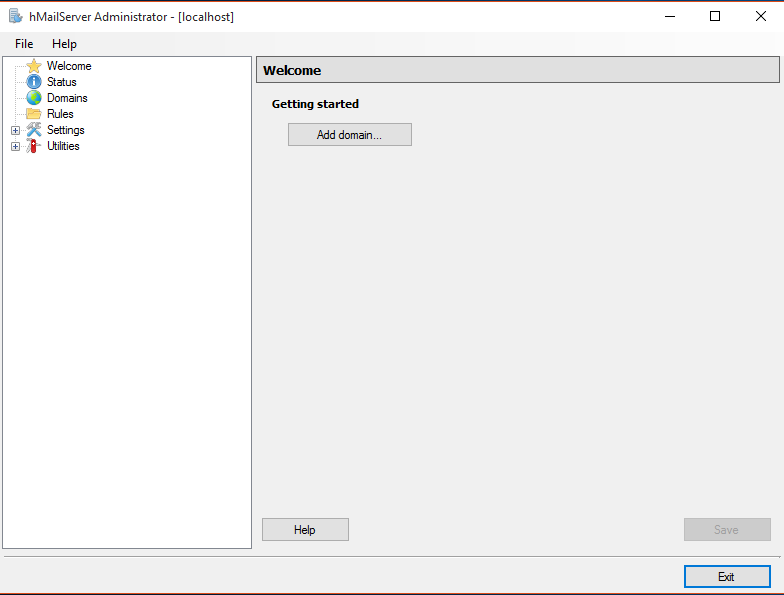
Configuration
1. Connect as Administrator
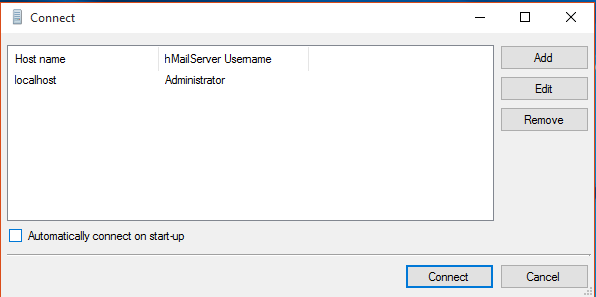
2. Enter the password we just created

3. You will enter to the main view
4. First thing start up process
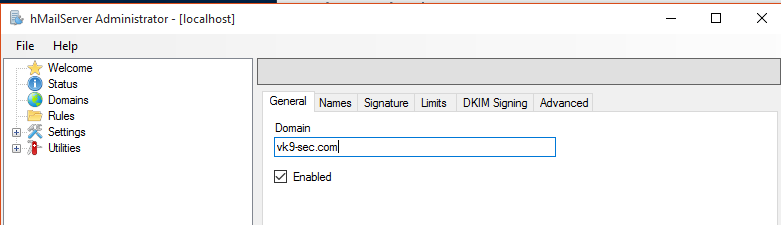
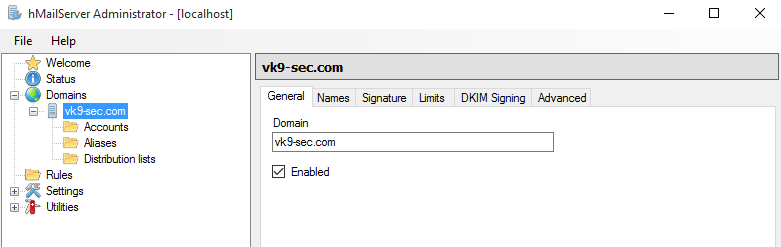
5. We need to create a domain
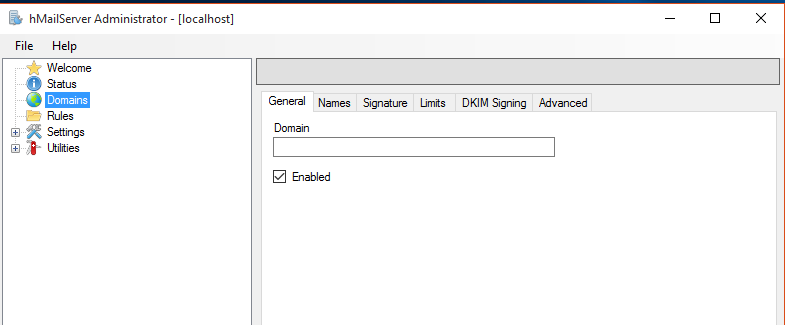
In that we have different tabs
- General: The name of the domain. To be considered valid, a domain name must include a dot. You must set up your DNS servers so that email can be sent to your mail server.
- Names: One domain can have several names. These are also known as domain aliases. For example, your organization might own the domain, company.com, but it might also own company.org
- Signature: you can configure hMailServer to add a signature to all email sent from this domain, If no HTML signature is specified, hMailServer will use the plain text signature as HTML signature as well.
- Limits: If you have specified 500MB, the total size of all messages in the domain will not exceed 500MB
- DKIM Signing (encryption): DKIM, Domain Keys Identified Mail, is a method to sign the content of messages. The recipient can verify that the message is sent from a server authenticated to send from the sender’s domain, and that the message content has not been modified in transit.
- Advanced: This tab contains the advanced settings for the domain. You normally don’t need to modify these settings.
Note
For this lab I will only modify general tab
6. After saving the changes, we see the domain added
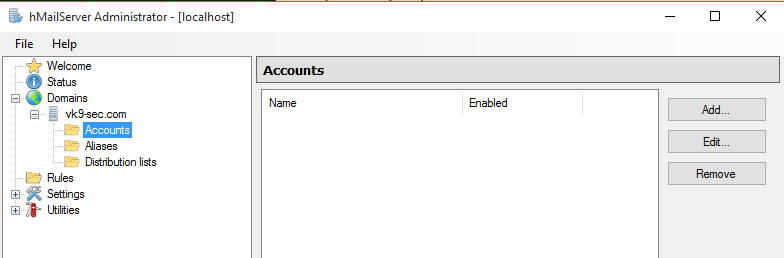
7. Now, it’s time to add user accounts
8. Add a user (leave the rest as default), then save
- Address: vry4n
- Password: pass1

9. In accounts we see our first user created
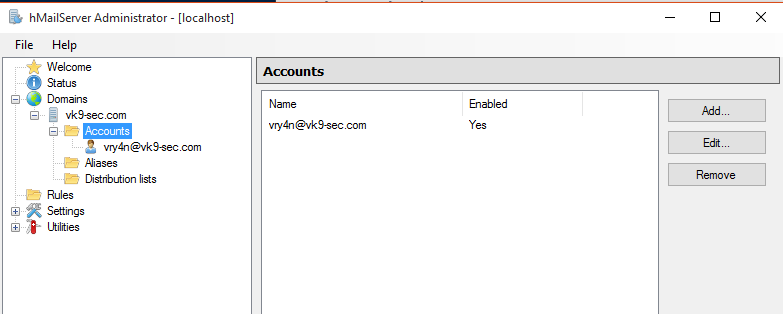
We will add a second user named john

At this point we are done with the mail server set up. Now it is time to run an email client to be able to send/receive emails
Email client (Thunderbird)
For this exercise we will use Thunderbird and a Linux machine to connect.
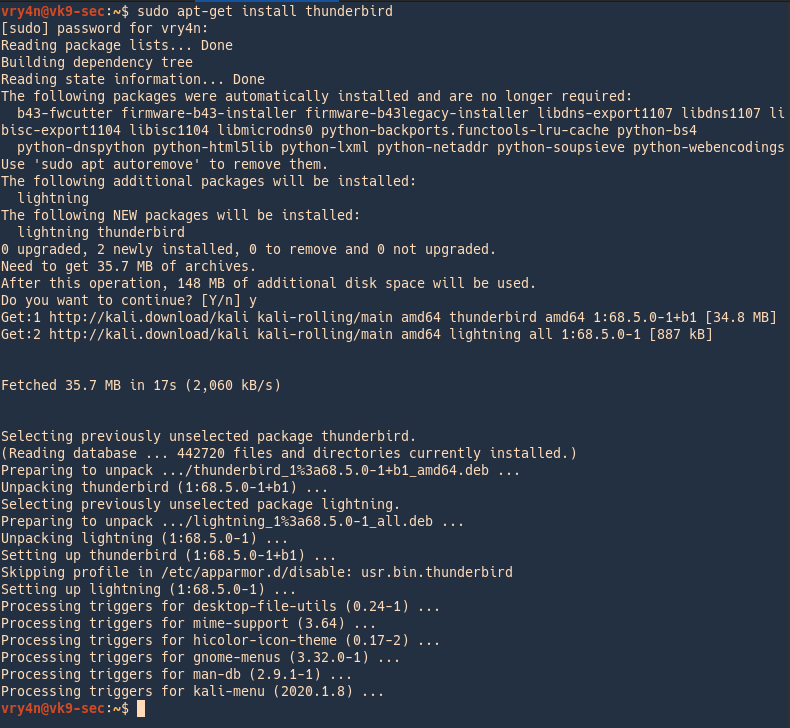
1. Install Thunderbird
- apt-get install thunderbird
2. Run the application

The application will now show up.

3. Add the SMTP server

4. Select the default account or add a new one

Edit the settings
- Description: VK9 SMTP
- Server Name: vk9-sec.com
- Port: 587
- Connection security: (optional TLS)
- Authentication method: (optional)
- User Name: Administrator
- OK
4. Add the domain name and server address to DNS records, we will use /etc/hosts
- vi /etc/hosts
- add -> 192.168.0.6 vk9-sec.com
- cat /etc/hosts | grep 192.168.0.6

5. Test connectivity
- ping -c 2 vk9-sec.com
- telnet vk9-sec.com 587
- telnet vk9-sec.com 110

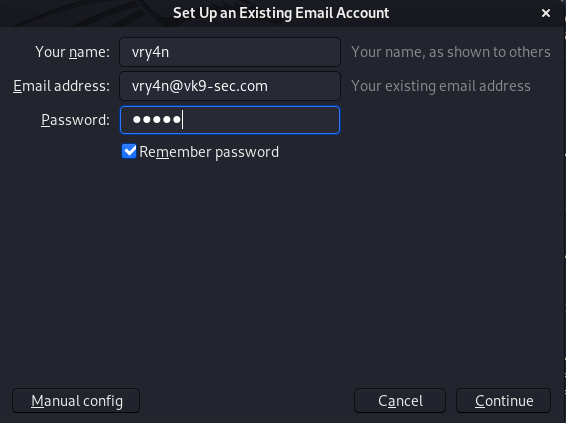
5. Now it is time to set up our accounts, when ThunderBird is first opened it requests to add an account.
- File -> New -> Existing mail account

Fill the blank spaces
- name: vry4n
- email address: vry4n@vk9-sec.com
- password: pass1
We have already created the accounts in the previous steps, in hMailServer
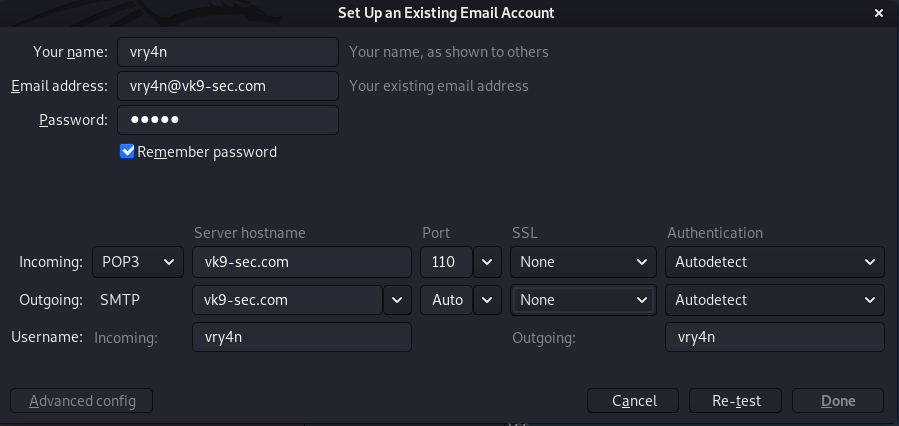
6. Now, click on “Manual config”, correct the server name. and, adjust the settings to match the server’s. I use POP3, I manually changed that
7. Test connectivity
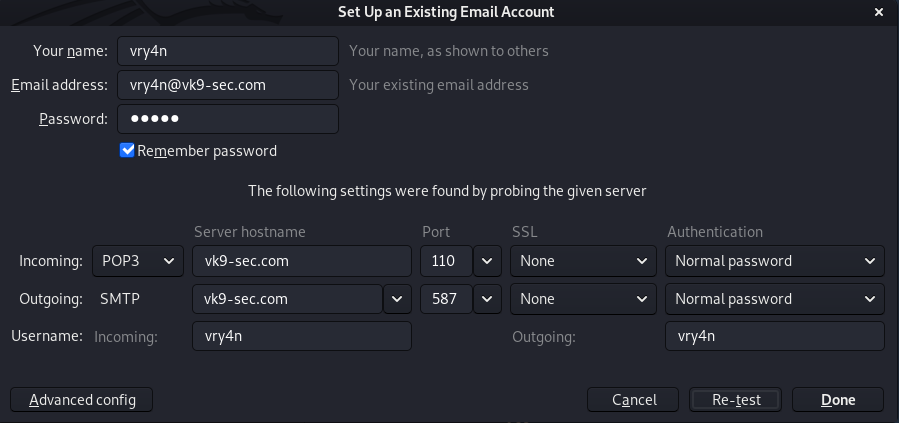
Doin gthis auto adjusts the settings, now it’s time to click on “Done”
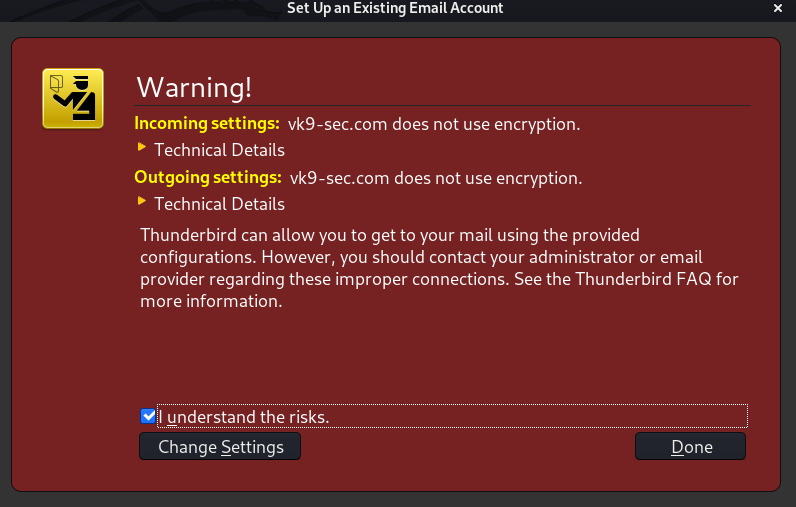
8. Accept the risk, since, we are not using encryption.
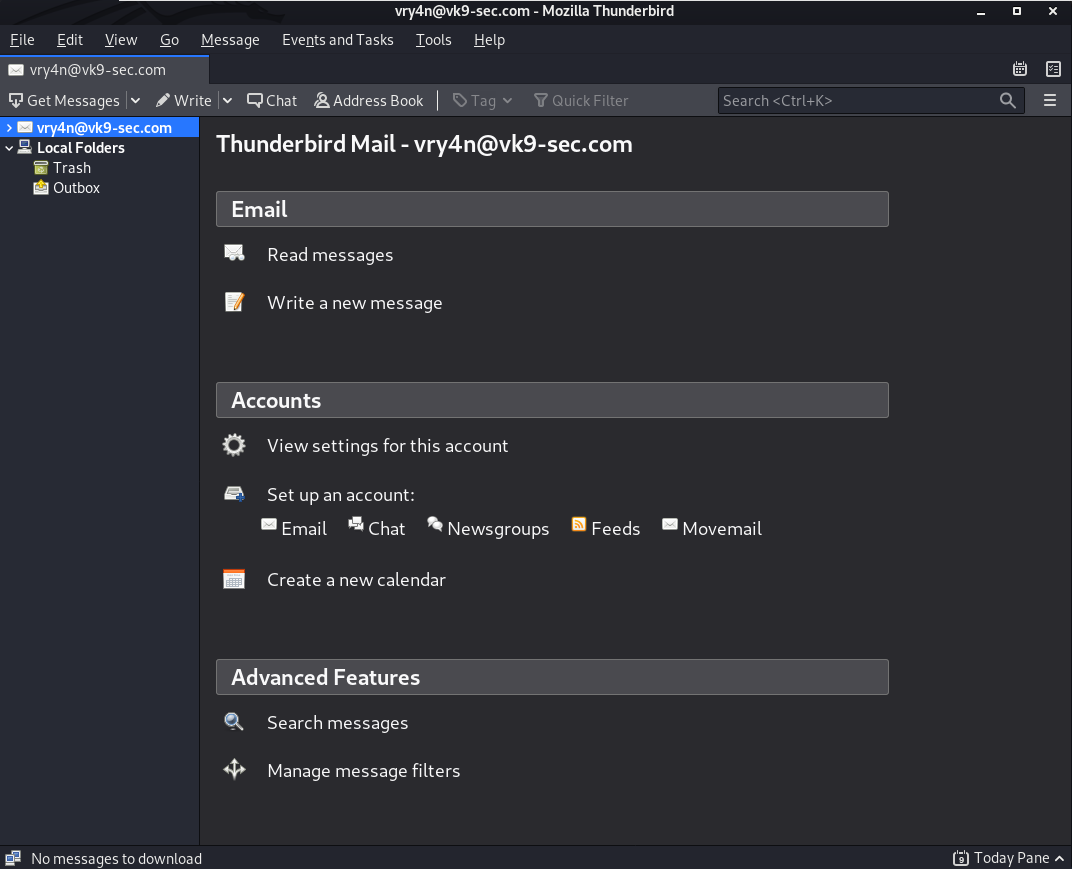
9. The account know shows up in the main page.
Now, we do the same for the other account. John
- File -> New -> Existing mailing account
- john
- john@vk9-sec.com
- pass1
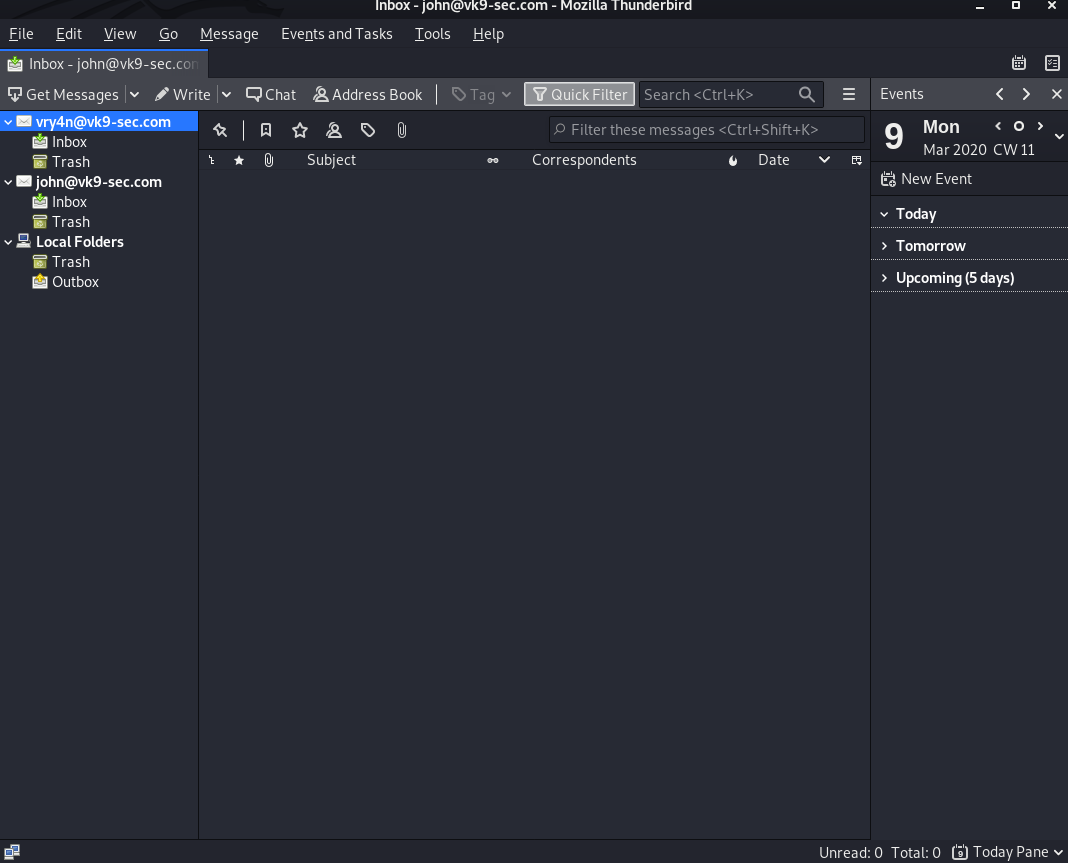
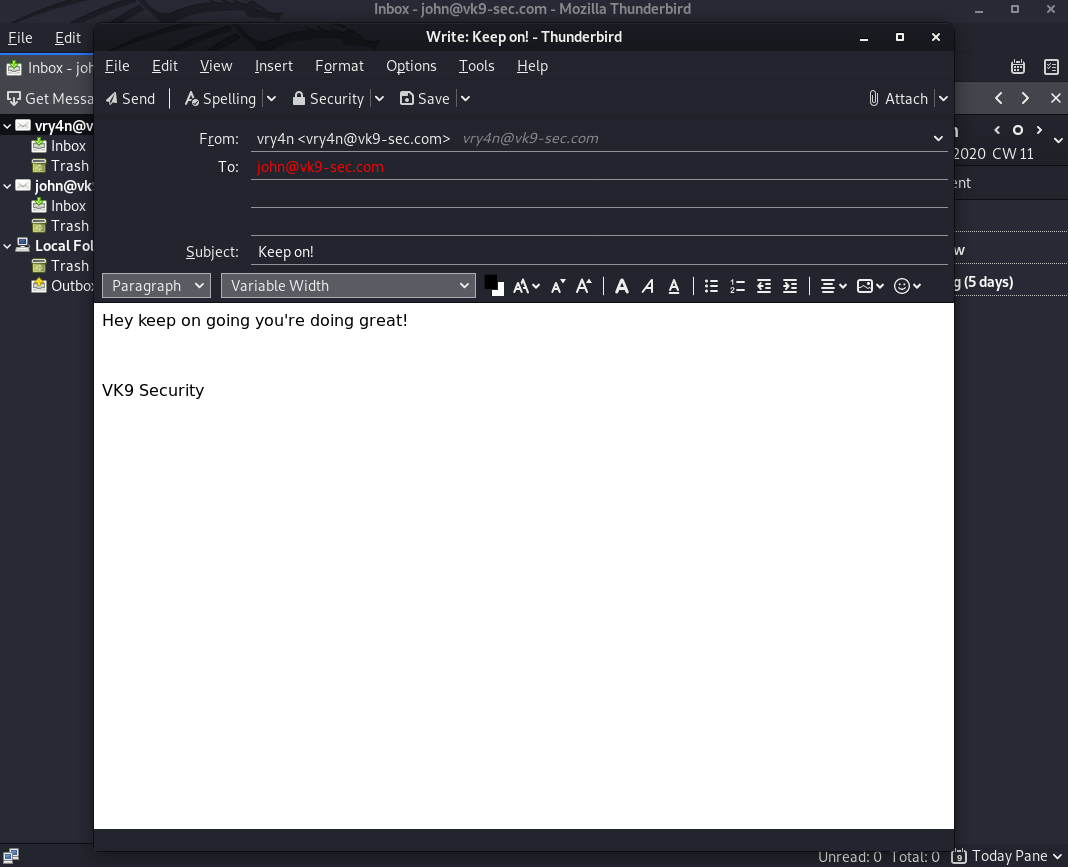
10. Send an email as a test