by Vry4n_ | Jan 13, 2021 | Linux Commands
This time we will transfer a file using netcat, we will see examples from machine vk9-sec to lab-kali
Bind connection
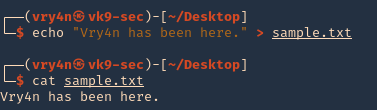
1. CLIENT: First, we will create a random file
- echo “Vry4n has been here.” > sample.txt
- cat sample.txt
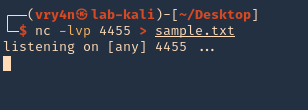
2. SERVER: we will open a port in the remote machine waiting for a connection to come in, lab-kali machine
- nc -lvp 4455 > sample.txt
3. CLIENT: We will start a connection from our local machine server to the remote machine, in this case vk9-sec to lab-kali machine
- nc -w 3 192.168.0.19 4455 < sample.txt

4. SERVER: At the remote end, we will see the connection, and once, terminates the file shows as downloaded

Reverse connection
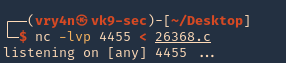
1. You could do it the other way, from listening on attacker machine and have the server contact you for the file. Start a listener on Kali (vk9-sec)
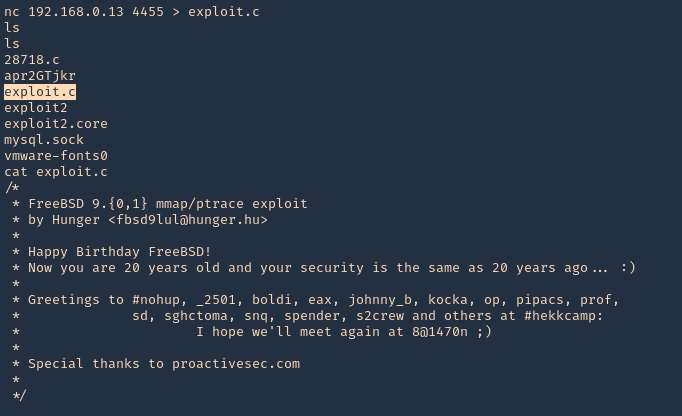
2. From the server (victim) reach our kali machine
- nc 192.168.0.13 4455 > exploit.c
- ls
- cat exploit.c
by Vry4n_ | Feb 13, 2020 | Linux Commands
xxd creates a hex dump of a given file or standard input. It can also convert a hex dump back to its original binary form.
Usage
Displaying available options


1. Converting a file to hex
- cat vk9-file.txt
- file vk9-file.txt

2. run xxd

3. Skipping lines, skipping the first line

Omit the last line
- xxd -s -0x10 vk9-file.txt

4. Set a limit length, print 10 bytes

5. Set the number of hex columns to display

6. Producing binary dump

7. Reverting from Hex
- xxd vk9-file.txt > vk9.hex
- cat vk9.hex
- xxd -r vk9.hex

by Vry4n_ | Feb 9, 2020 | Linux Commands
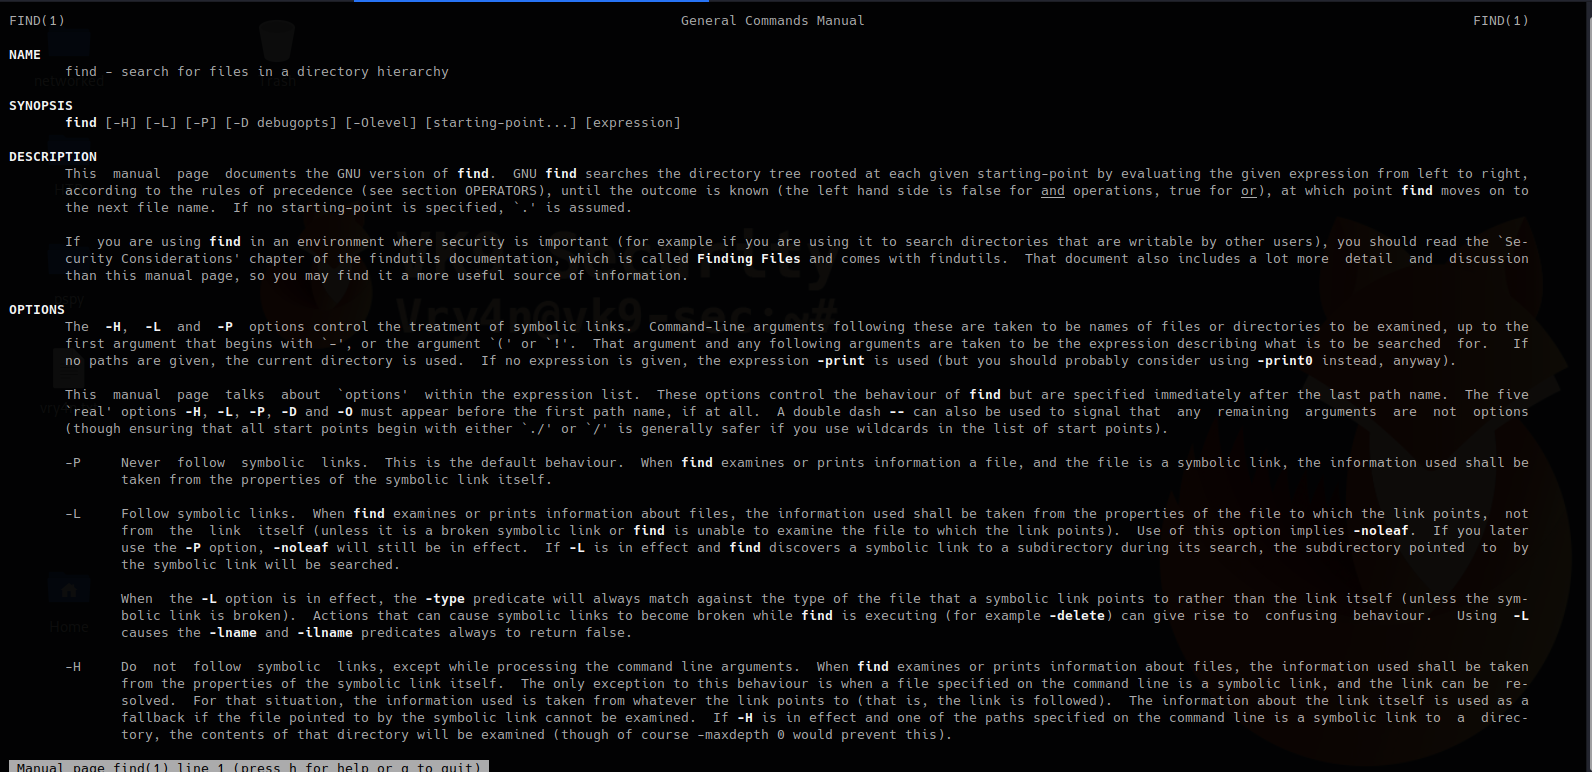
find searches the directory tree rooted at each given starting-point by evaluating the given expression from left to right. In this article we will explore the most useful commands.
Useful commands
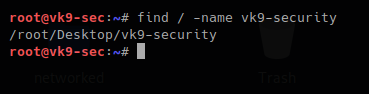
1. Basic search of a file named vk9-security.txt, starting at / position
- find / -name vk9-security.txt
2. The same search but case not sensitive
- find / -iname vk9-security.txt

3. Executing commands during the search, using wildcards to complete names, * means -> 0 or more characters
- find / -name vk9-sec* -exec ls -l {} \;

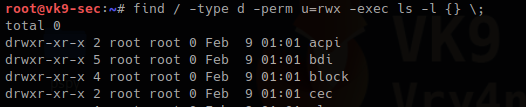
4. Search only directories, using
-type d = only directory type
-perm u=wrx = searches for permissions 700
-exec ls -l {} \; = runs a listing command
- find / -type d -perm u=rwx -exec ls -l {} \;
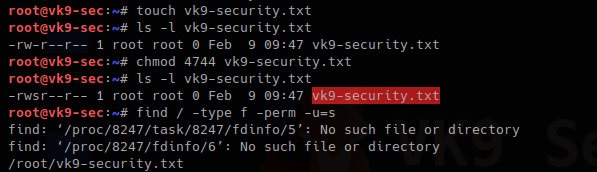
5. Searching files, with SUID permissions
-type f = only file type
-perm = file that have permissions sticky bit
chmod = used to change file permissions
- touch vk9-security.txt
- ls -l vk9-security.txt
- chmod 4744 vk9-security.txt
- ls -l vk9-security.txt
- find / -type f -perm u=s
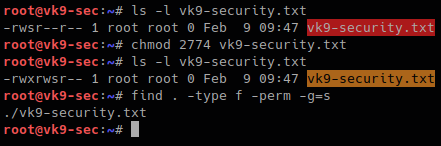
Also files with GUID can also be found
- ls -l vk9-security.txt
- chmod 2744 vk9-security.txt
- ls -l vk9-security.txt
- find . -type f -perm -g=s
6. Getting rid of errors
2> /dev/null = used to redirect STDERR to trash lets run the same command again
- find / -type f -perm u=s 2> /dev/null

7. Using find to find within multiple places
- find . /tmp -type f -perm -u=s 2> /dev/null

8. Finding hidden files that start with F
Files starting with “.” are hidden in Linux.
- find . -name “.F*” -type f

9. Finding file owned by a particular user
- find /tmp -user vry4n
- find /tmp -user vry4n -exec ls -l {} \;

10. Searching for files & directories that belong to a specific group
- find /var/www -group www-data -exec ls -l {} \;

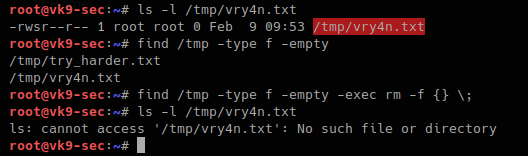
11. Searching & deleting empty files
-empty
rm -f {} \; = removes a file
- ls -l /tmp/vry4n.txt
- find . -type f -empty
- find . -type f -empty -exec rm -f {} \;
- ls -l /tmp/vry4n.txt
12. Find a file and filter it using grep
- find . -name “vry*” -exec grep -i “hello” {} \;

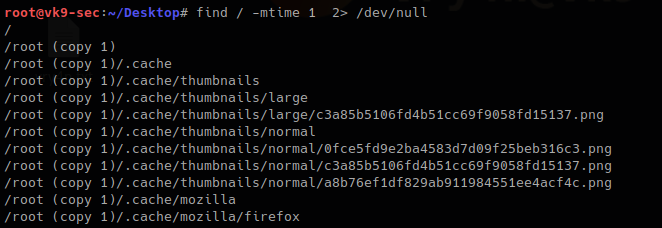
Searching for files base on time
1. Searching for file with modification time within 1 day
- find / -mtime 1 2> /dev/null
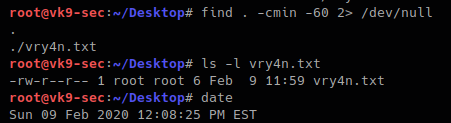
2. Searching for file that where changed in the last 60 min
- find / -cmin -60 2> /dev/null
3. Searching for file that were modified within the last 60 min
- find / -mmin -60
- ls -l
- date
There are too many more options use with find. Visit man page to get the output of full documentation
https://linux.die.net/man/1/find