by Vry4n_ | Mar 15, 2020 | Anonymity
Anonsurf uses TOR iptables to anonymize the whole system. Anonsurf gives users the capability of starting or stopping the I2P project.
https://github.com/Und3rf10w/kali-anonsurf
Installation
1. Download the file from github
- git clone https://github.com/Und3rf10w/kali-anonsurf.git

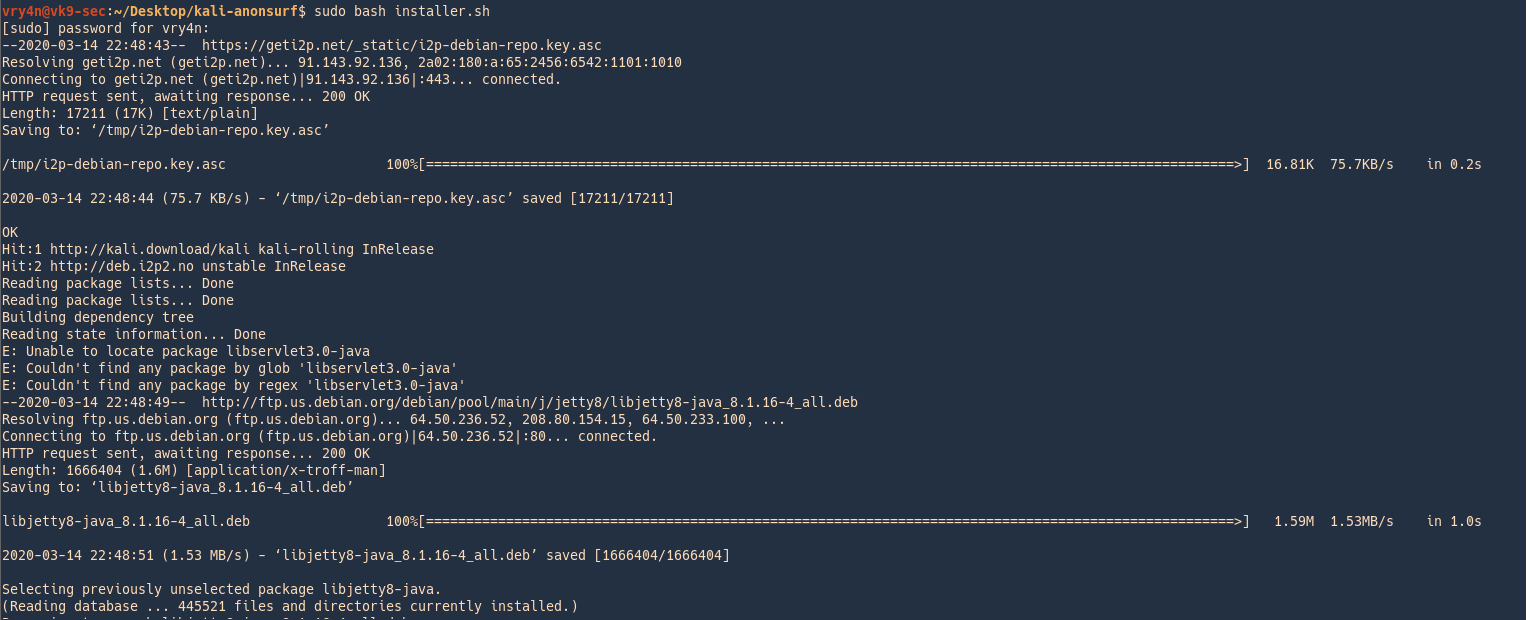
2. Run installer located in the download folder kali-anonsurf
3. Run the application after successful installation
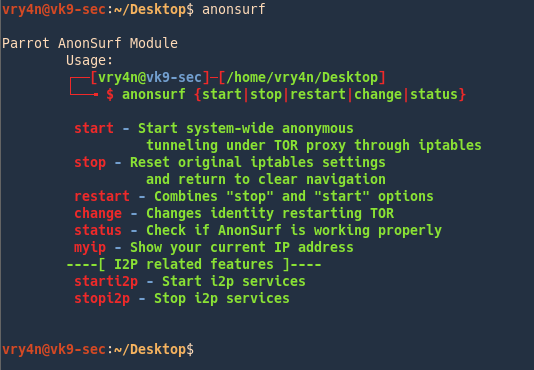
How to use
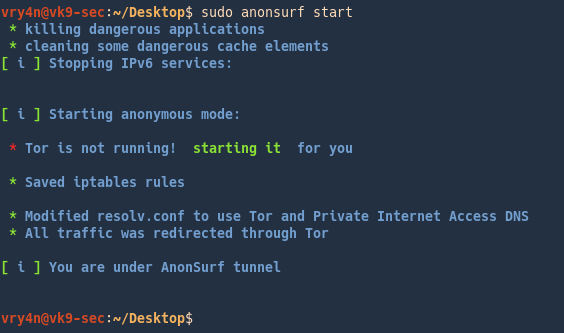
1. Start the program
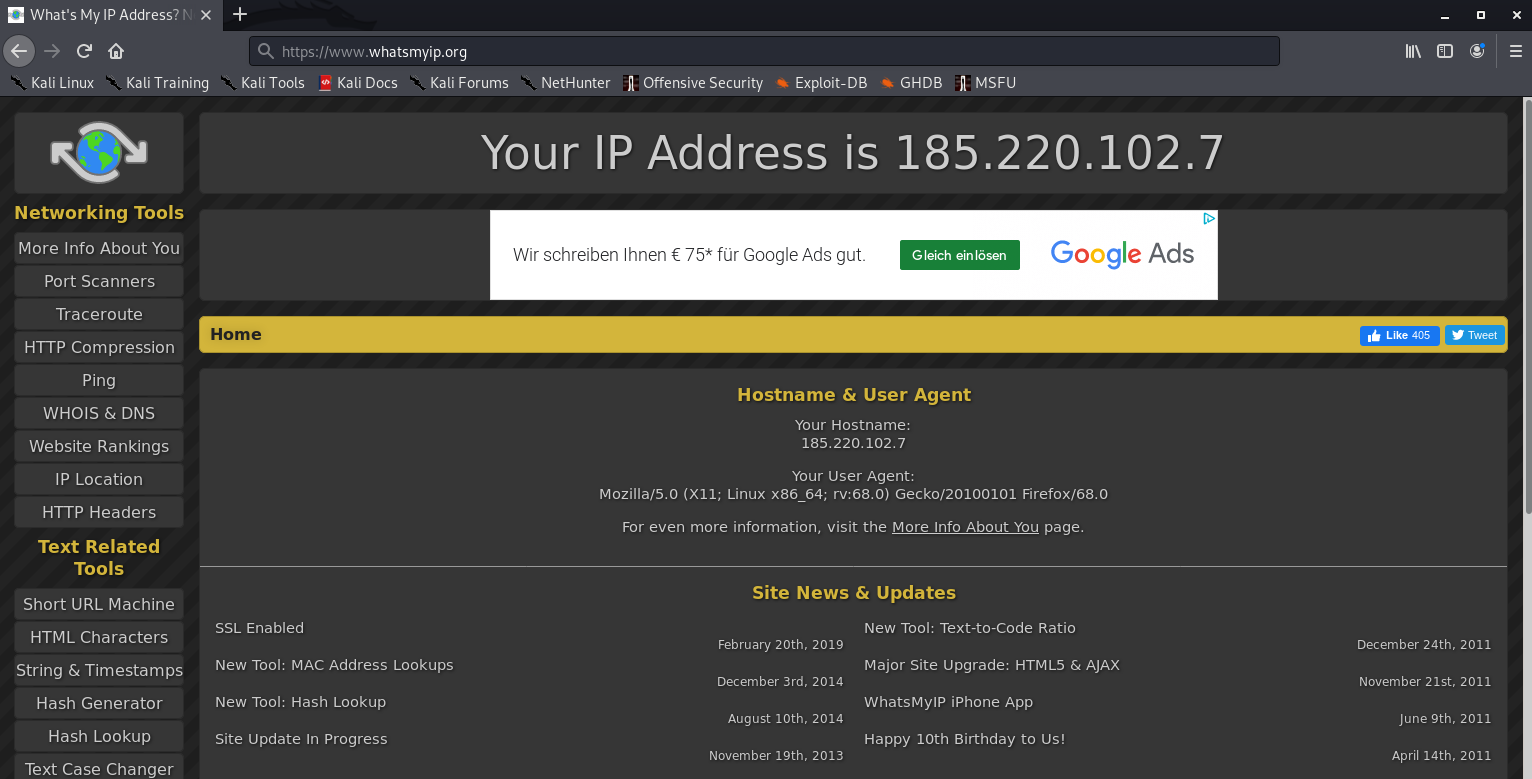
2. Check your IP

Check your IP on a browser
3. Change your IP
- sudo anonsurf change
- anonsurf myip
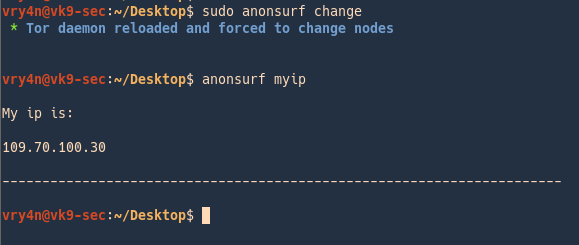
4. Check the service status

5. Restart the service (assigns a new IP)

6. Stop the service
- sudo anonsurf stop
- anonsurf status
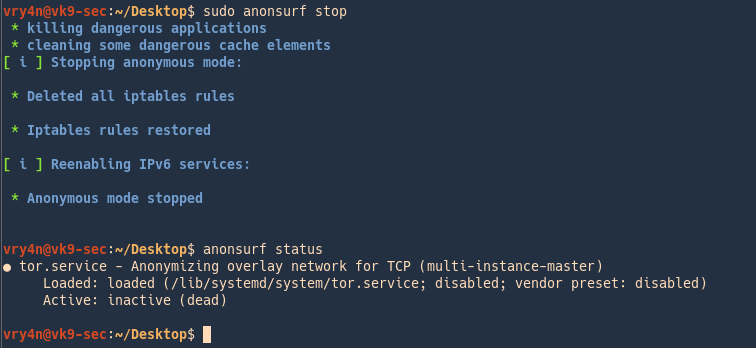
i2p services
I2P is an anonymous network built on top of the internet. It allows users to create and access content and build online communities on a network that is both distributed and dynamic. It is intended to protect communication and resist monitoring by third parties such as ISPs.
1. Run

2. Router console will pop-up
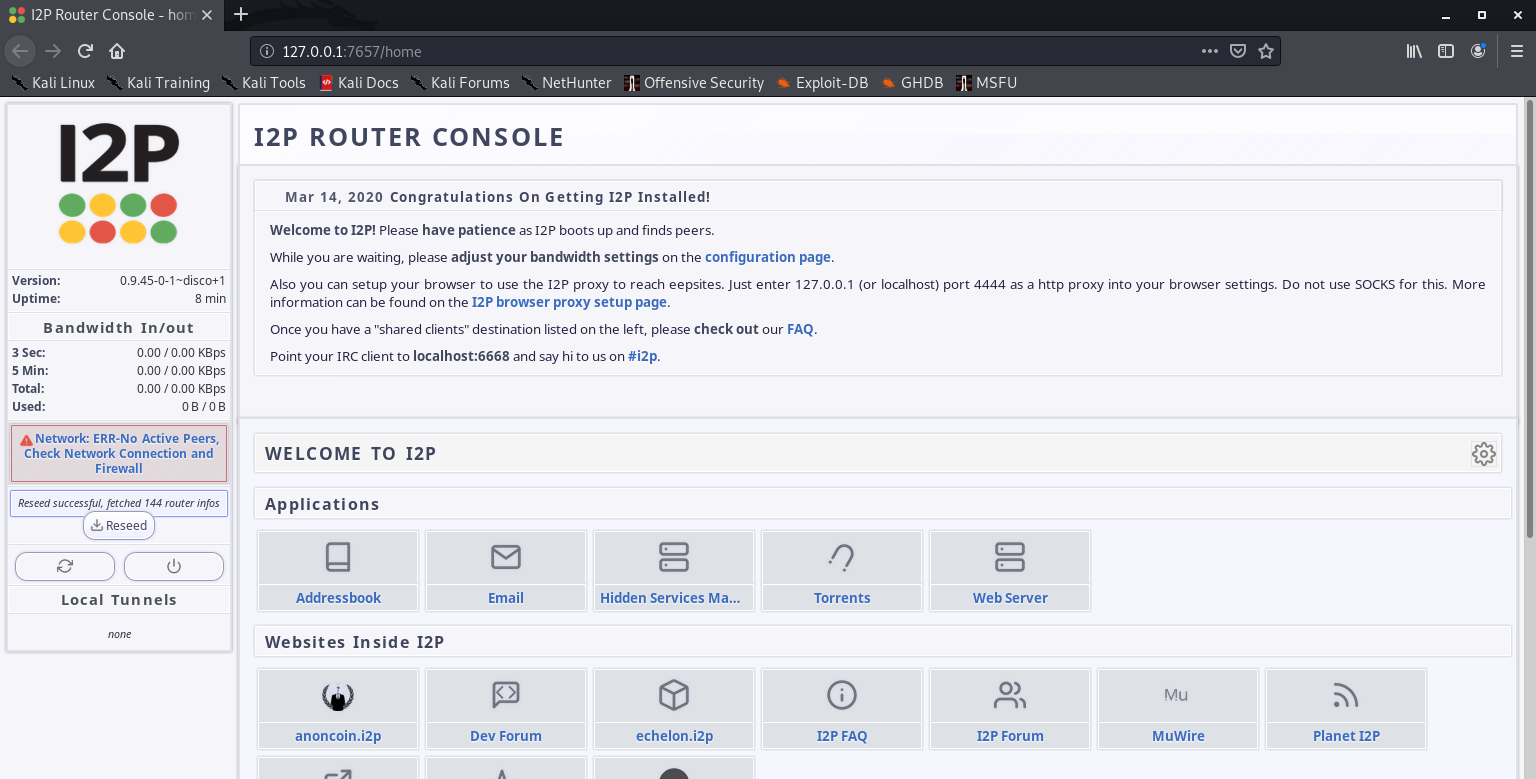
Configuration of this is out of scope of this post.
3. Stop the service

by Vry4n_ | Feb 9, 2020 | Anonymity
This can be used to bypass switchport security mechanisms as an example. Also, it gives us another layer of anonymity. During a pentest you can do this if you get blocked by any security policy based on MAC address just change the MAC address and you’ll get in.
Manual way to do this on Linux
1. Check the current MAC address value
- ifconfig eth0
- ifconfig eth0 | grep ether | awk -F” “ ‘{print $2}’

2. turn off the “eth0” interface before the change
- ifconfig eth0 down
- ifconfig eth0

3. With the command below you will set the MAC address to any value you want. I decided something dummy, AA:BB:CC:DD:EE:FF, then bring the interface up and verify
- ifconfig eth0 hw ether AA:BB:CC:DD:EE:FF
- ifconfig eth0 up
- ifconfig eth0
- ifconfig eth0 | grep ether | awk -F” “ ‘{print $2}’

When the machine reboots the value goes as normal.
Using automated tools to change the MAC address
macchanger is a tool that helps automate this task. It has some cool features. It comes built into Kali by default.
How to use
1. Display the menu

2. This is how to use each of the options
-V, –version

-s, –show # list interface MAC address

-l, –list # lists vendor MAC id

-m, –mac=XX:XX:XX:XX:XX:XX # set a MAC manually, we will use Cisco
- macchanger -m 00:00:0c:12:34:56 eth0
- macchanger -s eth0

-e, –ending # keps the vendor bytes and randomizes the rest
- macchanger -s eth0
- macchanger -e eth0
- macchanger -s eth0

-a, –another # changes vendor of the same kind
- macchanger -a eth0
- macchanger -s eth0

-A # changes vendor of different kind
- macchanger -A eth0
- macchanger -s eth0

-p, –permanent # go back to the burned-in address
- macchanger -r eth0
- macchanger -s eth0

-r, –random # complete randomize the MAC, unknown type

-b, –bia # pretend to be burned-in-address
- macchanger -b –random eth0
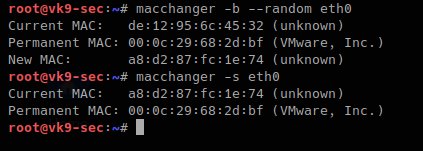
A script can also be created to automate the change of the MAC address of a time interval. This tool can be downloaded from the internet in case that you don’t find it in your PC
https://github.com/alobbs/macchanger


