A self-signed certificate is a certificate that is signed by the person creating it rather than a trusted certificate authority. Self-signed certificates can enable the same level of encryption as a $1700 certificate signed by a trusted authority. (Self-signed certificates or certificates issued by a private CAs are not appropriate for use with the general public.)
However, self-signed certificates can have their place:
- An Intranet. When clients only have to go through a local Intranet to get to the server, there is virtually no chance of a man-in-the-middle attack.
- A development server. There is no need to spend extra cash buying a trusted certificate when you are just developing or testing an application.
- Personal sites with few visitors. If you have a small personal site that transfers non-critical information, there is very little incentive for someone to attack the connections.
Best practices
- Limit the validity period, it should be as short as you can handle from the maintenance standpoint. Never go beyond 12 months.
- Do not use wildcards and limit the alt names, make it as specific as possible — the certificate should only be issued for the exact hosts/domains where it is going to be used. Use the alternative names extension to list all the hostnames.
- Use a meaningful and informative “subject” record. CN must match one of your domain names. You can use OU to specify the name of your application or service. Make sure that the full DN record used in the subject is unique across all of the certs. There are many attributes that can be used in the “subject” to make it more informative, you can find the full list here
- Make sure that the algorithm used for the signature is at least SHA256WITHRSA (which is the default in OpenSSL)
- Do not create unencrypted private keys. If a key is for a Java application, use the pkcs12 format, it can be used directly by any modern JVM. OpenSSL initially generates a DER encoded private key encrypted using DES, but it can be converted into pkcs12 using openssl pkcs12 command. PKCS12 is the implementation of the PKCS#11 format which is the universal, cross-platform cryptography interface, so it should be preferred over other formats.
- Use elliptic curve keys as opposed to the default RSA ones, they provide a number of benefits over RSA
- You can make your certificate more robust by specifying the certificate’s purpose using extended key usage and “key usage” extensions. “TLS Web Server Authentication” should be the only allowed usage for a server. This will prevent unintended use of the certificate.
- Make your extensions “critical”. Self-signed certificates/keys are only used internally, so all clients should be able to support the usage extensions.
- Create a repeatable/scriptable process for issuing certificates and keys. OpenSSL is a de-facto standard command line tool that can be used as the basis for this process.
Recommendation for OpenSSL configuration
[ extensions ]
basicConstraints = critical, CA:FALSE
keyUsage =critical, digitalSignature, keyEncipherment
extendedKeyUsage = critical, serverAuth
subjectKeyIdentifier = hash
subjectAltName = @alt_names
[ alt_names ]
DNS.1 = host1
DNS.2 = host2
Example of one liner SSL certificate creation
- openssl req -config cert_conf/self_signed_cert.conf -x509 -days 60 -new -newkey rsa:2048 -keyout certs/ss_keys/self_signed -out certs/ss_certs/self_signed.pem -verbose -passout pass:<your password>
Steps to create a self-signed certificate
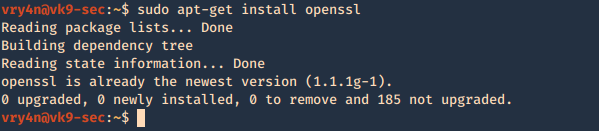
1. Inspect if OpenSSL is installed
- which openssl
- whereis openssl

If the file is missing use install it. The example below is debian based procedure. (In this case I already have it.)
- sudo apt-get install openssl
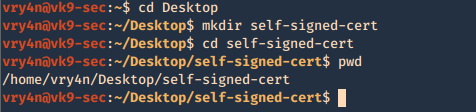
2. Create a working folder
- cd Desktop
- mkdir self-signed-cert
- cd self-signed-cert
- pwd
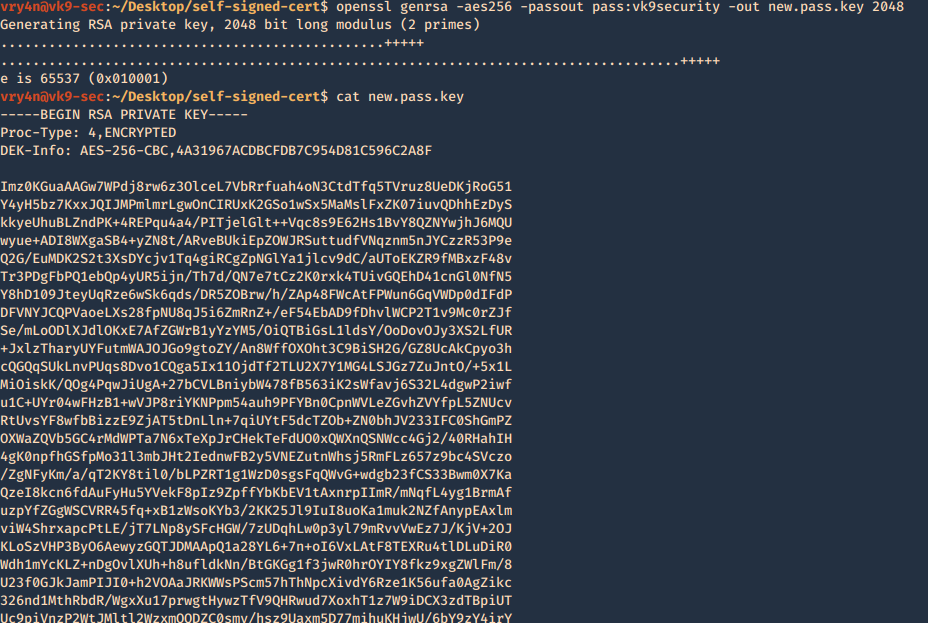
3. Now we need to generate the private key, and set the passphrase as vk9security, below some recommendation:
The best way of securely storing private keys is to use a cryptographic hardware storage device such as:
- USB Token
- Smart Card
- Hardware Storage Module (HSM)
Limit User Access
It’s important that you periodically verify who has access to private keys.
Minimum length of 2048
Type of algorithms
- Triple DES
- RSA
- Blowfish
- Twofish
- AES256
Creating the key
- openssl genrsa -aes256 -passout pass:vk9security -out new.pass.key 2048
- cat new.pass.key
Now we will use the just generated new.pass.key to create server.key
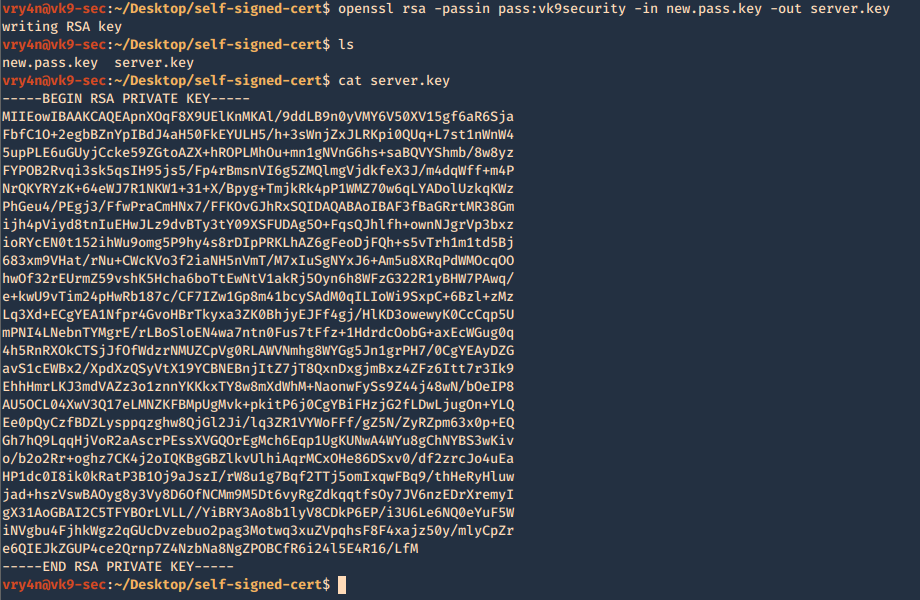
- openssl rsa -passin pass:vk9security -in new.pass.key -out server.key
- cat server.key
We no longer need new.pass.key, so, we delete it
- rm new.pass.key
![]()
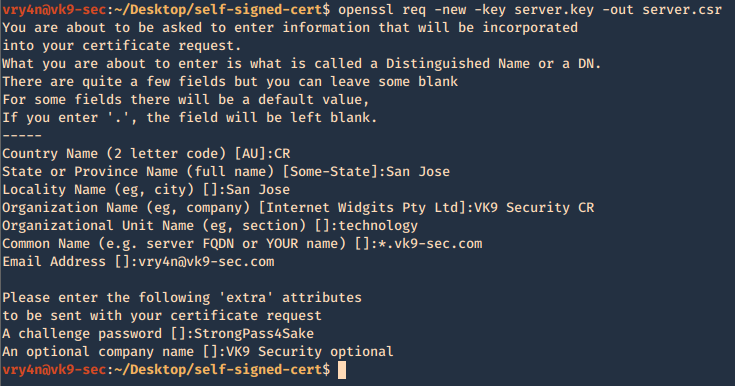
4. Having the and the password vk9security, we proceed to create the Certificate Signing Request (CSR) using the RSA key named server.key. You’ll be asked information to include in the certificate
- openssl req -new -key server.key -out server.csr
—–
Country Name (2 letter code) [AU]:CR
State or Province Name (full name) [Some-State]:San Jose
Locality Name (eg, city) []:San Jose
Organization Name (eg, company) [Internet Widgits Pty Ltd]:VK9 Security CR
Organizational Unit Name (eg, section) []:technology
Common Name (e.g. server FQDN or YOUR name) []:*.vk9-sec.com
Email Address []:vry4n@vk9-sec.com
Please enter the following ‘extra’ attributes
to be sent with your certificate request
A challenge password []:StrongPass4Sake
An optional company name []:VK9 Security optional
—–
End
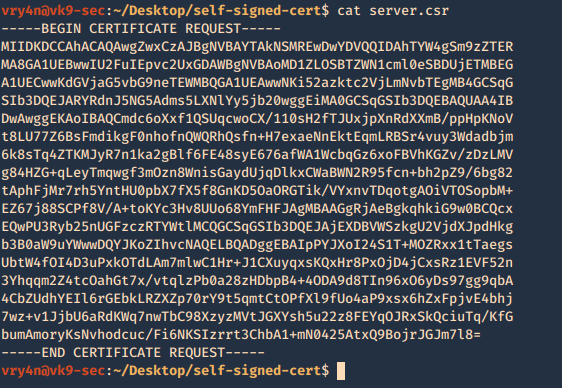
A new file called server.csr has been created and it contains the request information
- cat server.csr
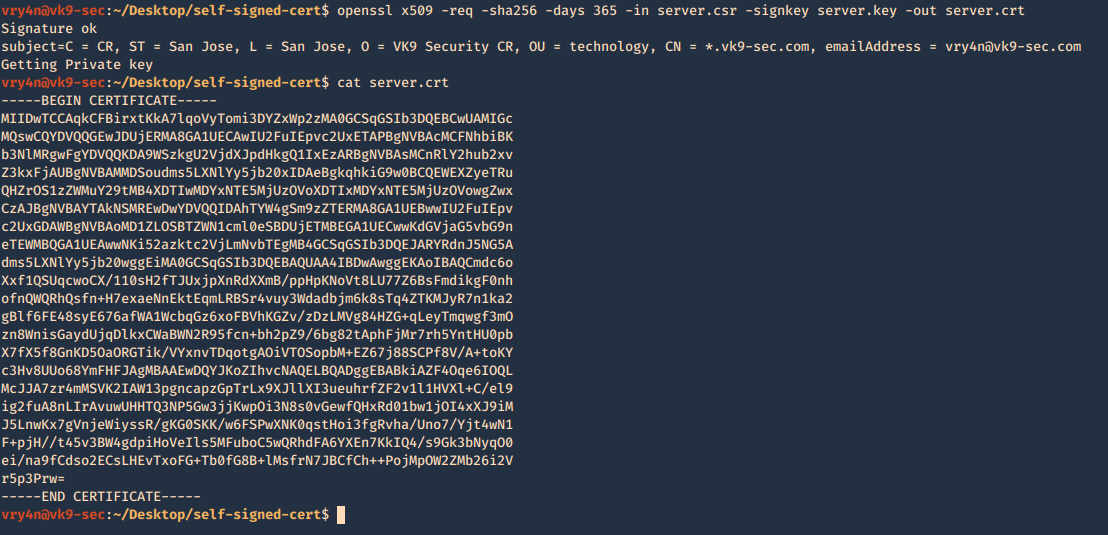
5. Now using the CSR we will sign the request with the following command, as a result we get the certificate named as server.crt
- openssl x509 -req -sha256 -days 365 -in server.csr -signkey server.key -out server.crt
- cat server.crt
We need to keep the private key protected. Only, managed by authorized people this is known by no one else but the server using it.
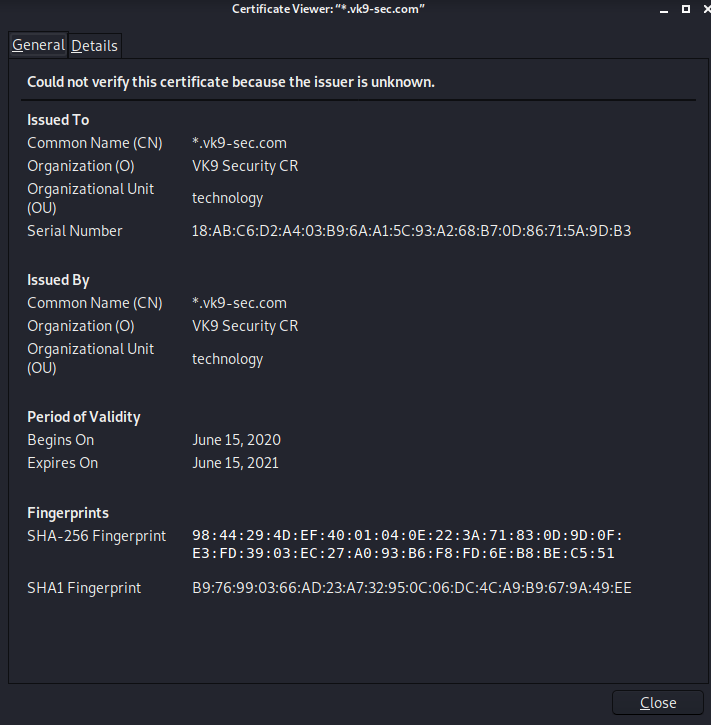
6. Add this new certificate to your browser, in this case Firefox
Since most browsers don’t know about self-signed certificates, there will be a warning by the browser. To avoid this you need to include it to the trusted list.
- Preferences – Privacy and Security – Certificates – View Certificates
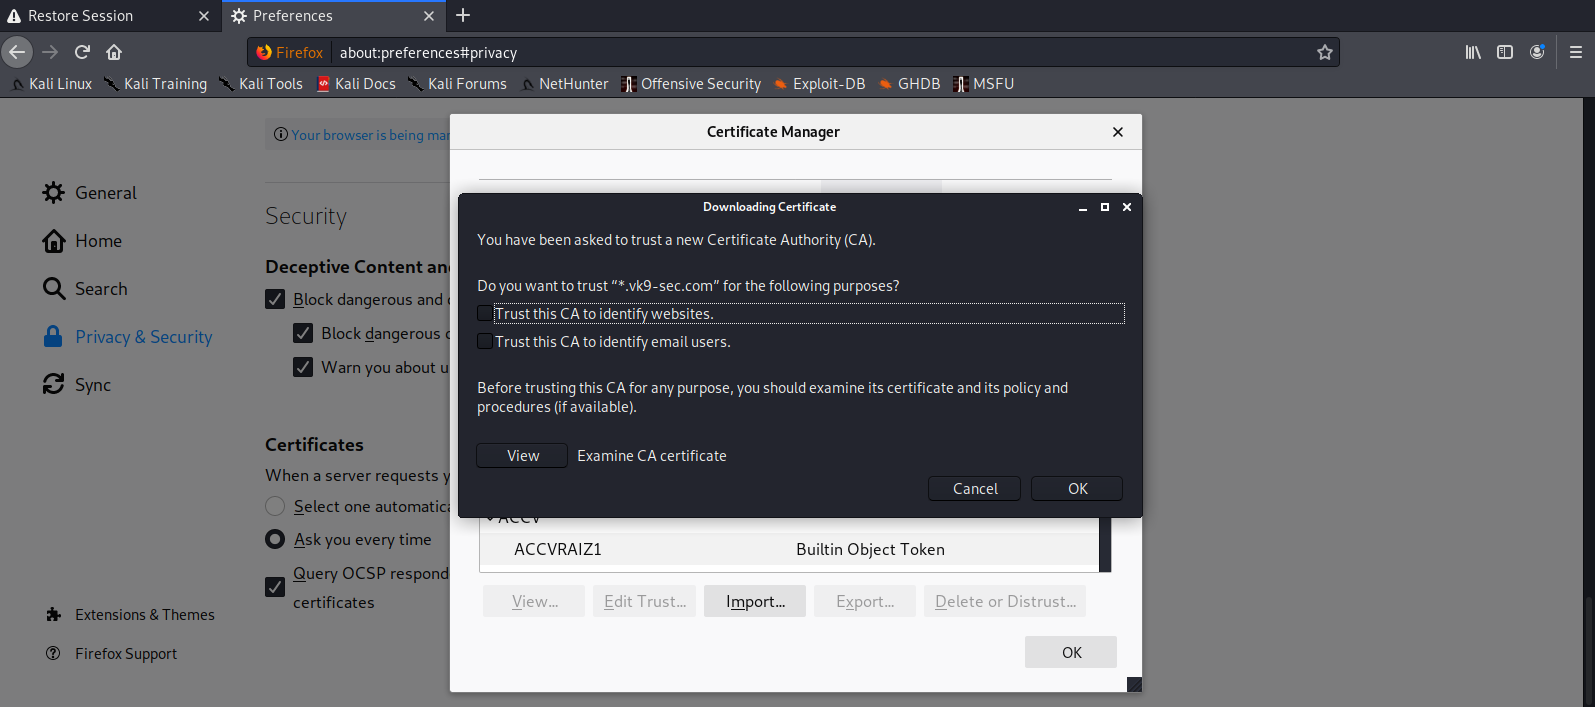
- Import
- Select server.crt
- Check the boxes accordingly
- Then ok
7. Look for it within the list
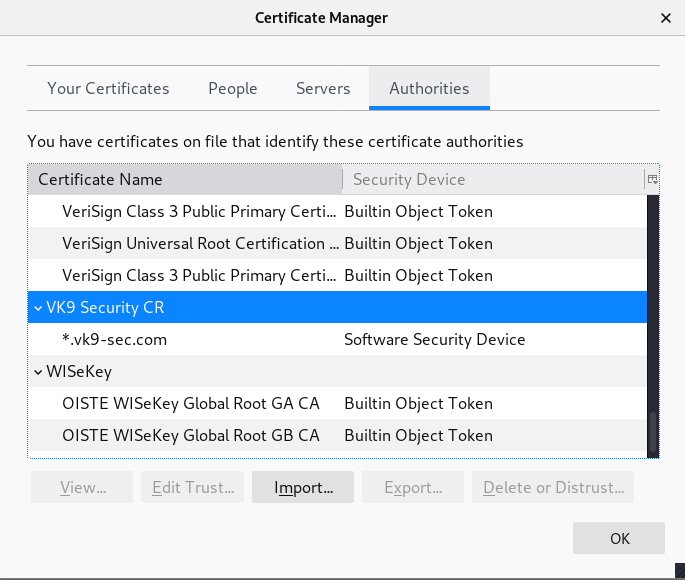
8. Click on view and confirm your info